Welcome, Guest
Username: Password: Remember me
Threaded Indented
  • Page:
  • 1
  • 2

TOPIC: Kylo Ren Force FX Lightsaber Conversion Tutorial

Kylo Ren Force FX Lightsaber Conversion Tutorial 9 months 1 week ago #18740

  • DarthMario95
  • DarthMario95's Avatar
  • Offline
  • Platinum Member
  • Posts: 434
  • Thank you received: 200
I've been converting MR/Hasbro sabers for the last year, for my own collection and for many other individuals in the saber community. So when I purchased the new 2015 Kylo Ren Force FX Lightsaber by Hasbro during Force Friday, I knew I was going to rip it apart and convert it to a removable blade and in hilt LED module.

As far as I'm aware, I am the first individual on the planet to convert the new Kylo Ren saber :D

So here we go :)

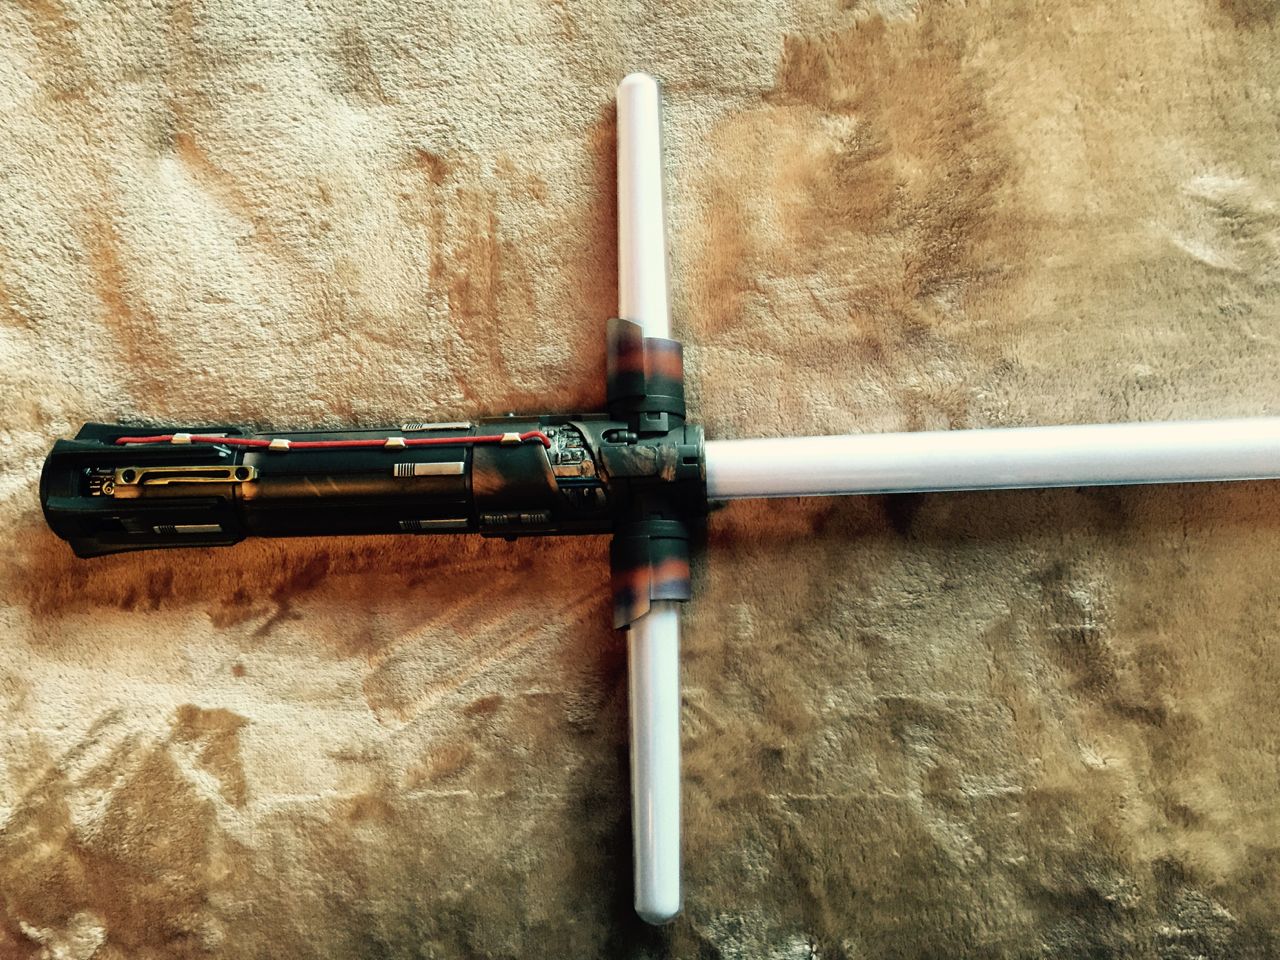
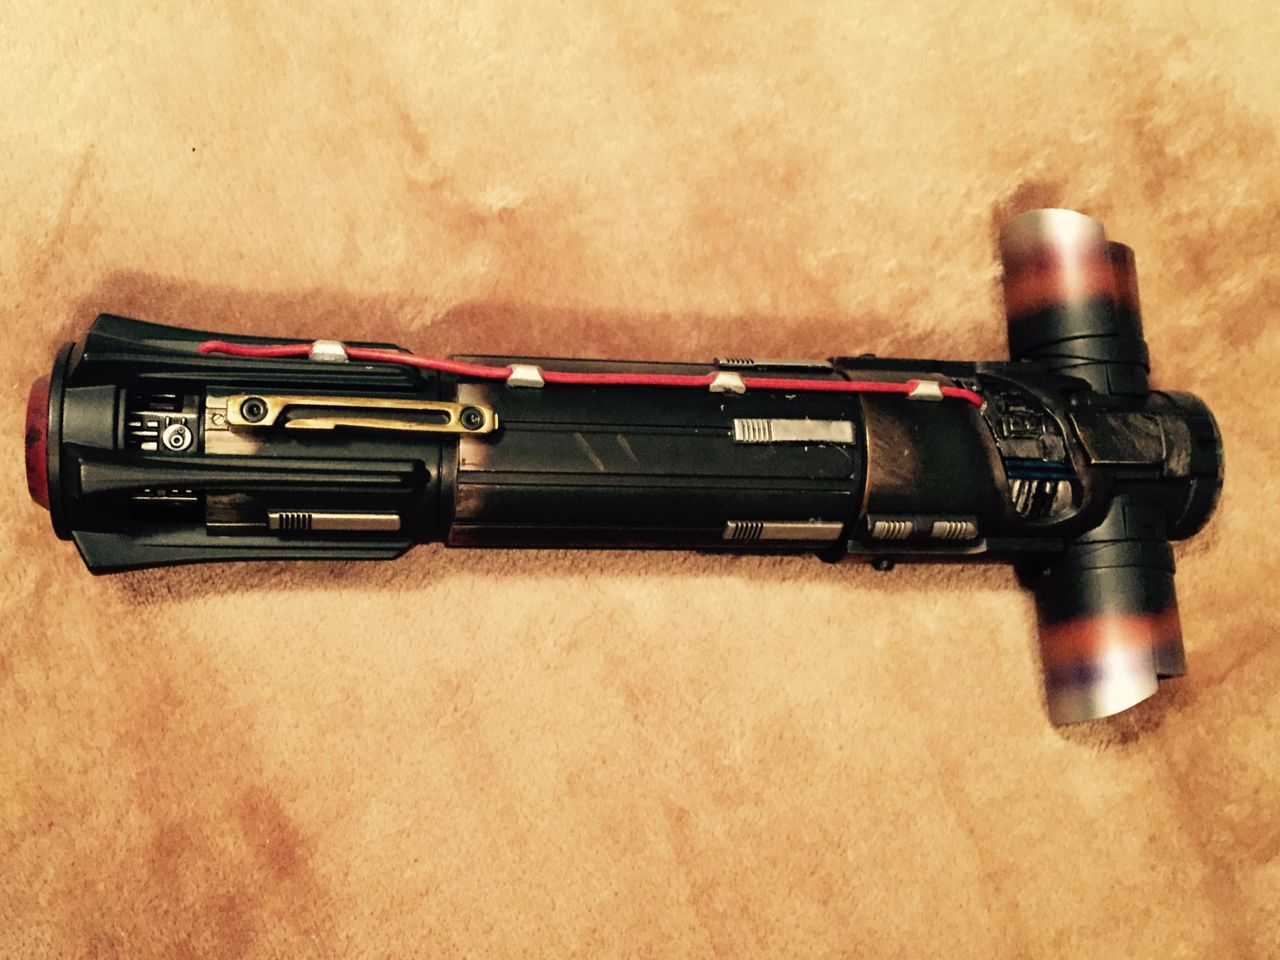
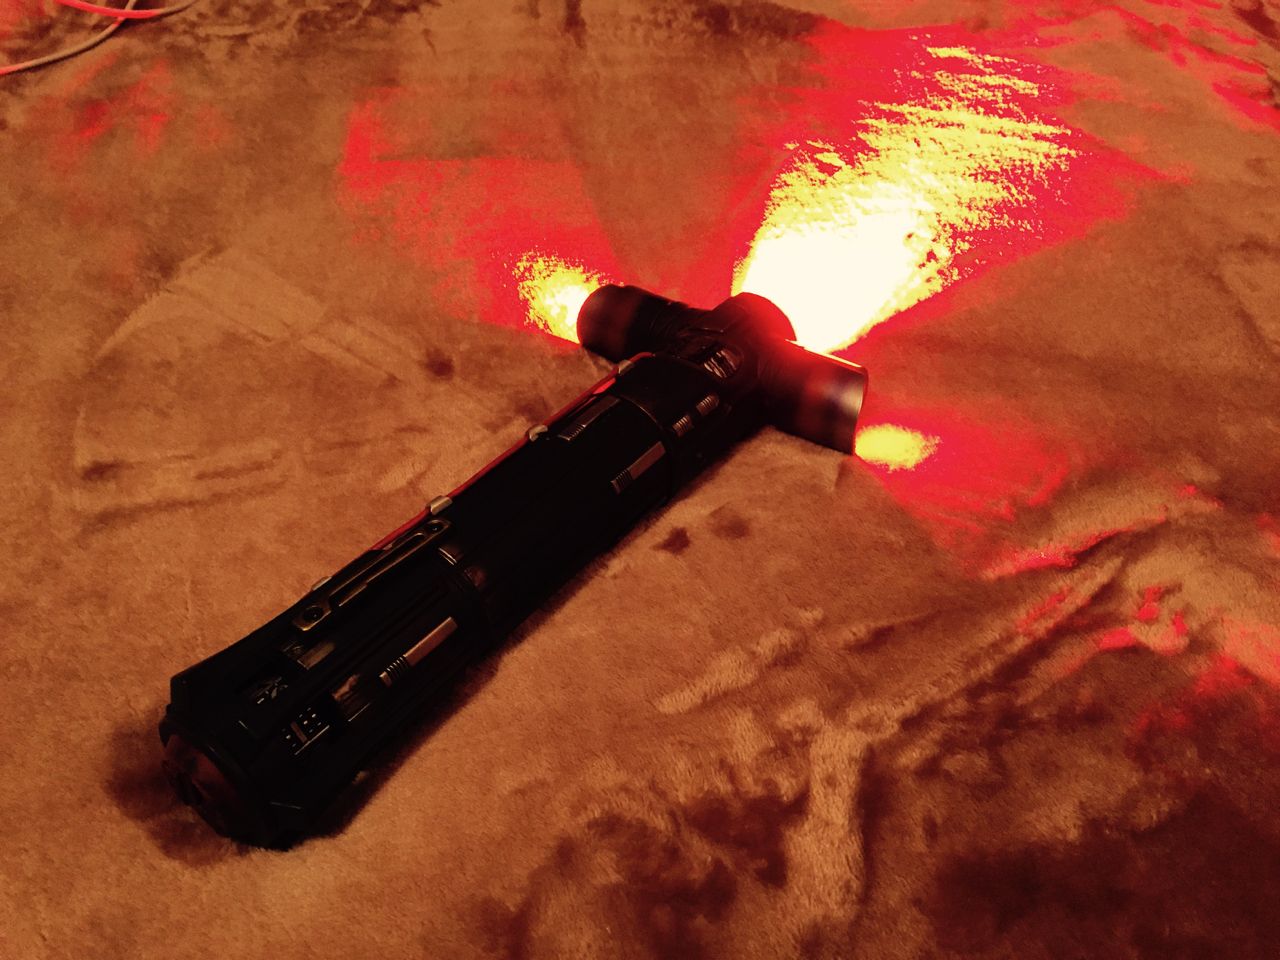
Stock Kylo Ren Force FX Lightsaber.


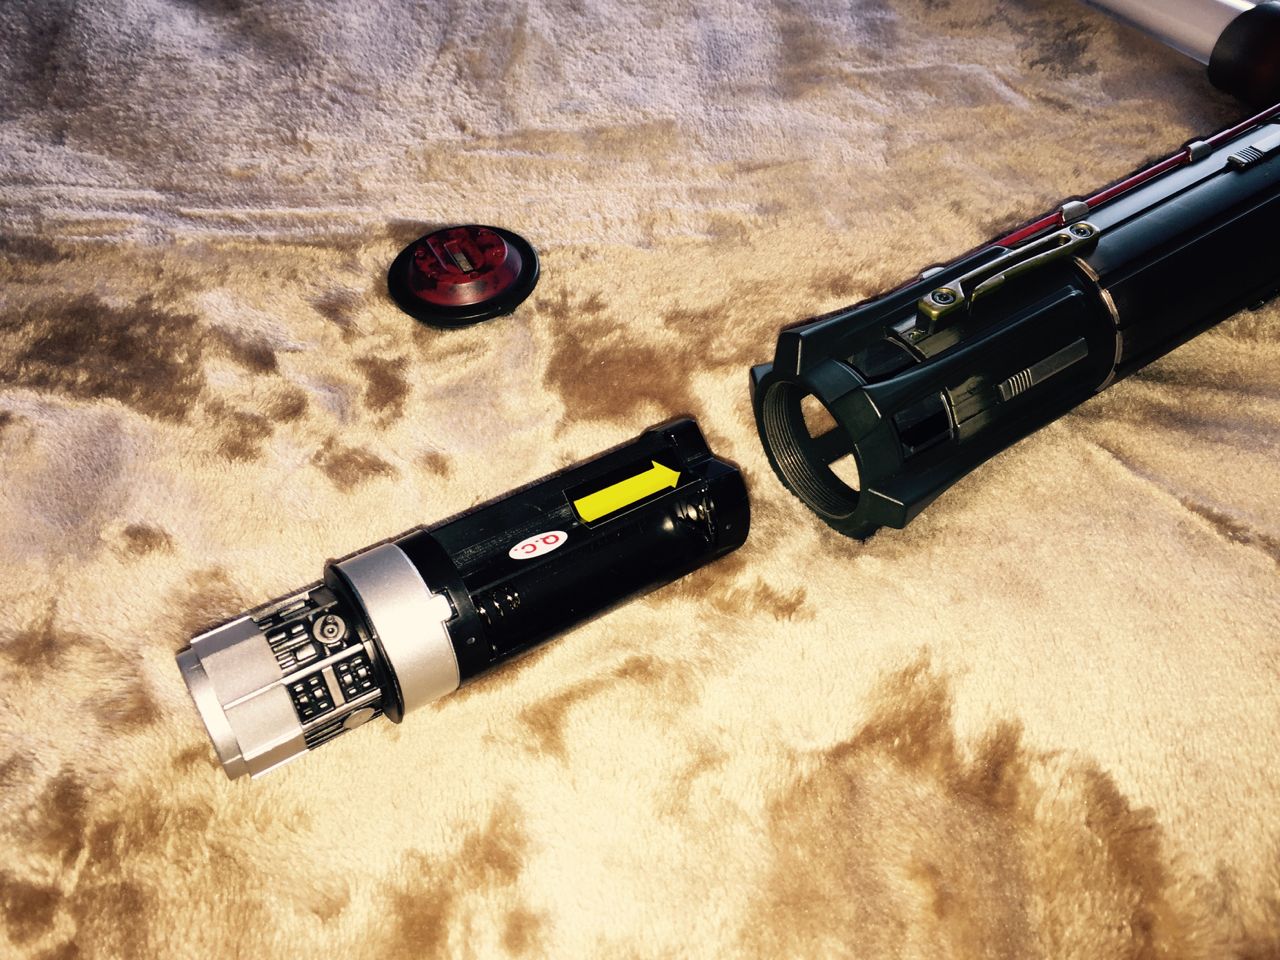
Unscrew the pommel.


Remove the battery/speaker pack.


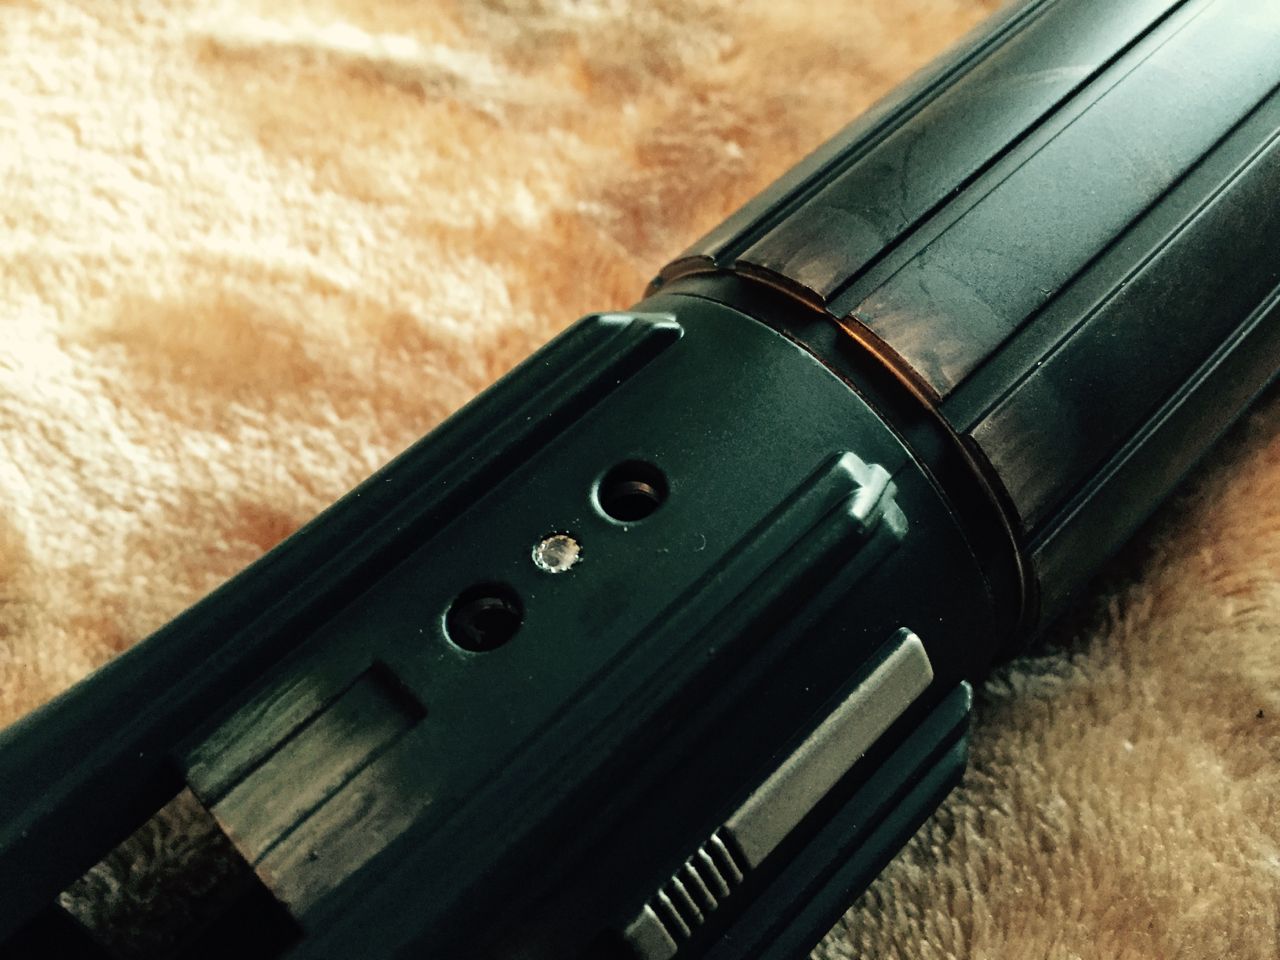
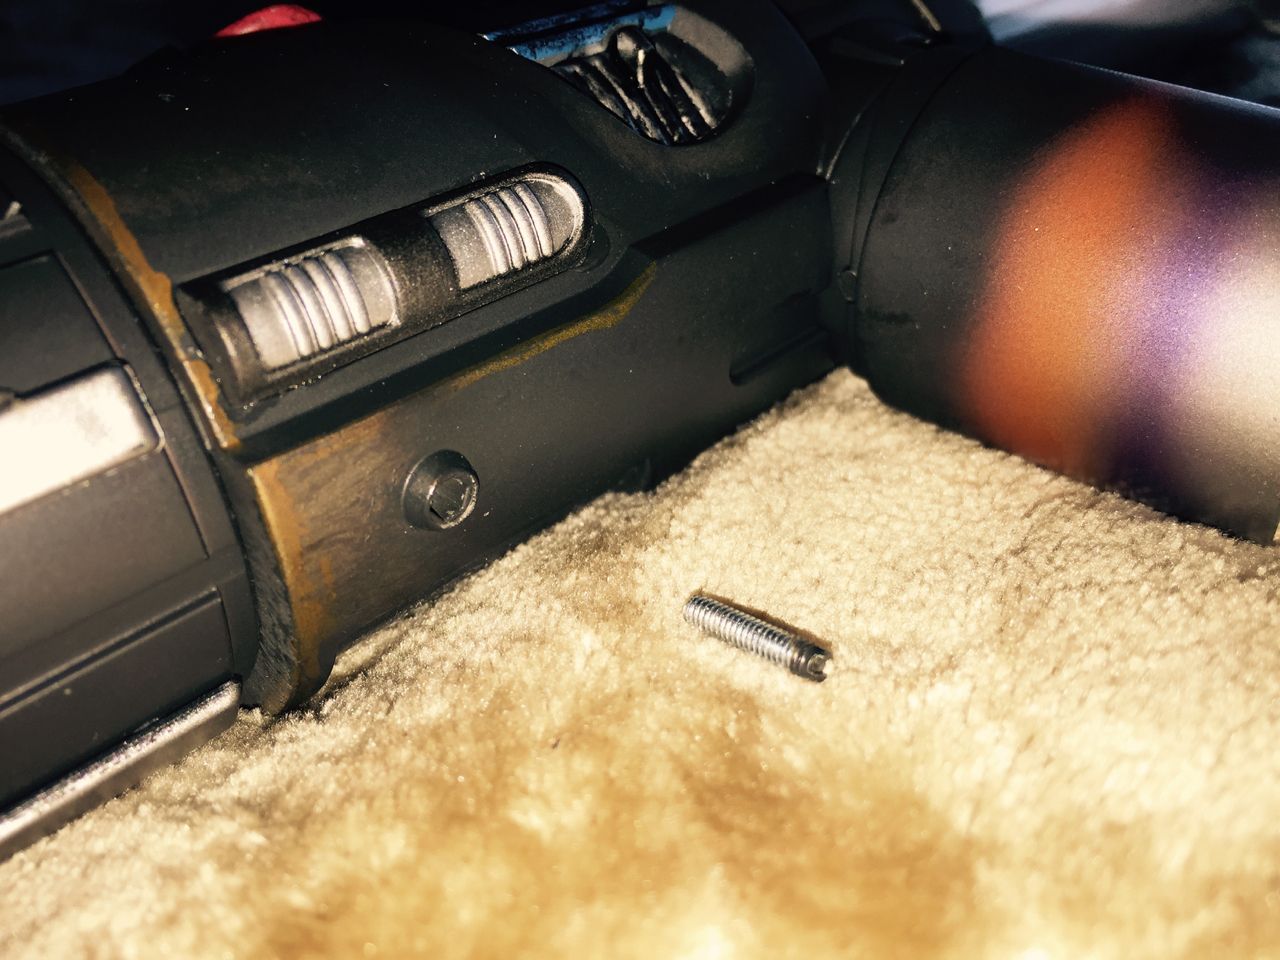
Use a 5/64" allen wrench tool to unscrew these two screws, then remove the golden yellow piece.


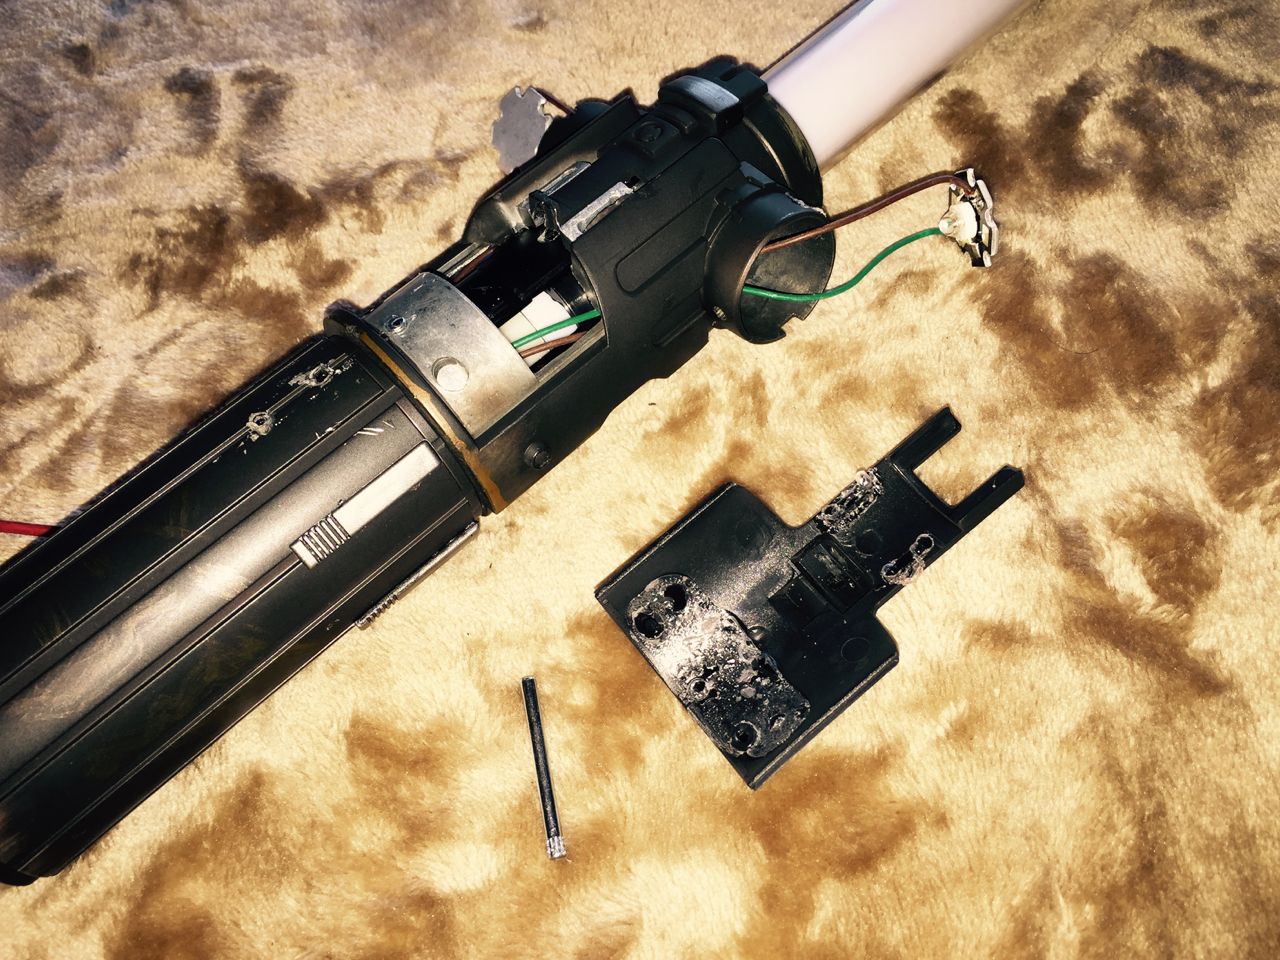
Removing the golden yellow piece reveals a small pin. Use a punch tool to push this pin all the way out.


On the back side of the lightsaber, 180 degrees opposite of the pin you just pushed out, you will find a thin plastic strip. You will need to remove this. Look inside the hilt to verify which strip you're going to remove (you'll see a black casing inside which you can pry loose), then gently pry up the thin plastic strip.


Removing that plastic strip reveals a second pin, use the punch tool to push this pin all the way out.


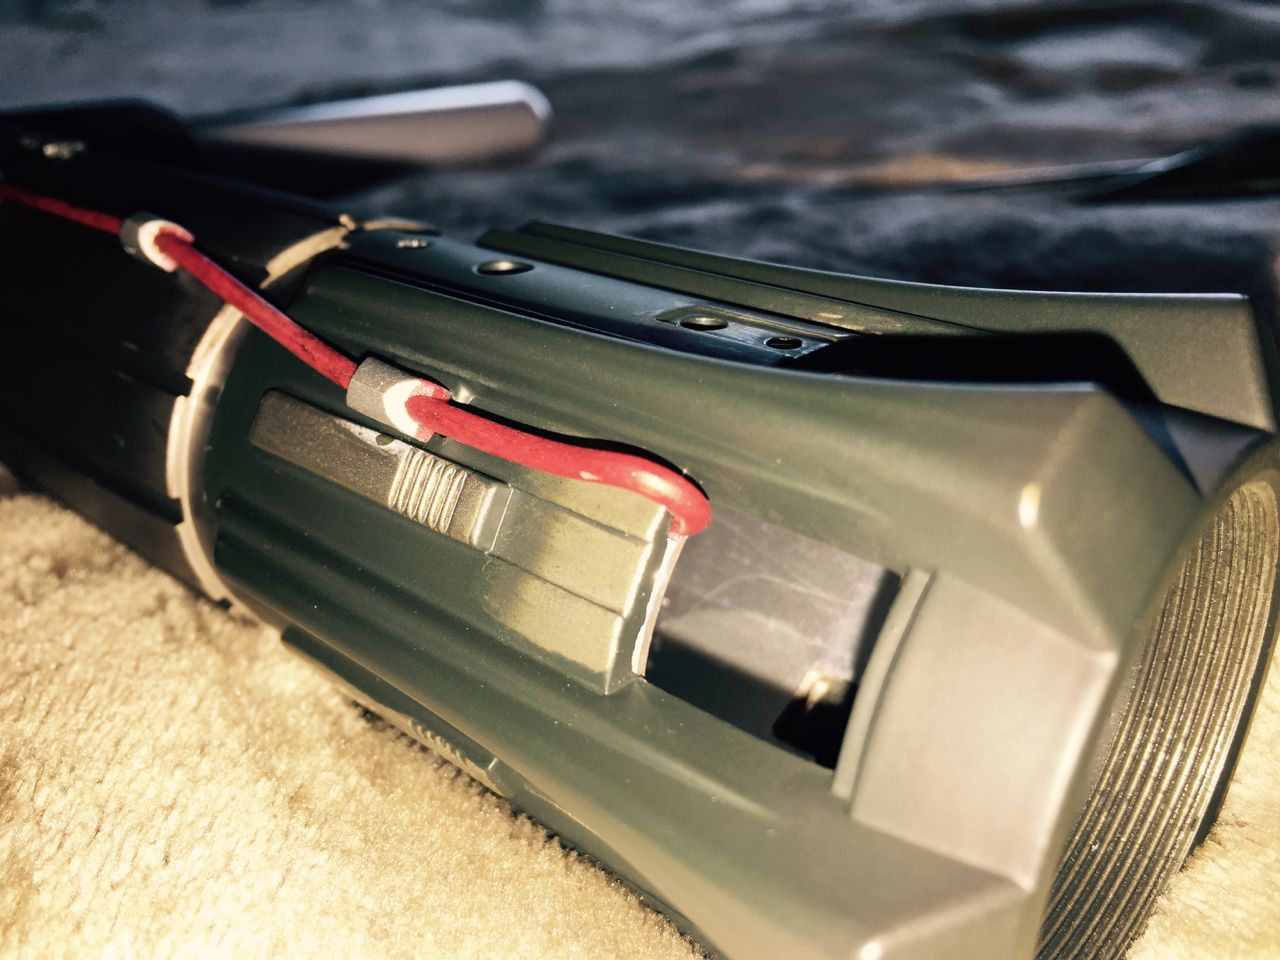
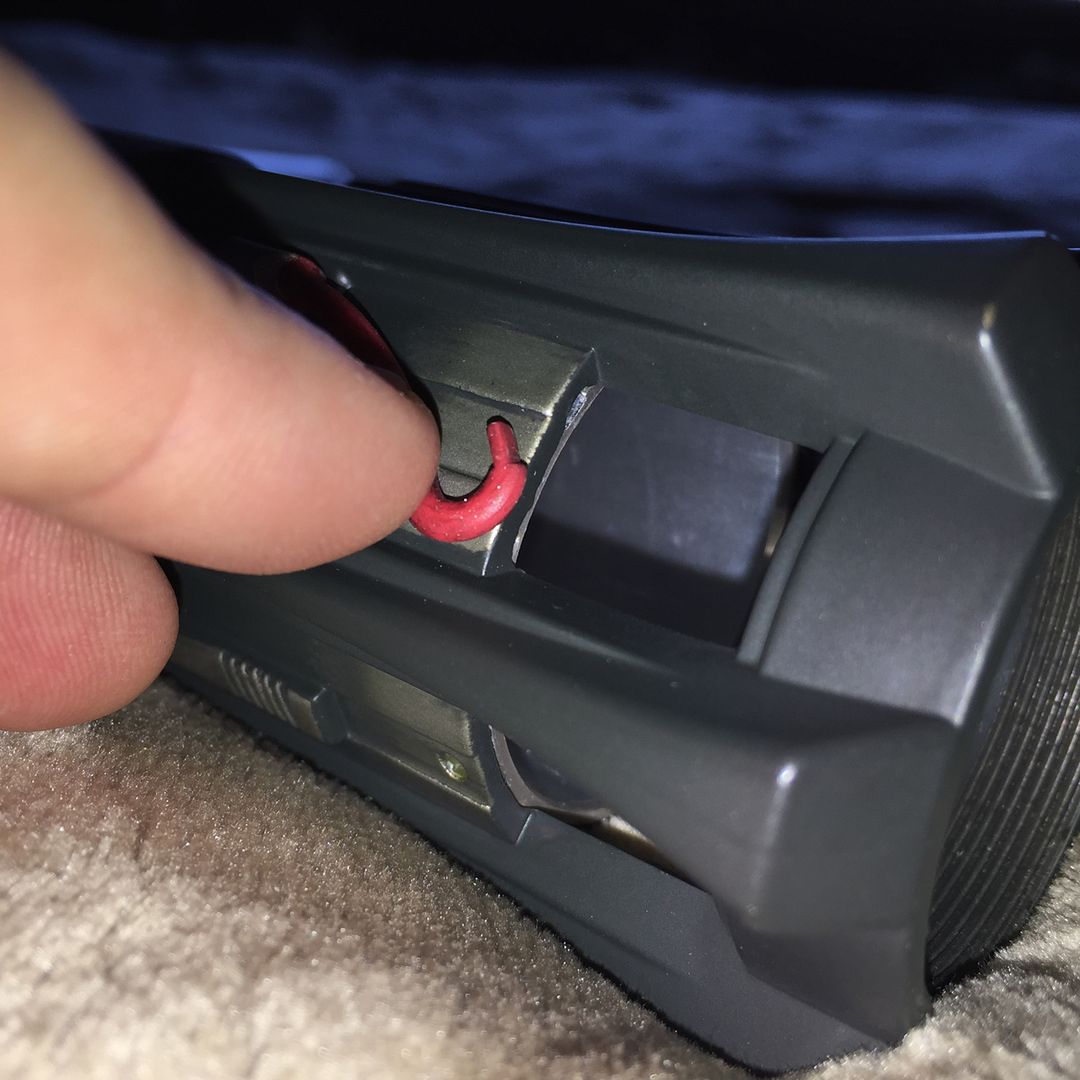
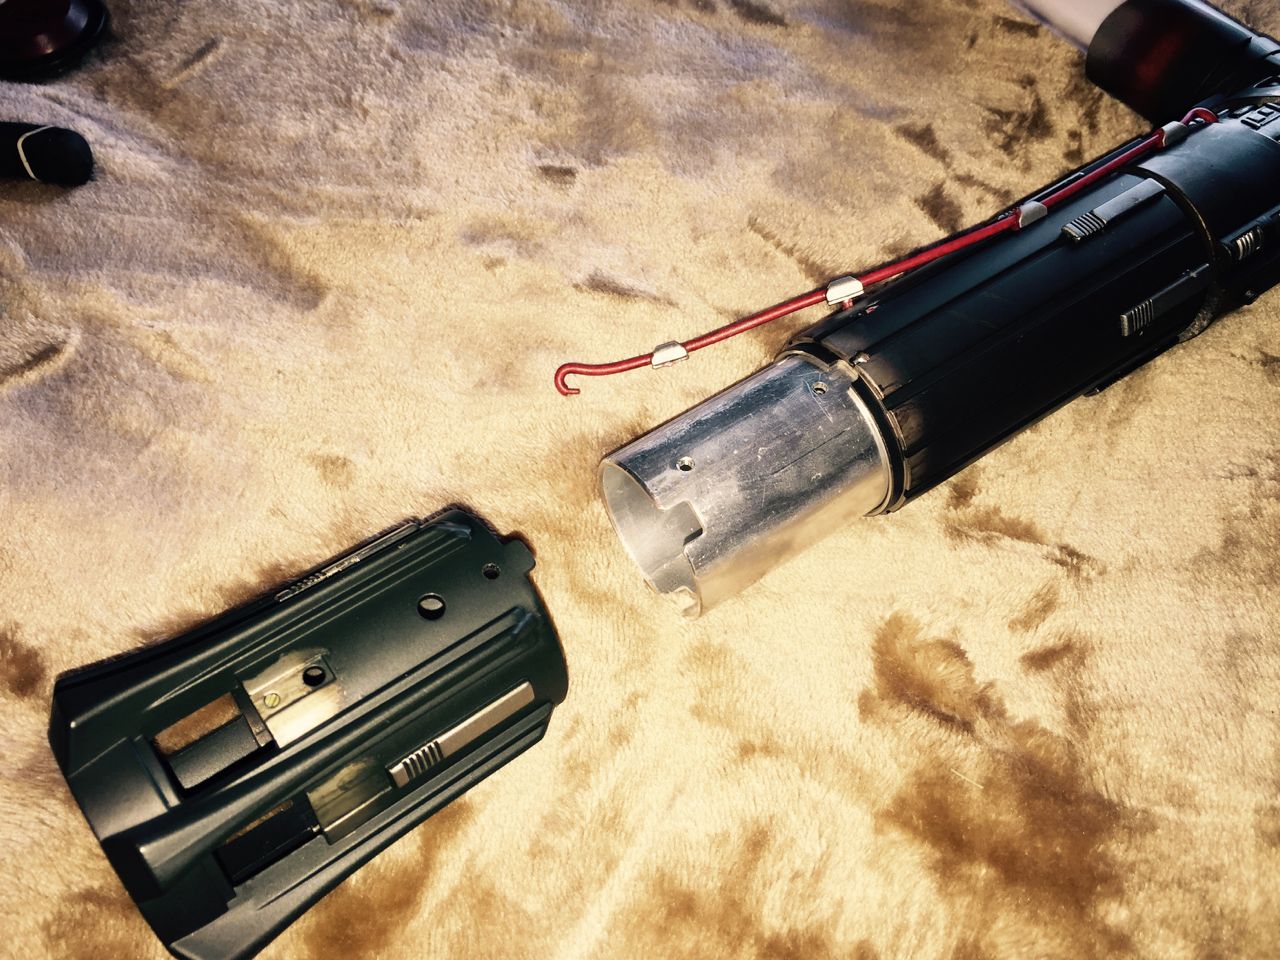
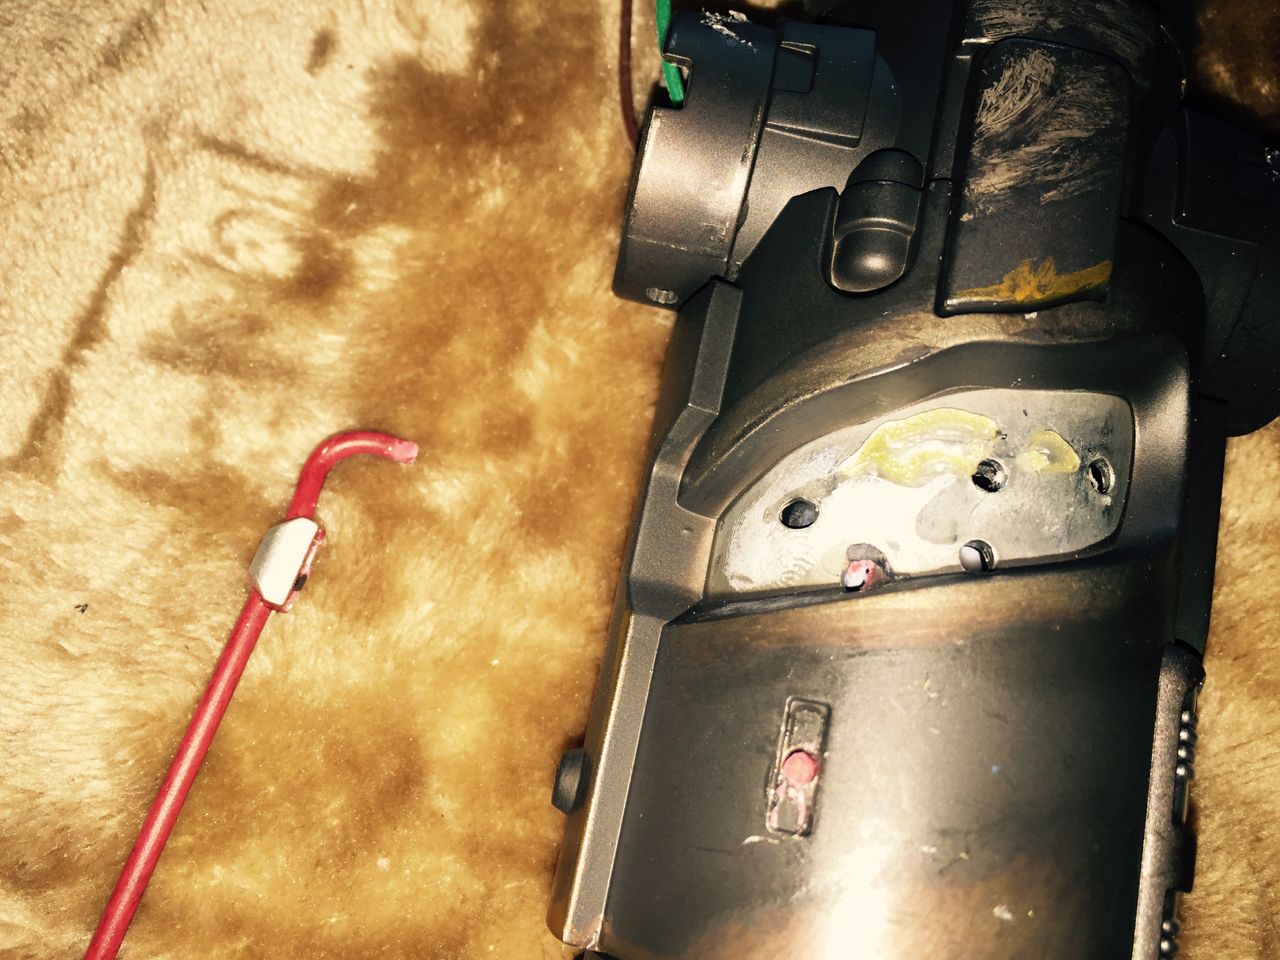
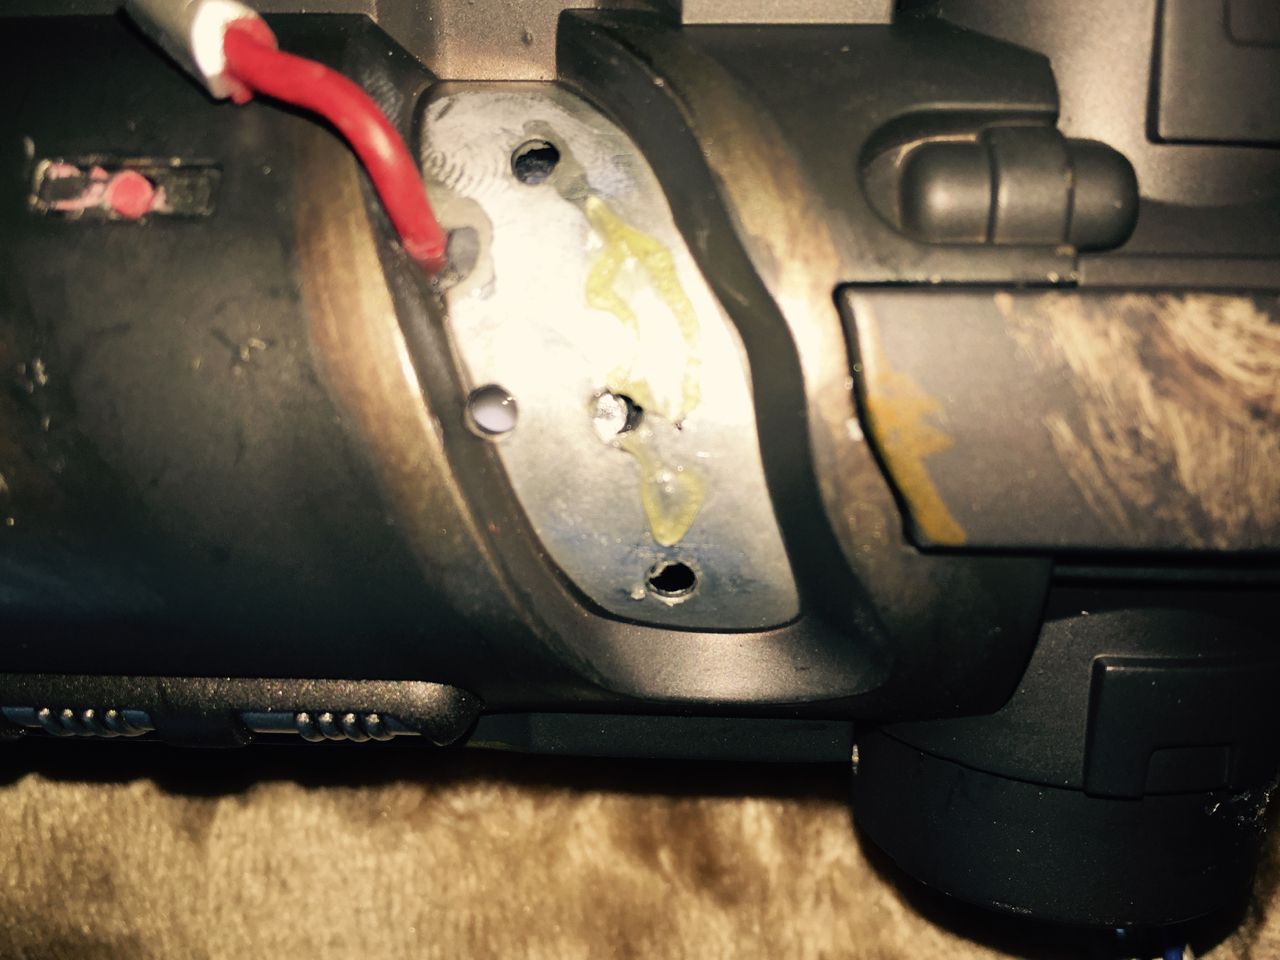
The bottom outer casing of the hilt is now able to slide a bit. Gently pull down so that you unhook the tip of the red wire from the hilt.


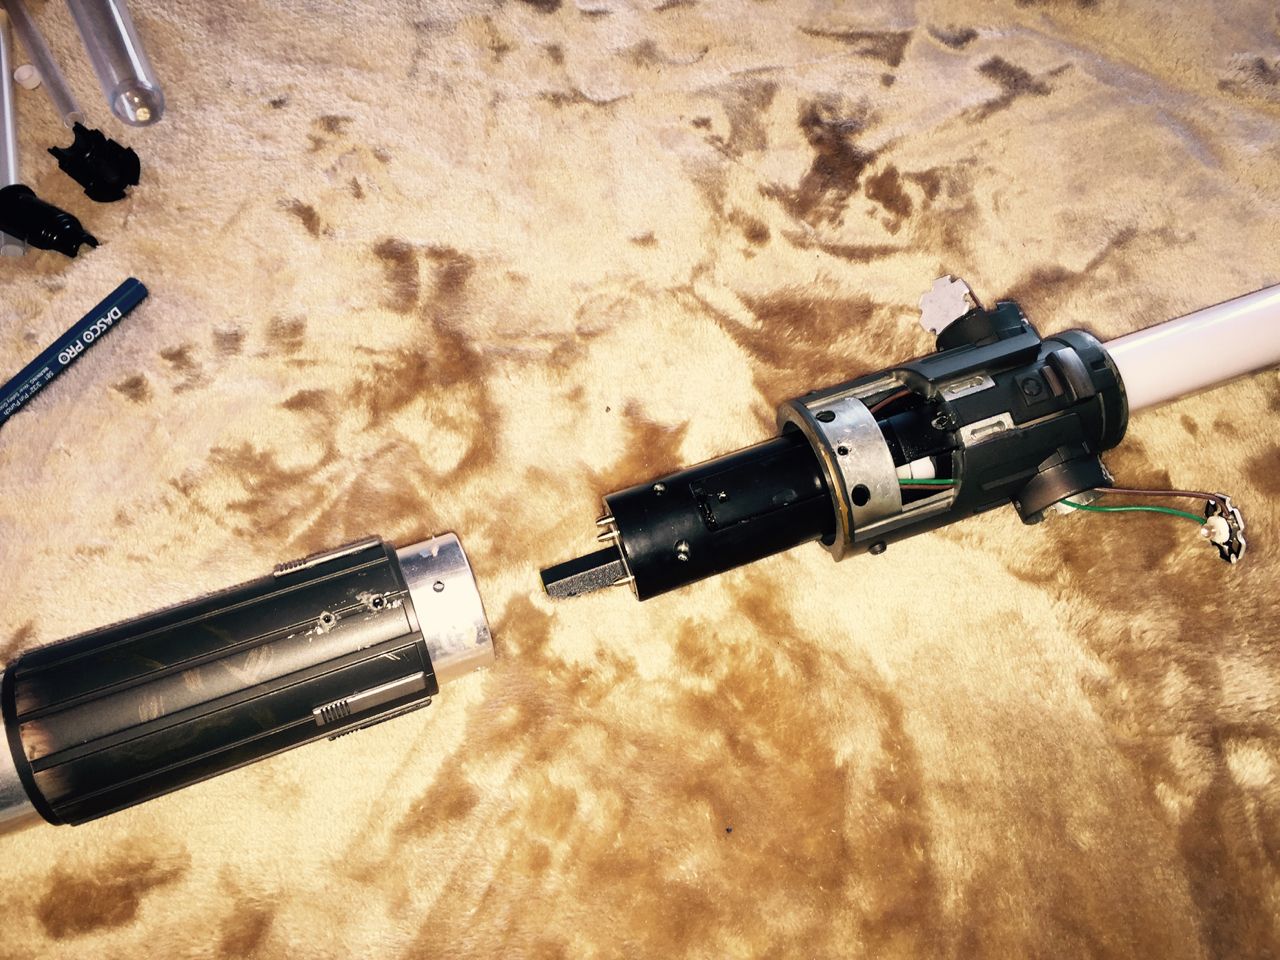
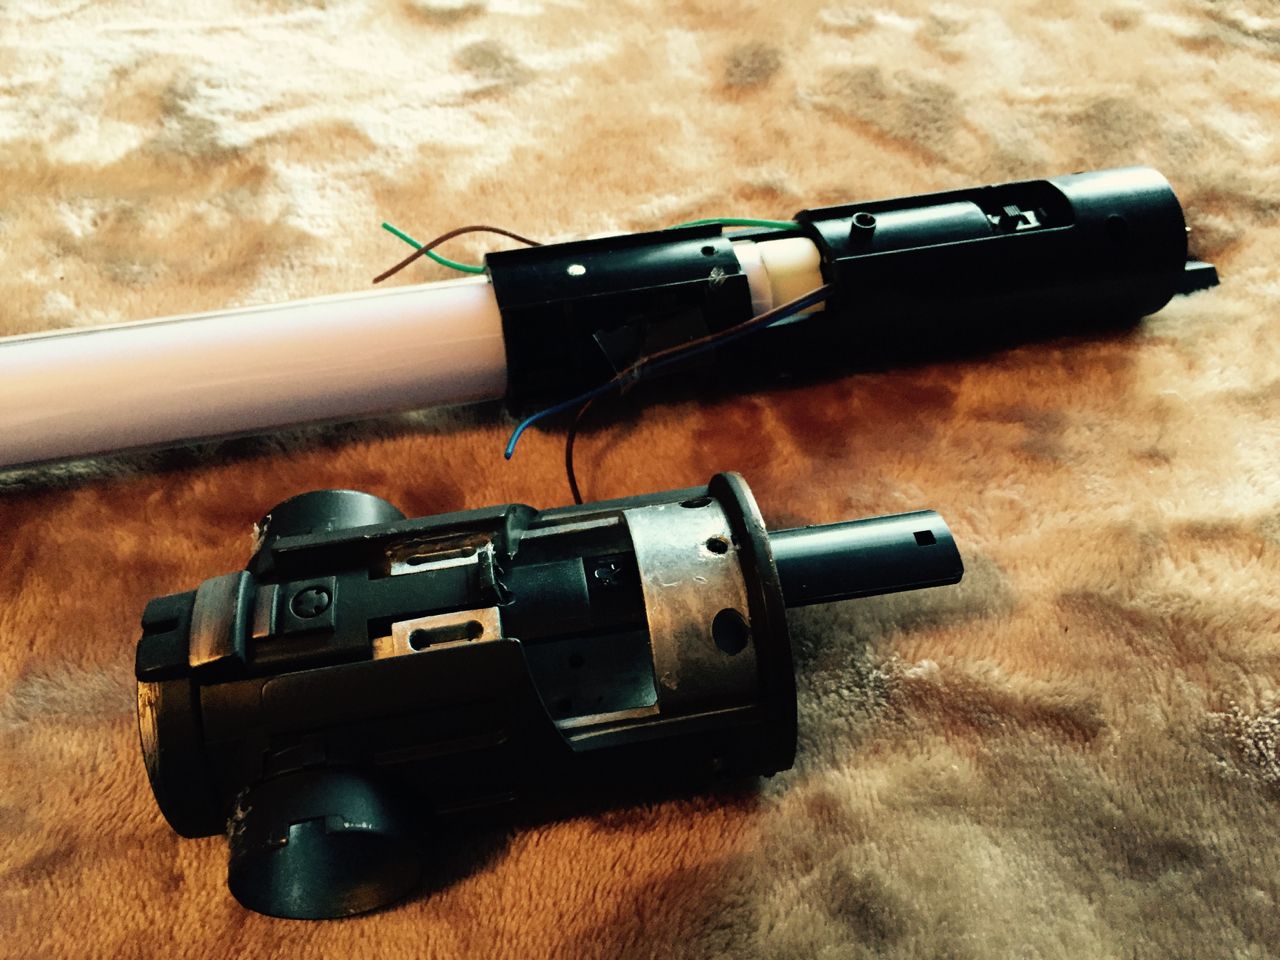
Once the red wire is free, remove the lower hilt section.


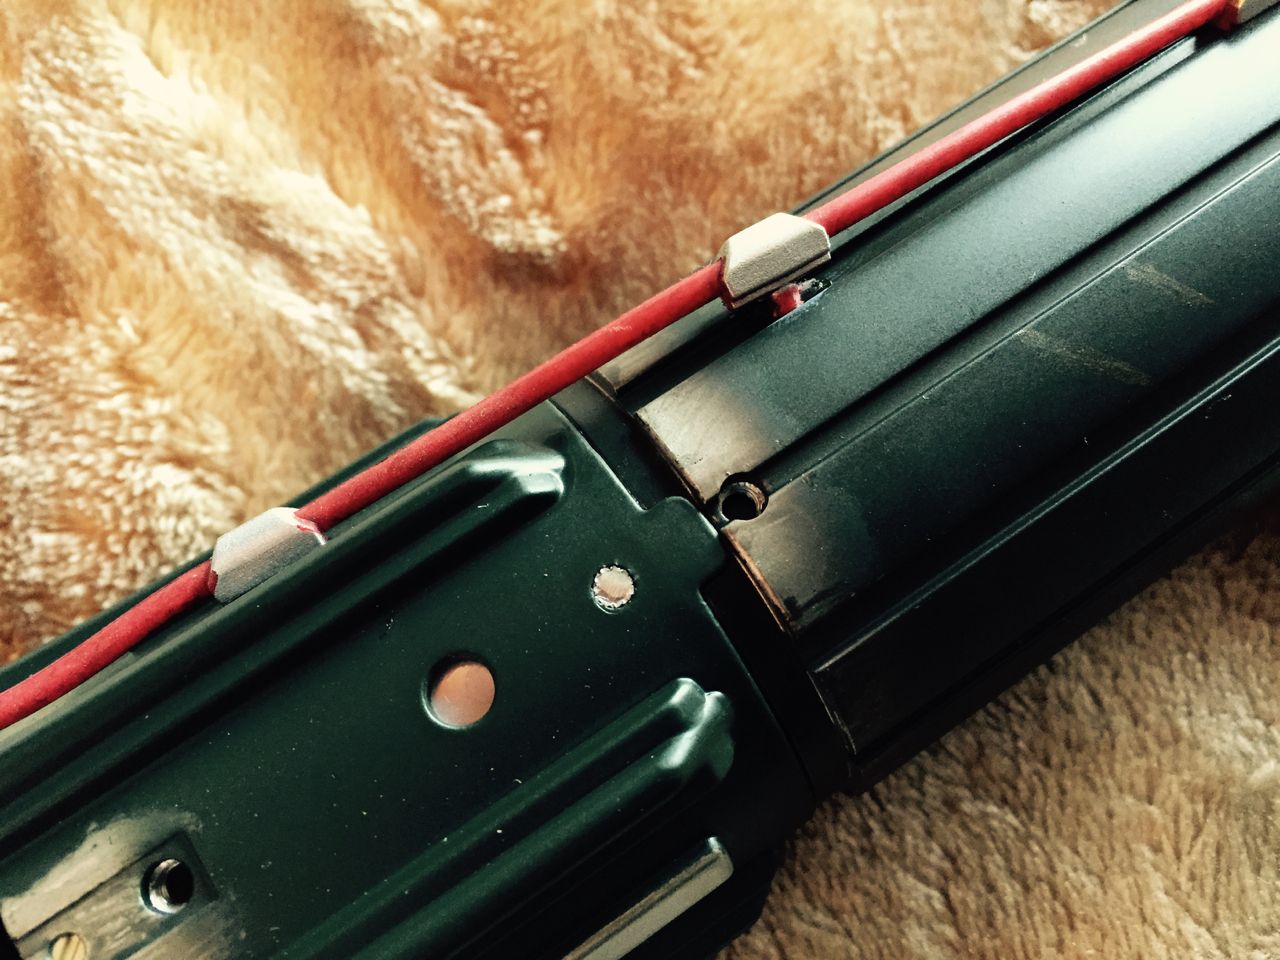
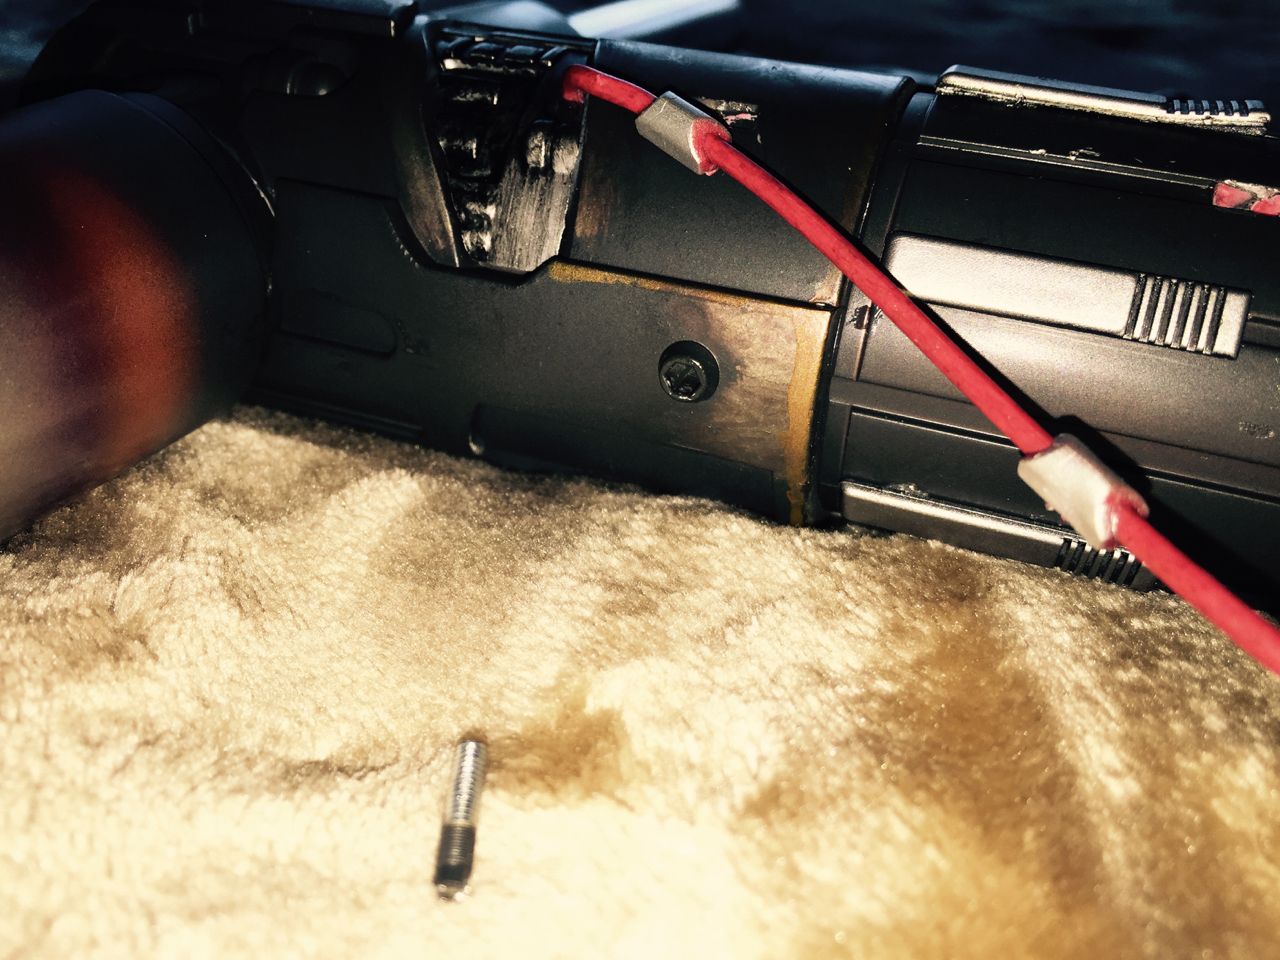
Gently pry up the red wire at each silver point, which has a little nub that is glued into a hole in the hilt. I was unable to remove the nub from the hilt holes for most of the silver pieces along my red wire, so I ended up simply cutting the wire free from the hilt.


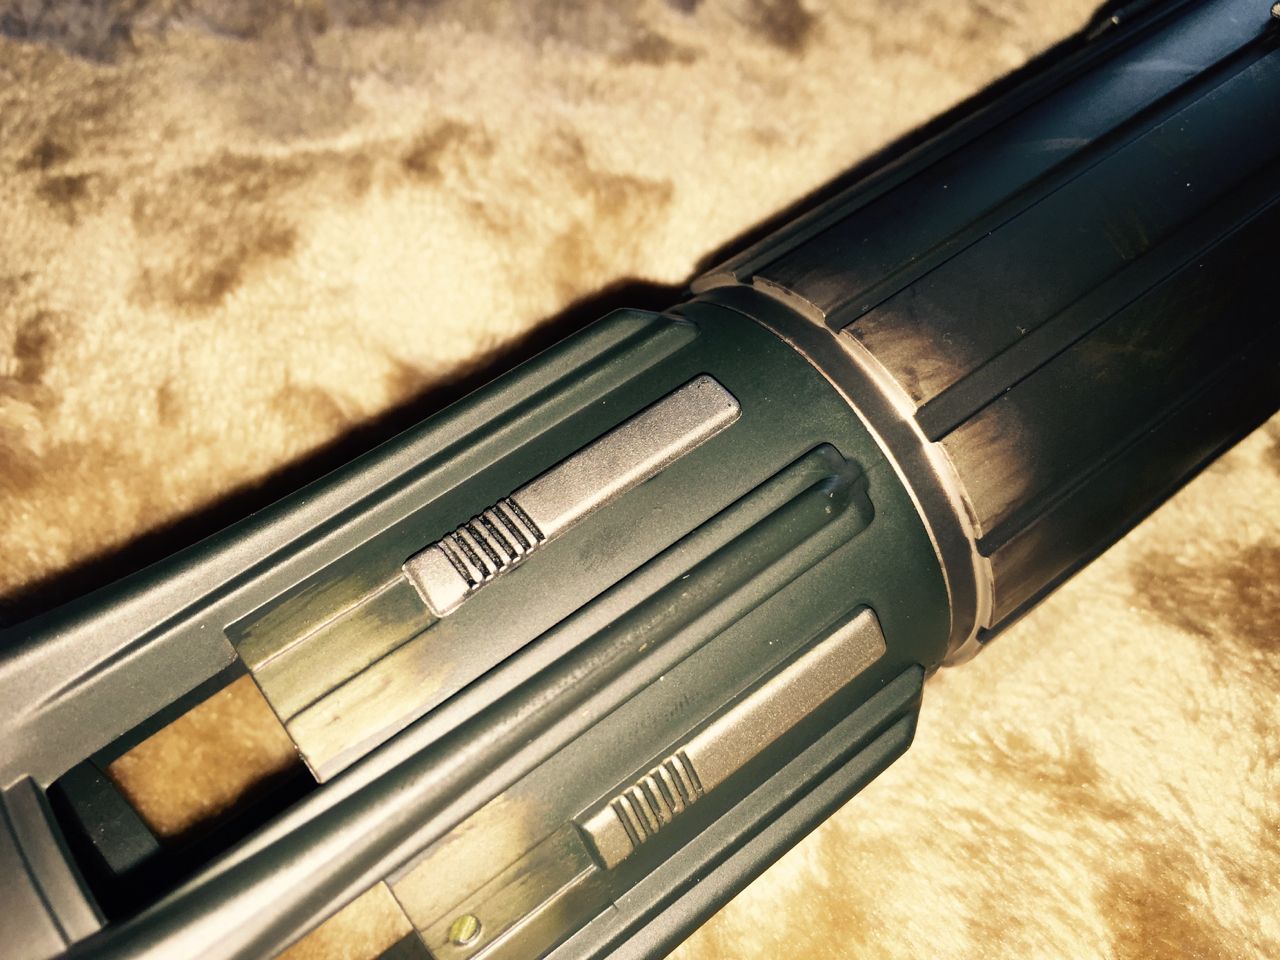
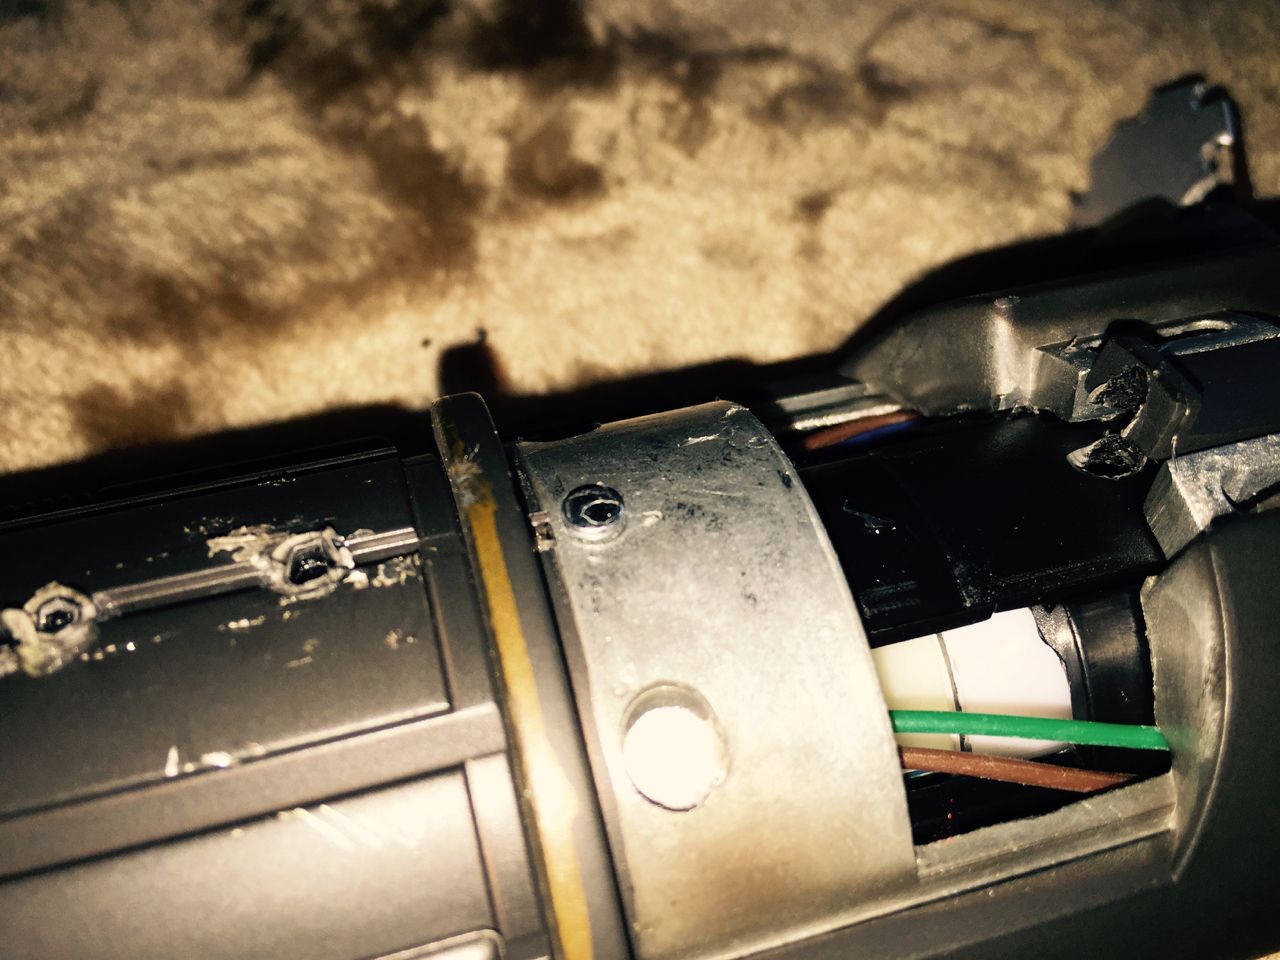
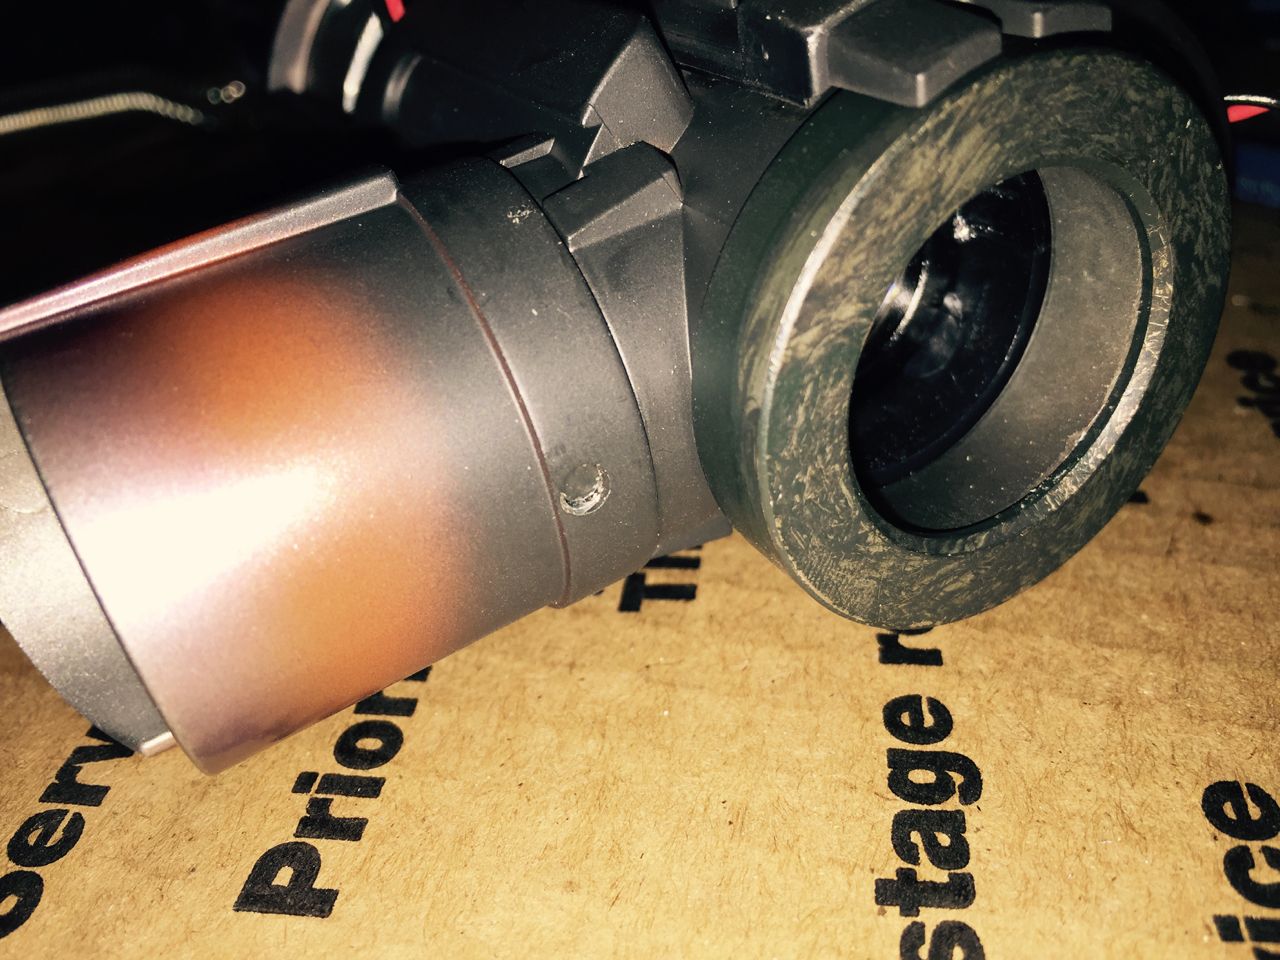
On either side of the hilt below the cross guard emitters is a small screw. Use a small flat head screwdriver to remove both screws.


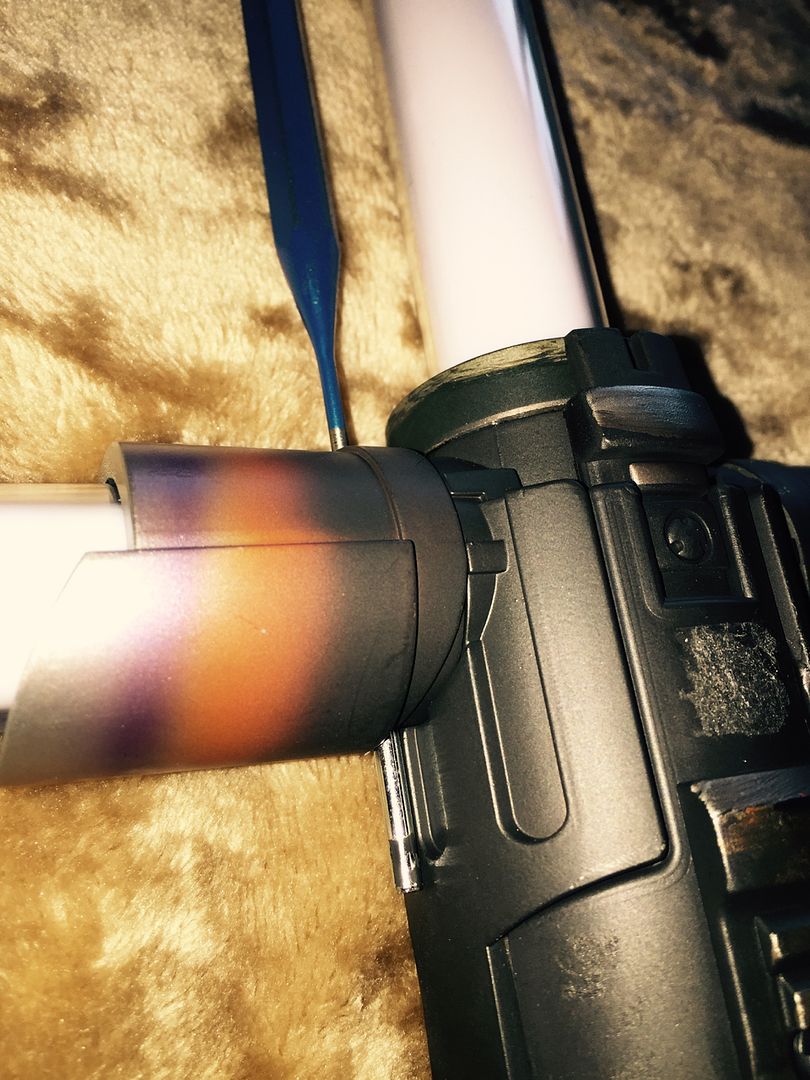
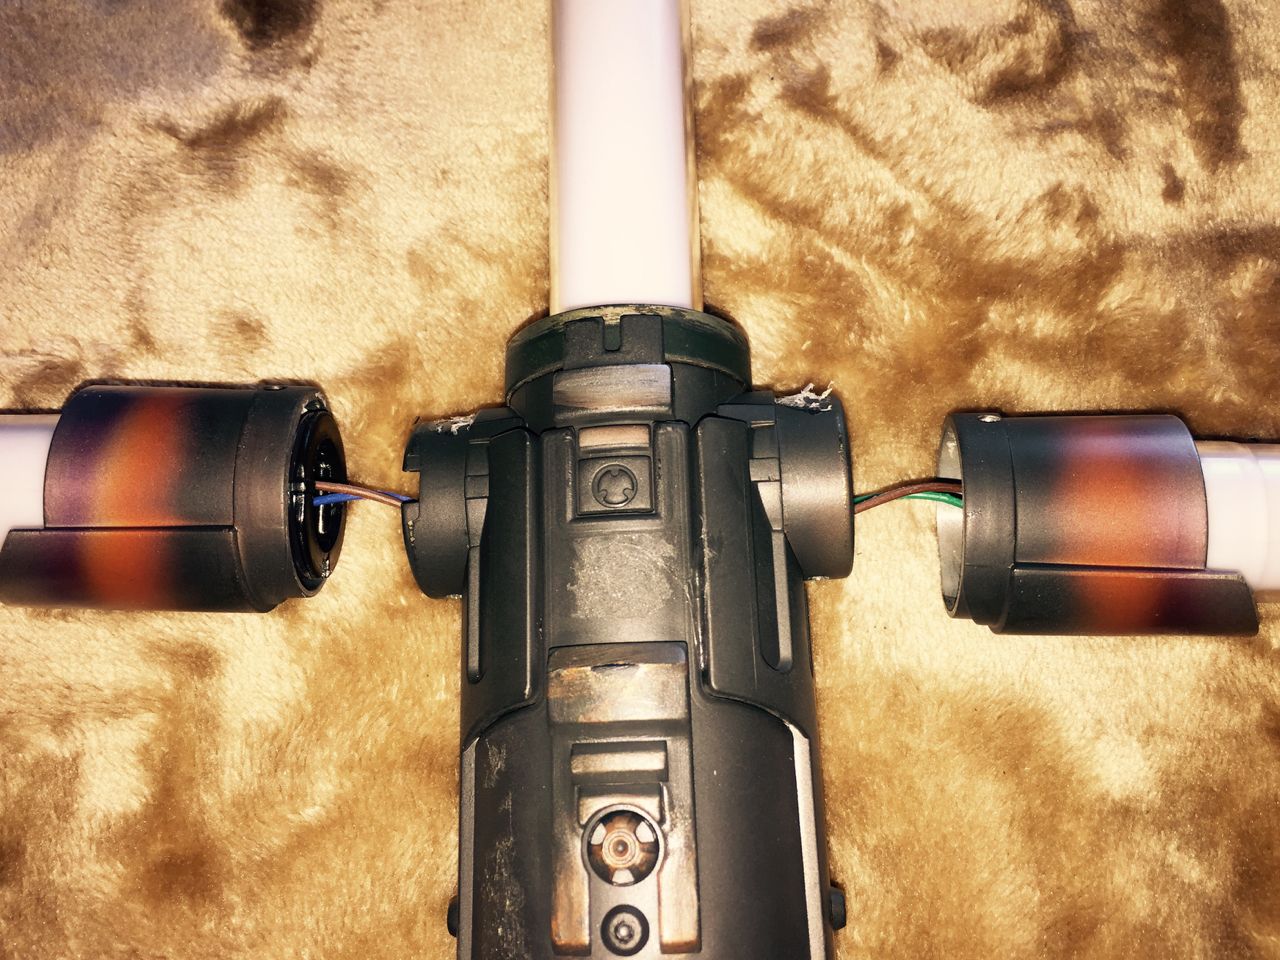
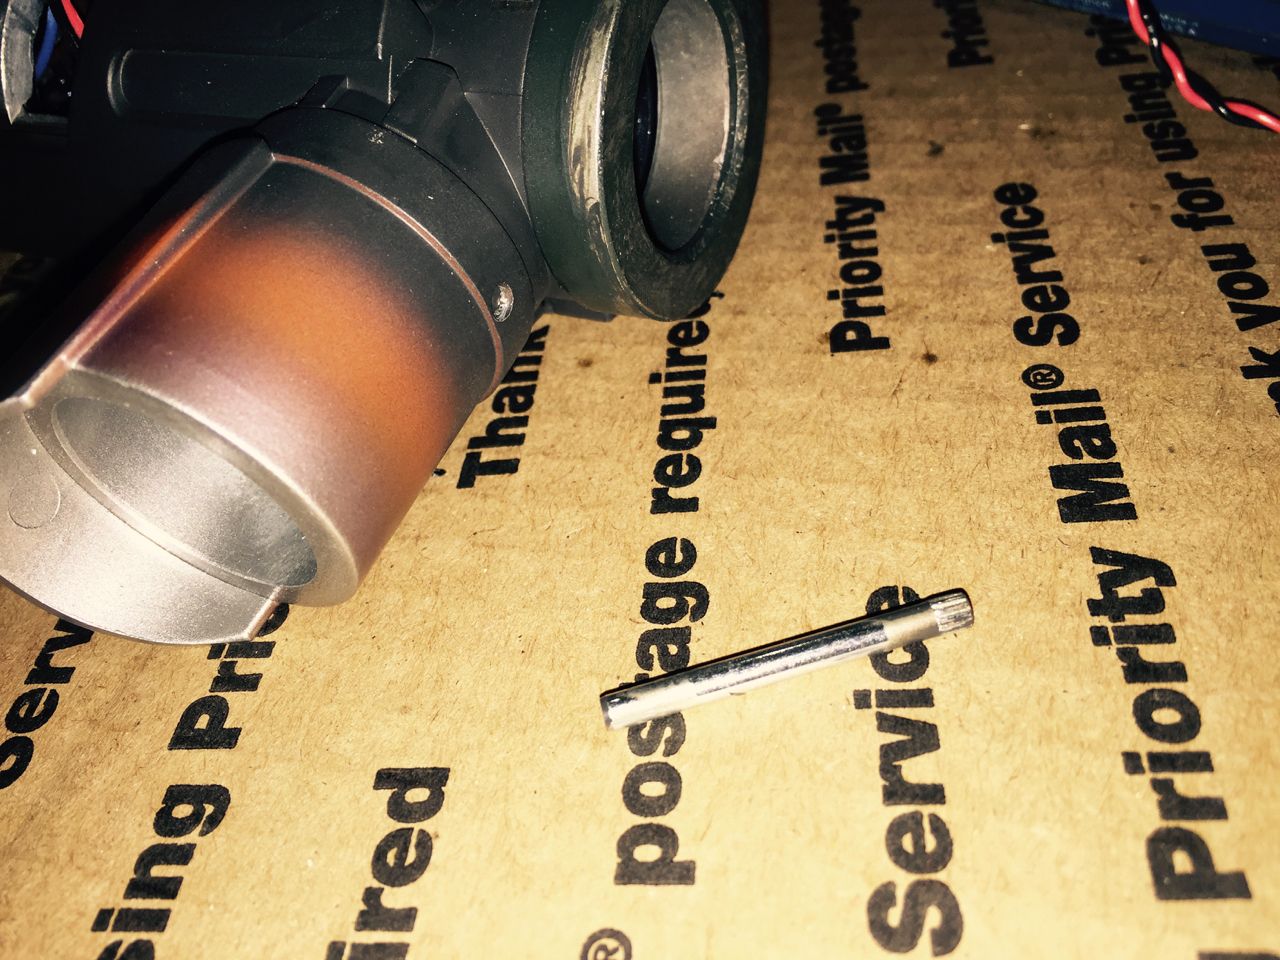
We are now going to remove the cross guard emitters and blades. On the top of each emitter you will find a long pin. Use a punch tool to push each pin out through the bottom of the emitter.


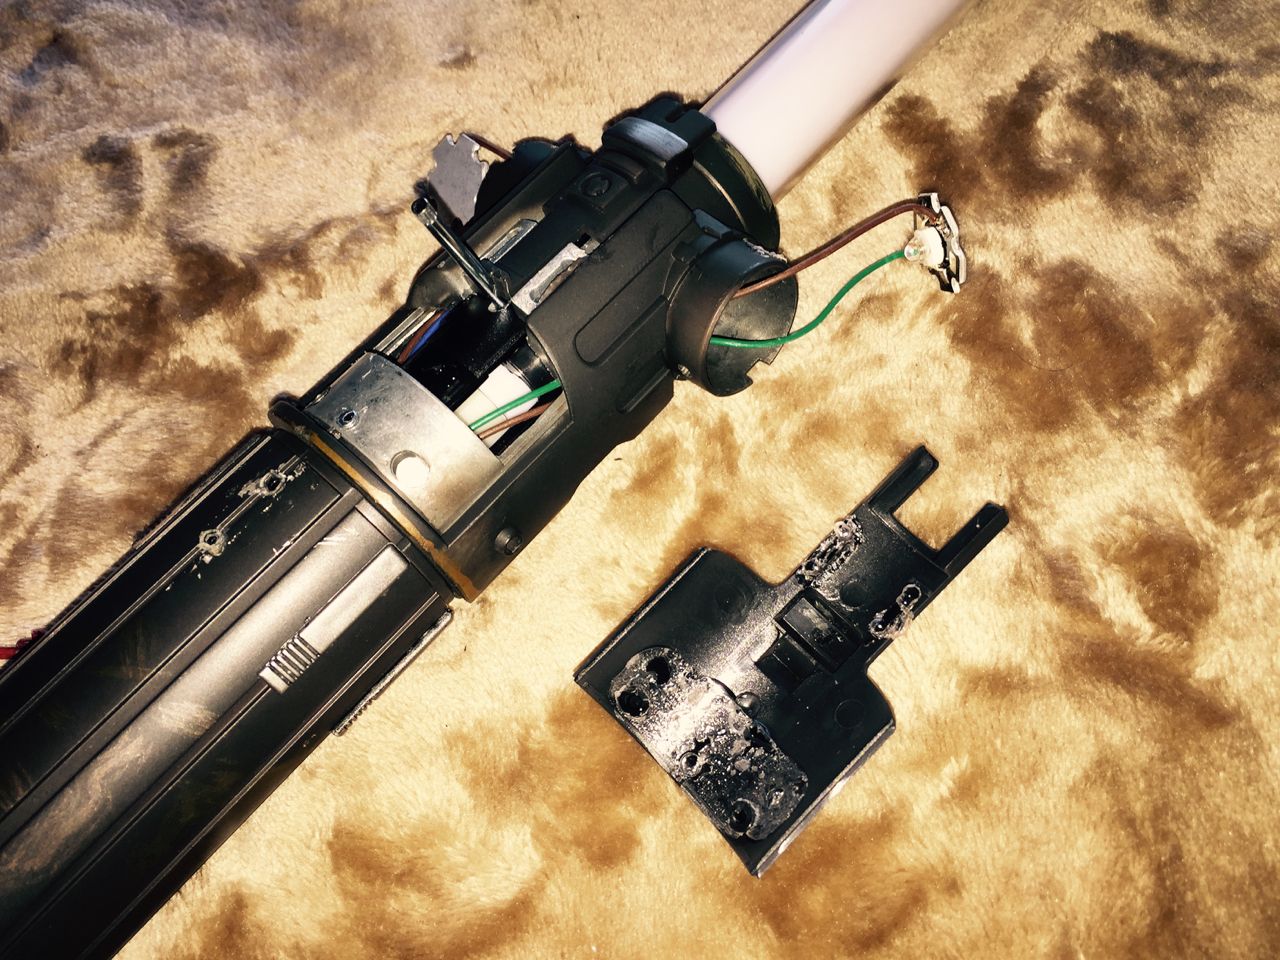
This allows the cross guard emitters/blades to be gently removed from the main hilt (don't pull too hard, you might rip the wires).


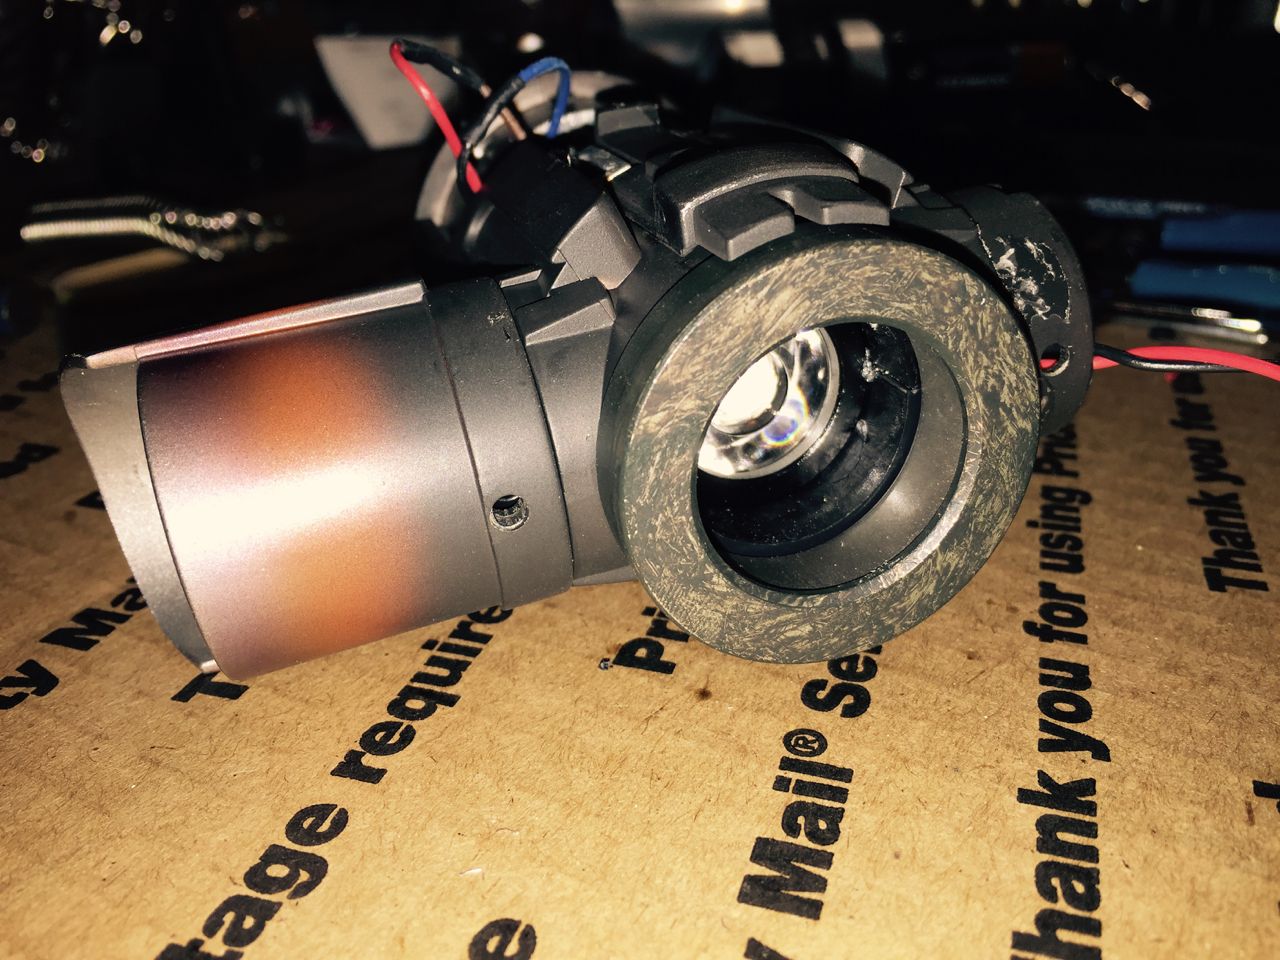
Slide the metal emitter over the blade to remove it.


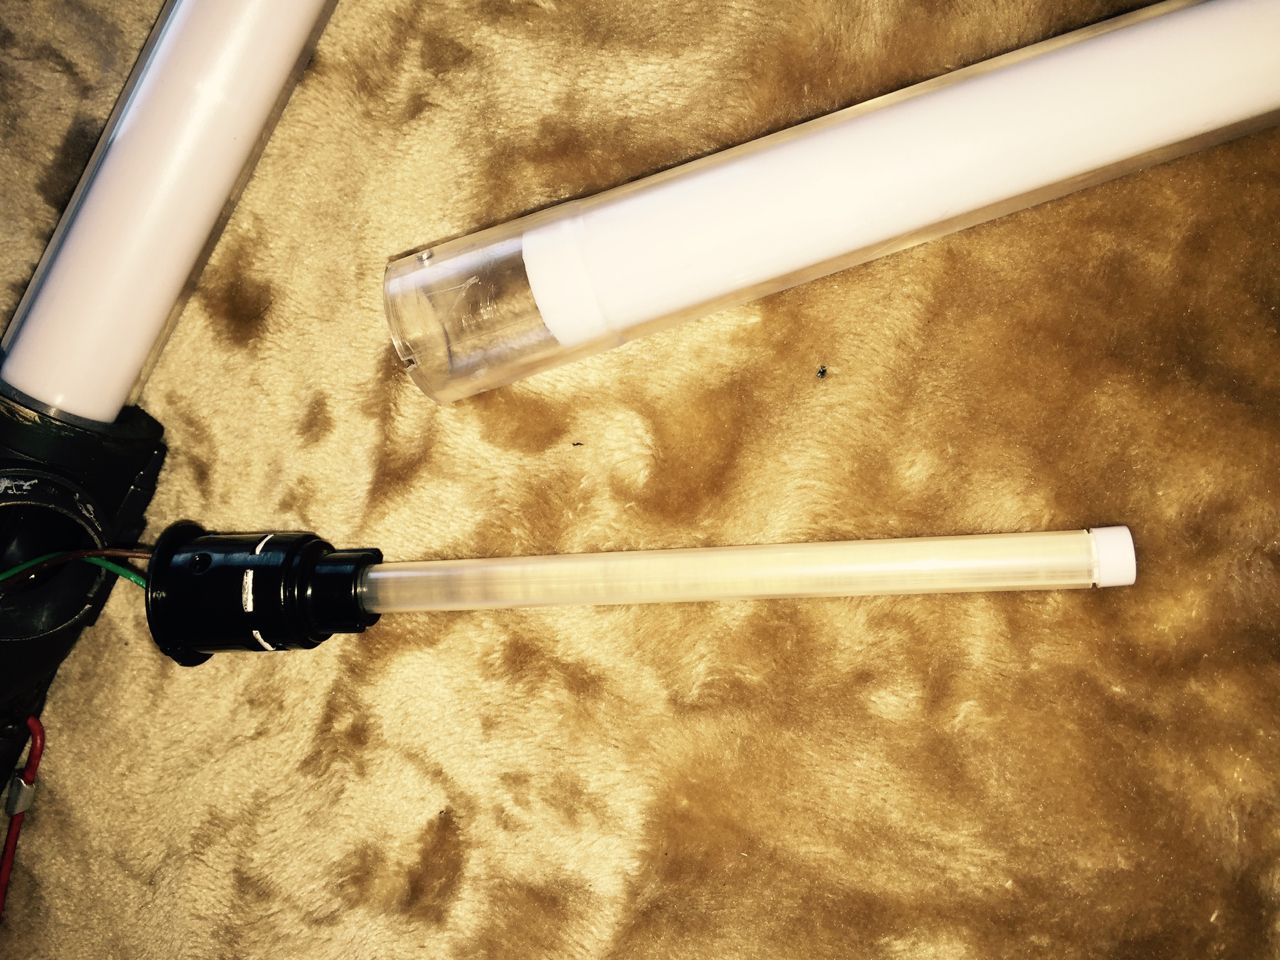
Gently slide the plastic blade tube off each crossguard.


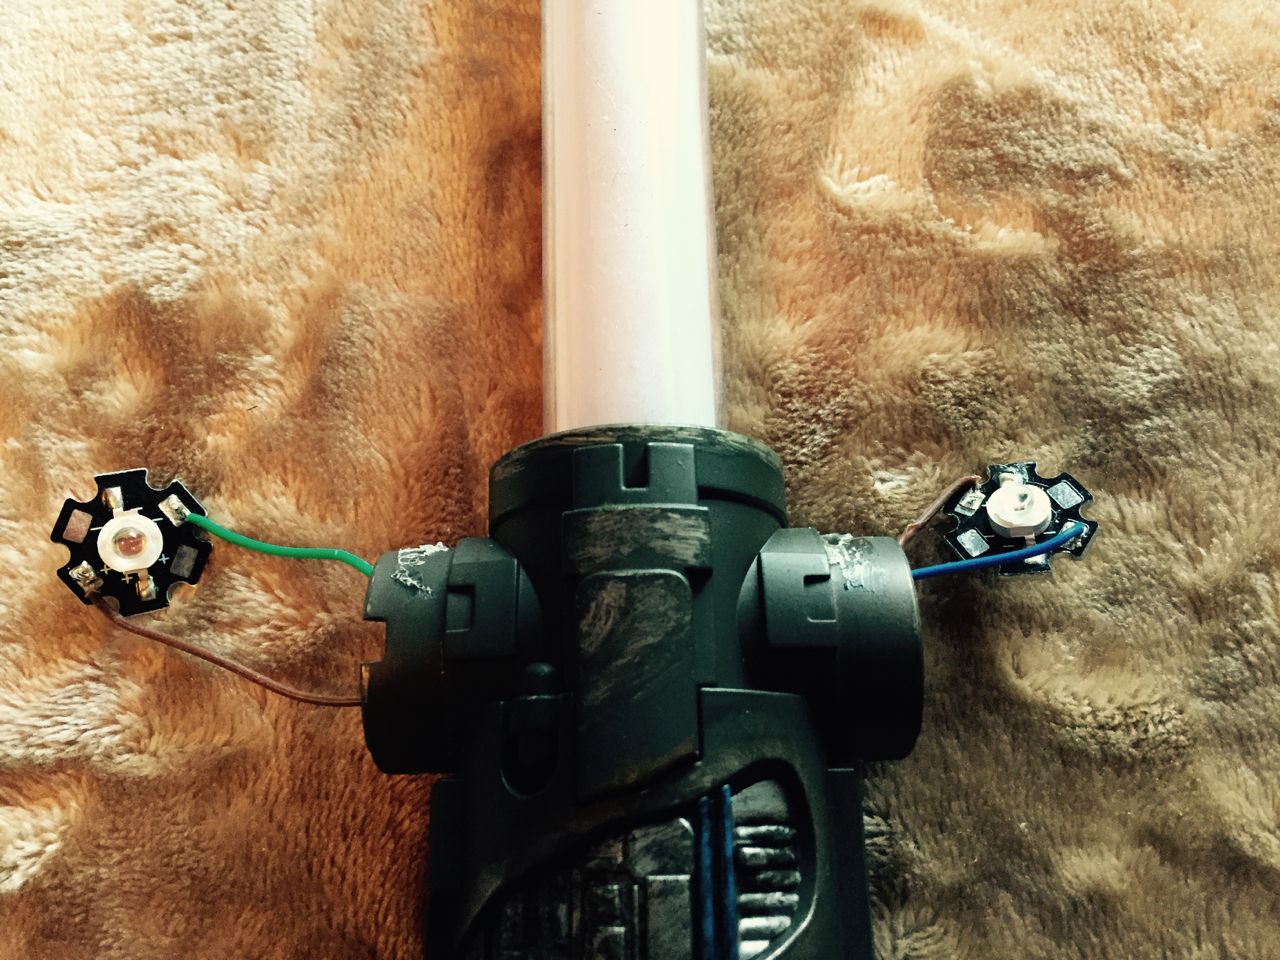
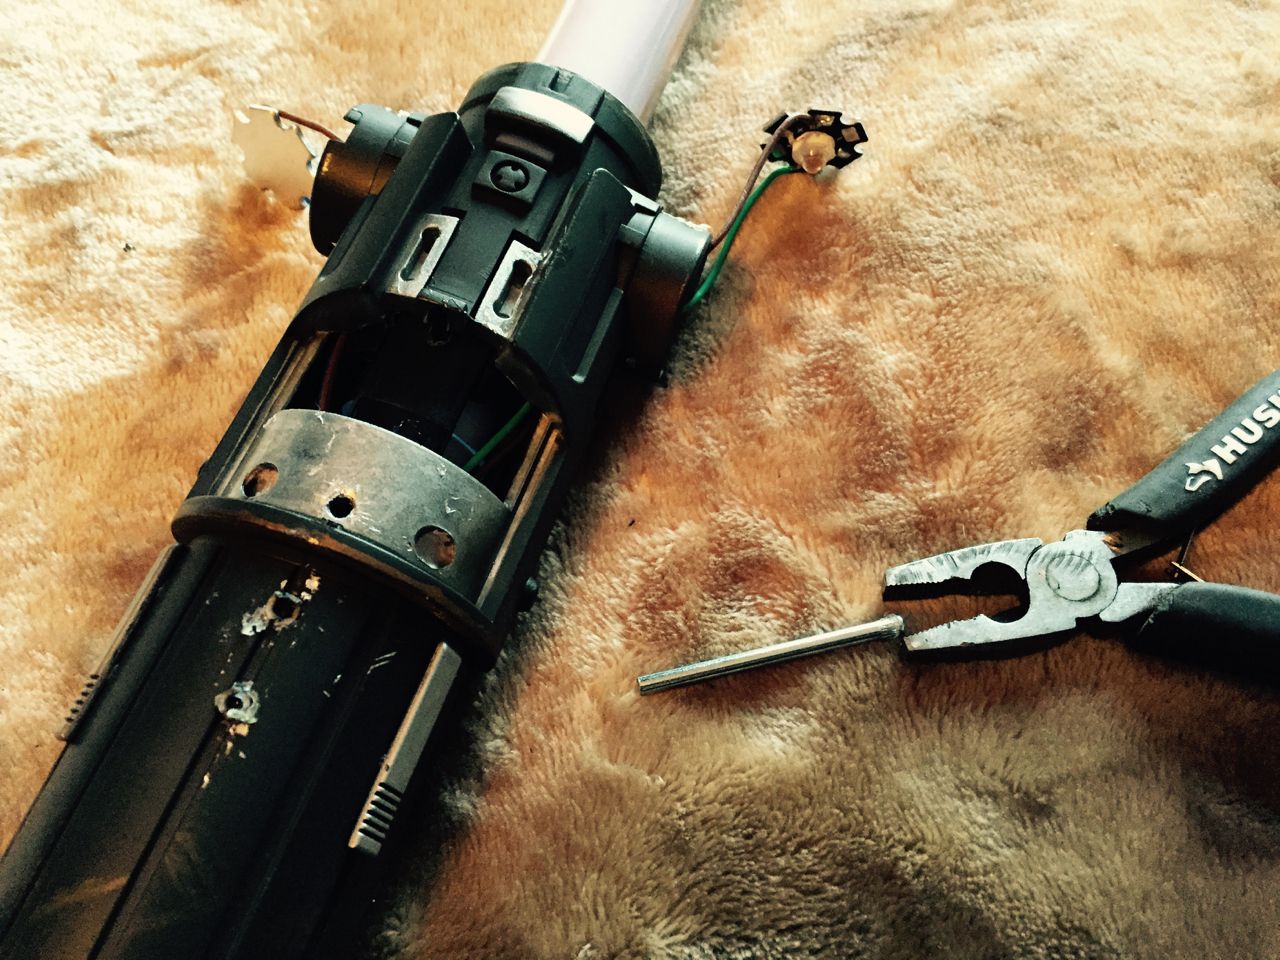
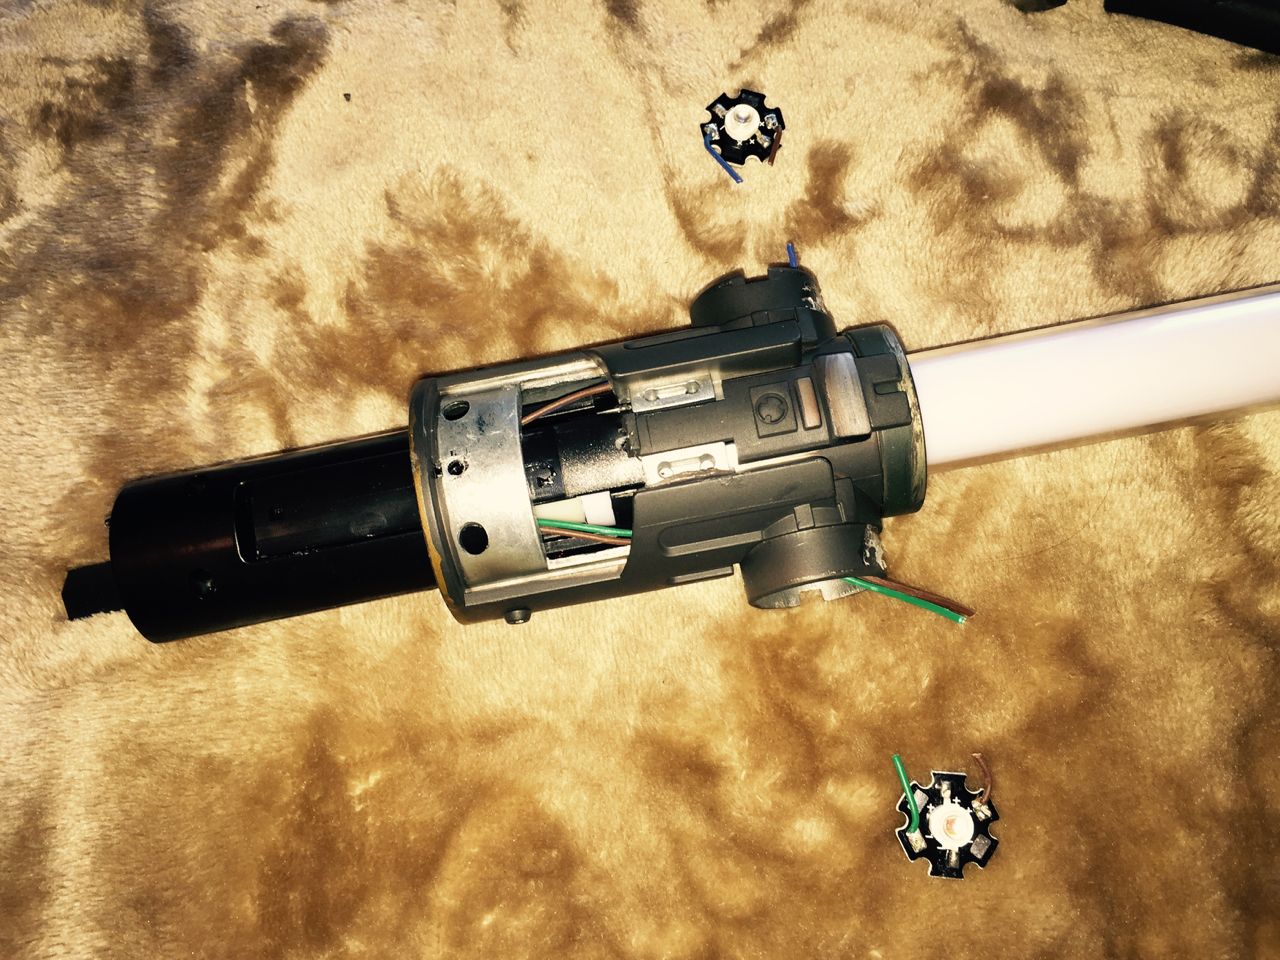
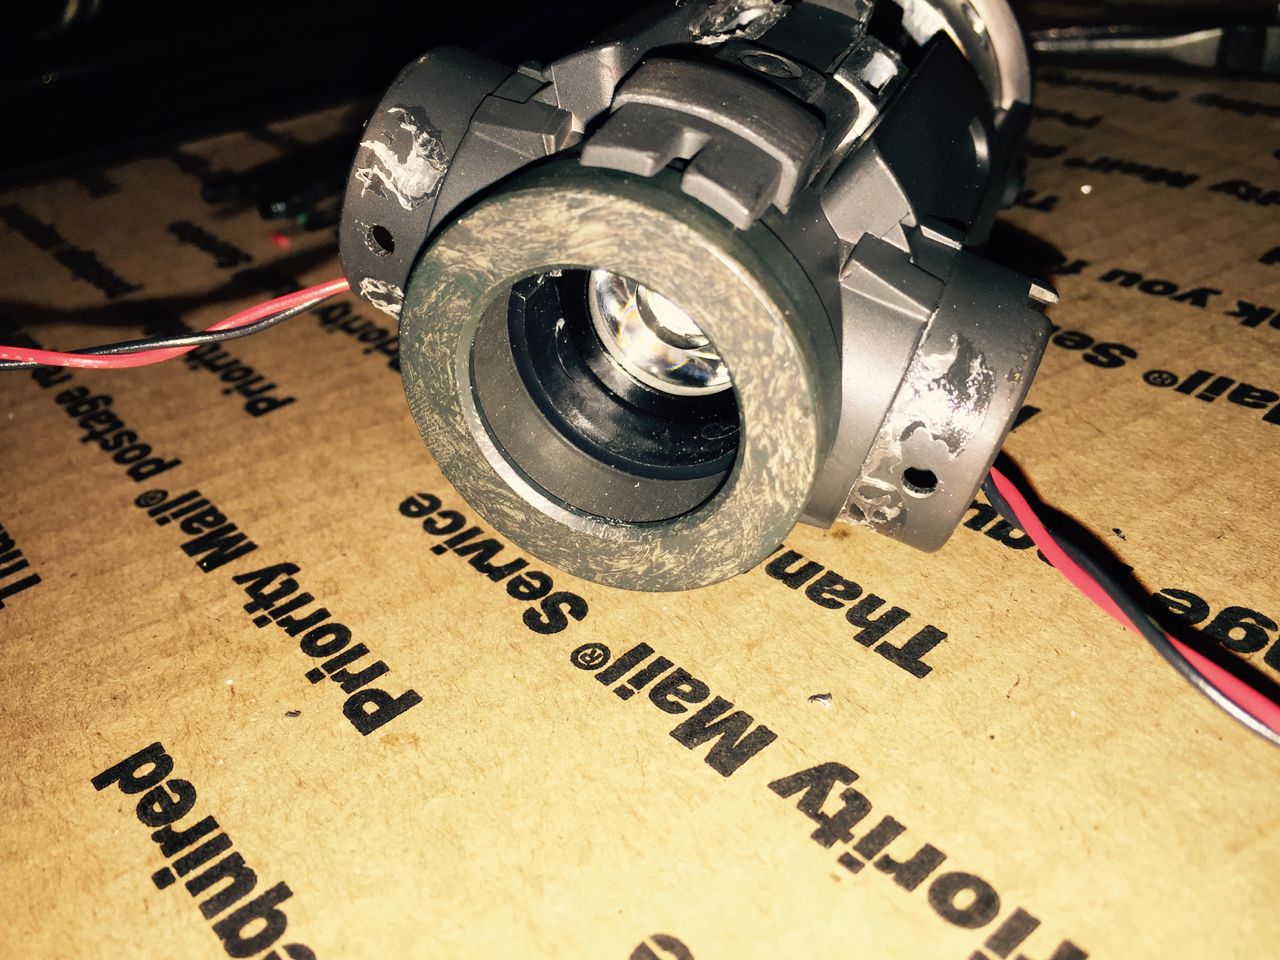
You can now fully disassemble the side LED casings and blade diffusion materials to reveal the single LED star on each side.


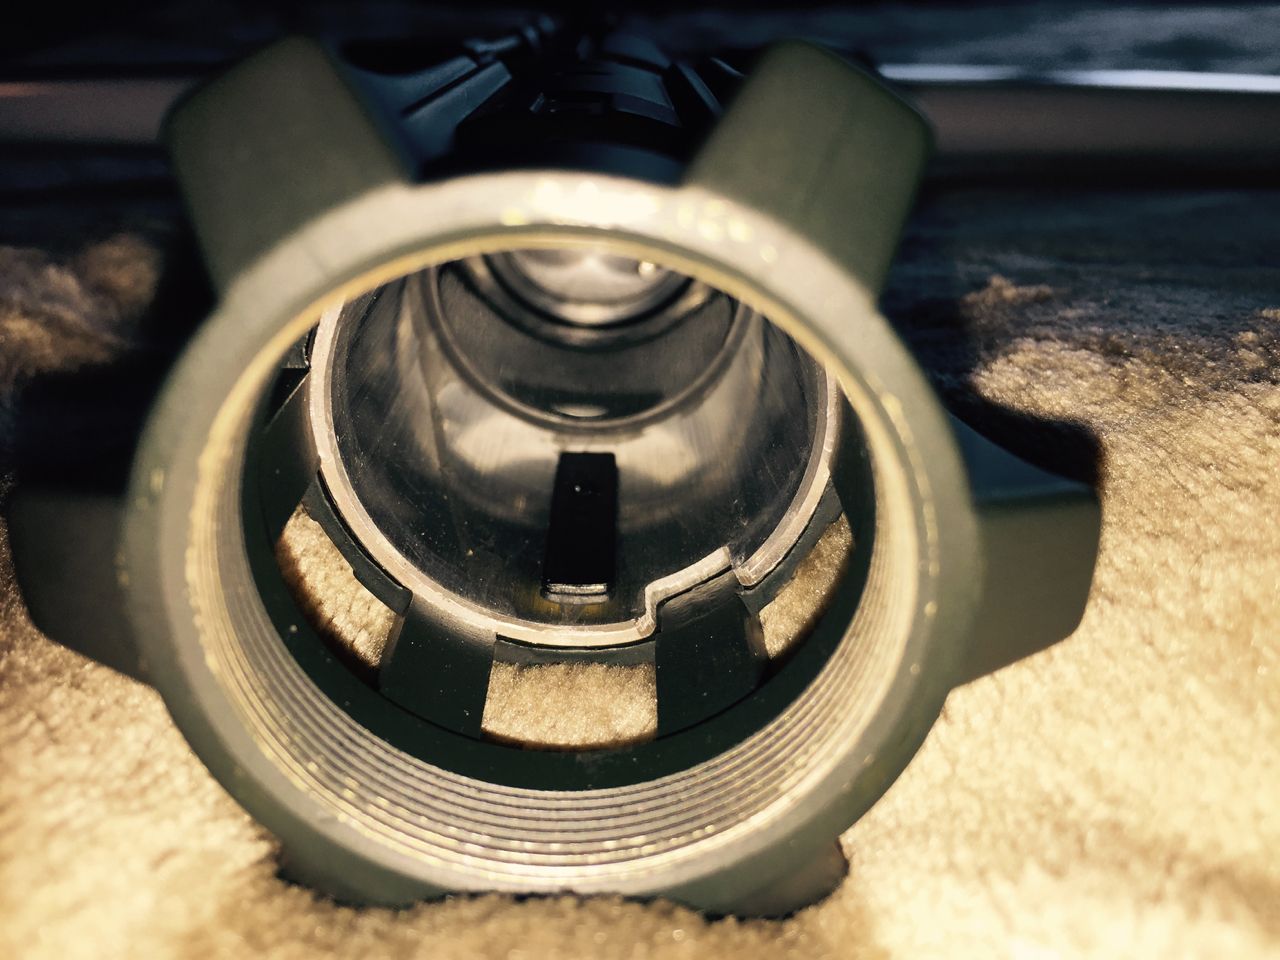
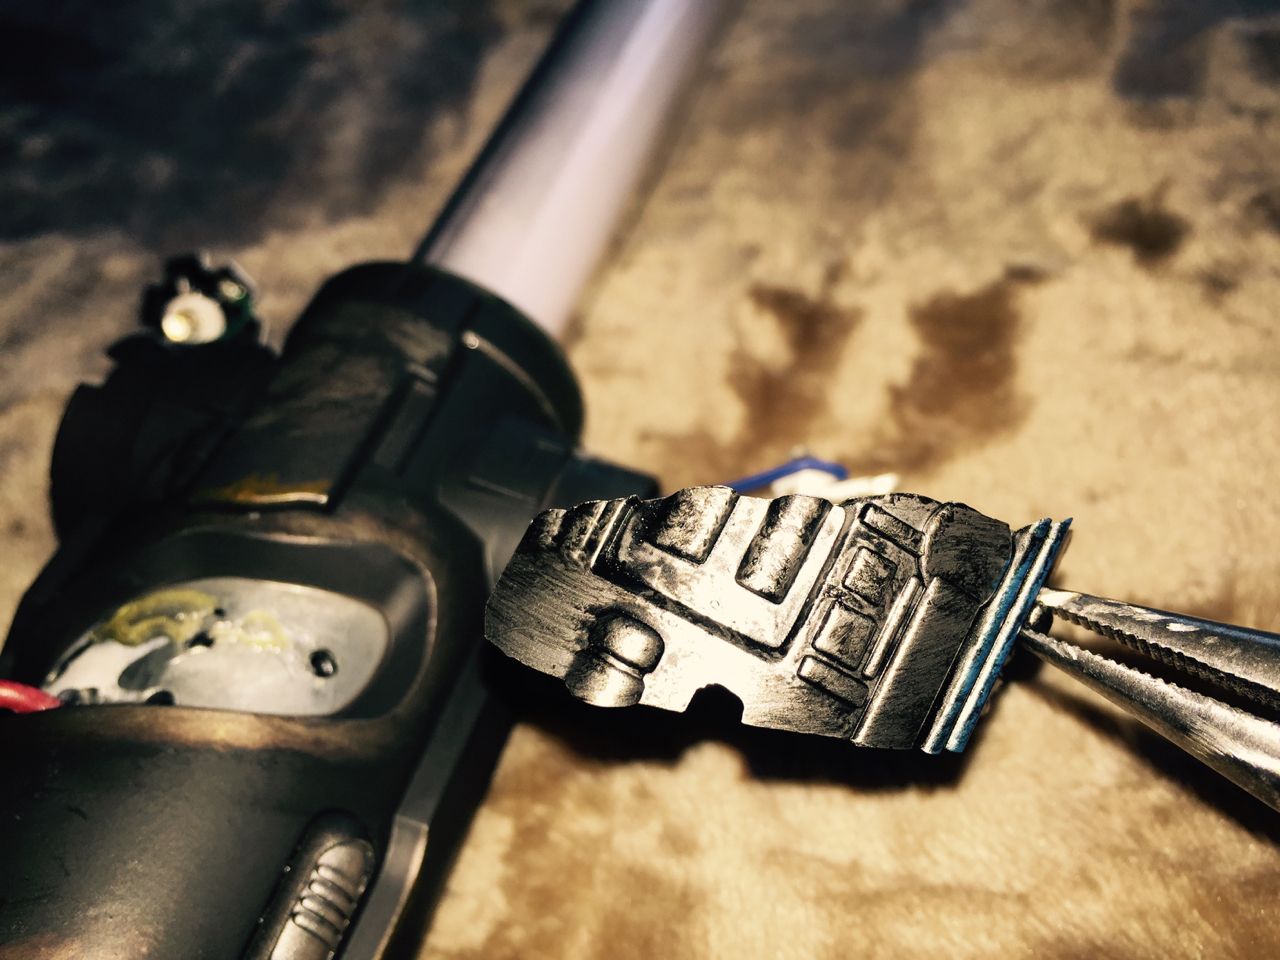
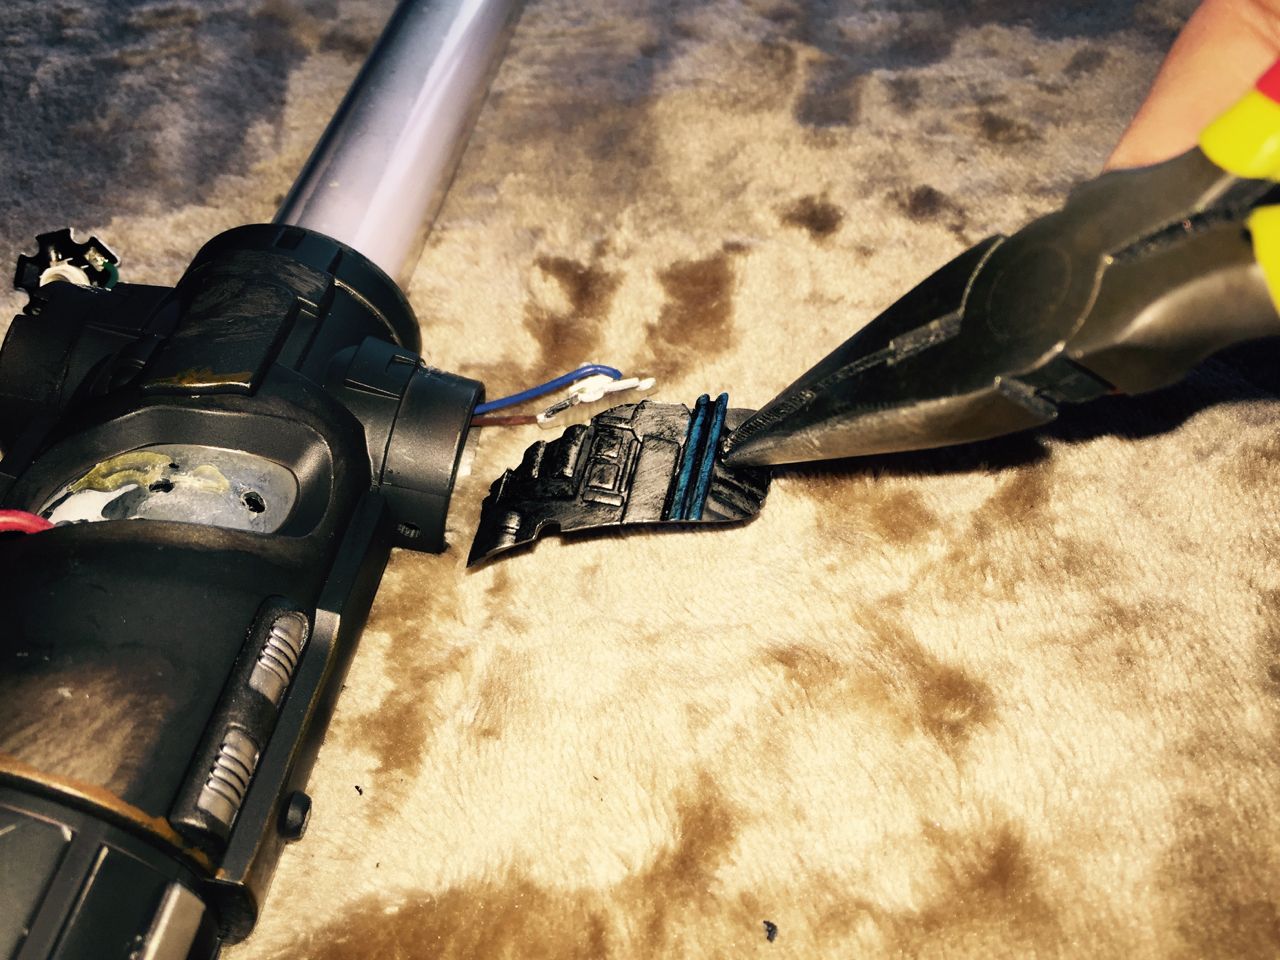
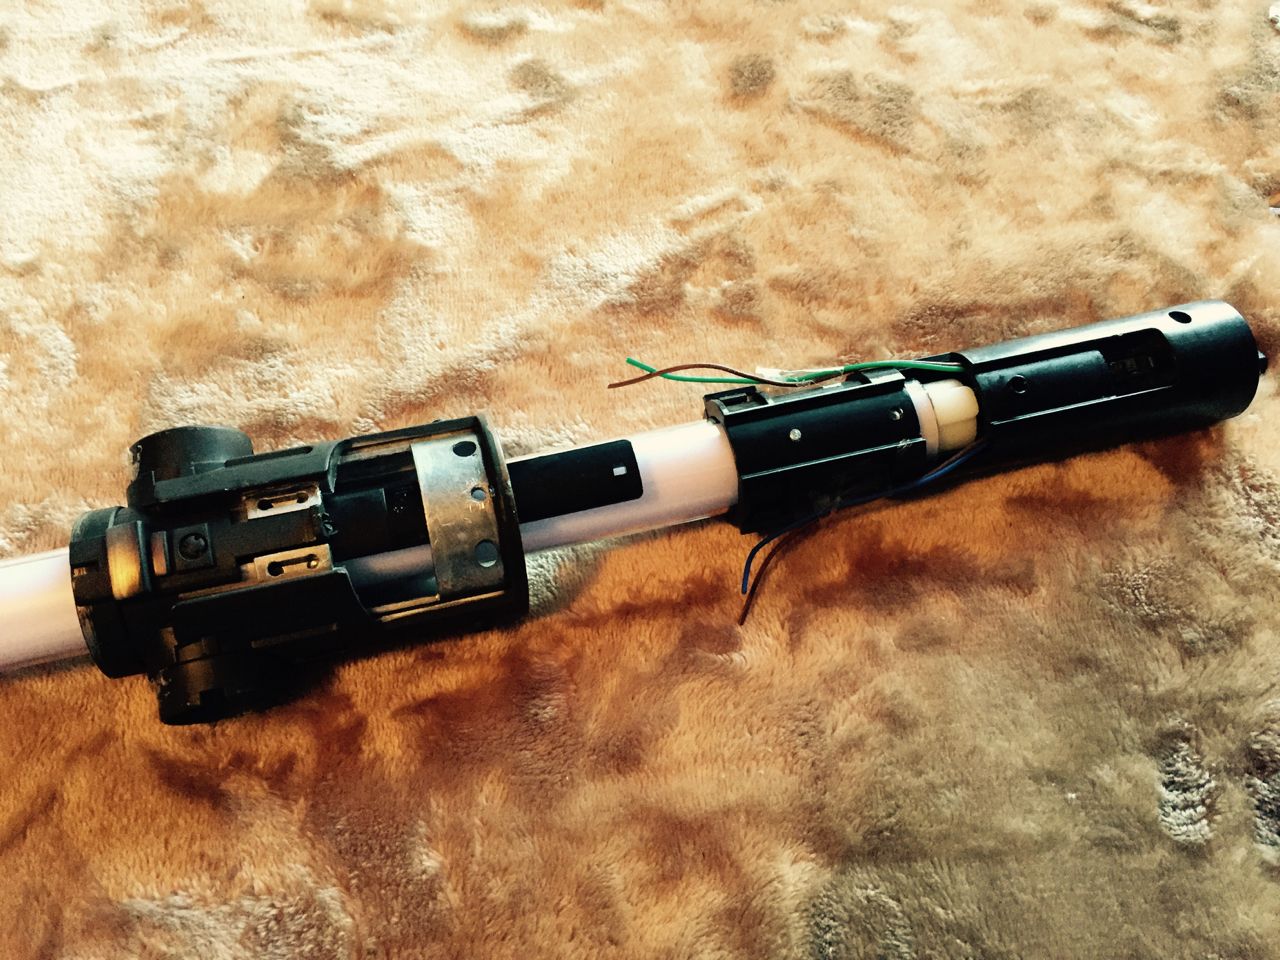
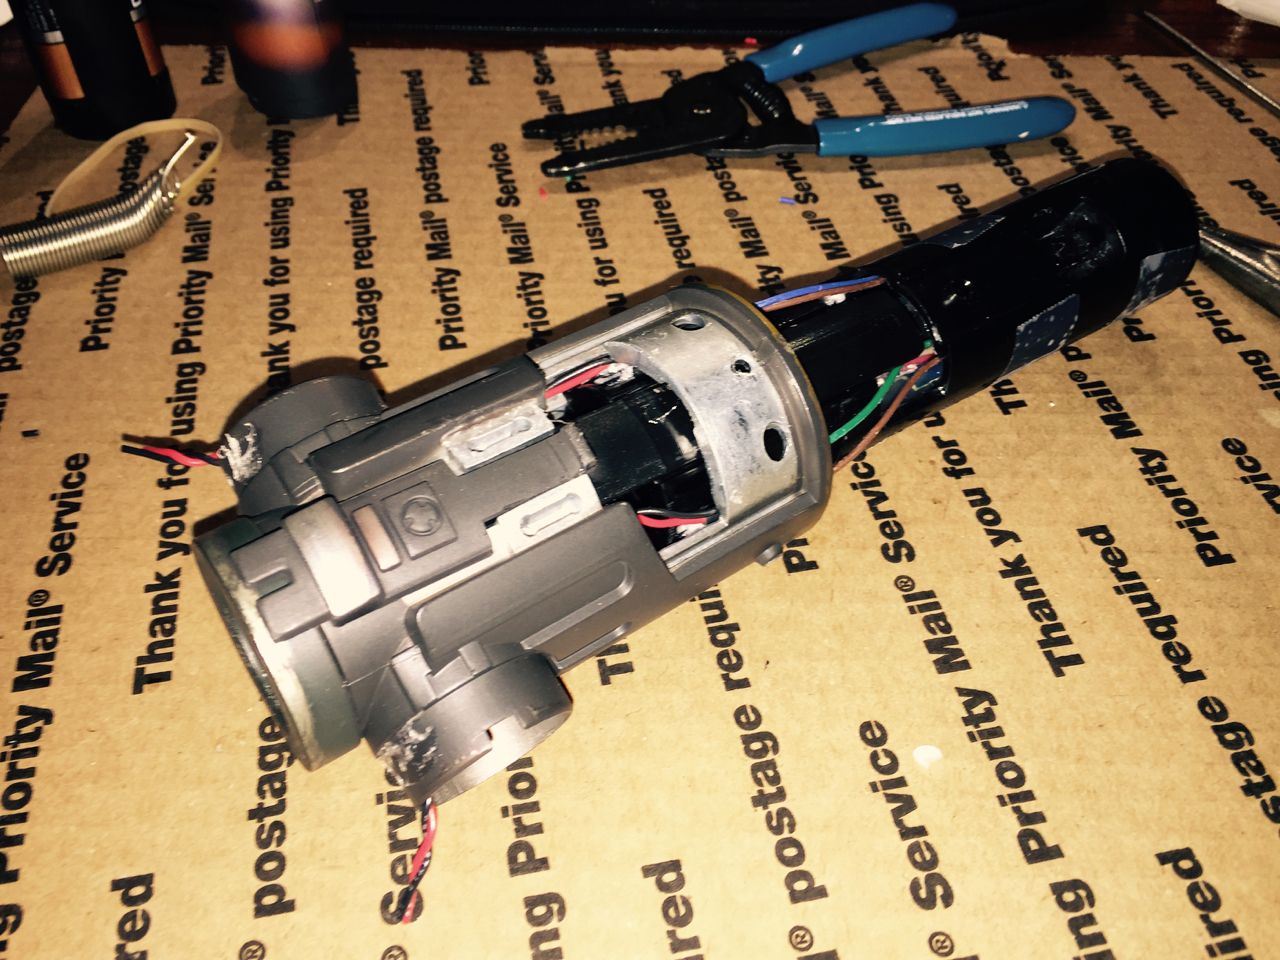
On the front of the saber, the cut away internal components are all one plastic piece. Use pliers to grab the protruding plastic piece on the right and remove the entire cutaway section.


There is a long pin right in the center of this revealed section. Use a punch tool to push it through the hilt and also push off the back casing.


Now that the end of the red wire is revealed on the front side, you can then remove the red wire entirely.


On the back side underneath the casing that was pushed off, you will find another pin with a larger end lip. Use pliers to grab this pin by the lip and pull it out.


You can now remove the middle outer hilt section.


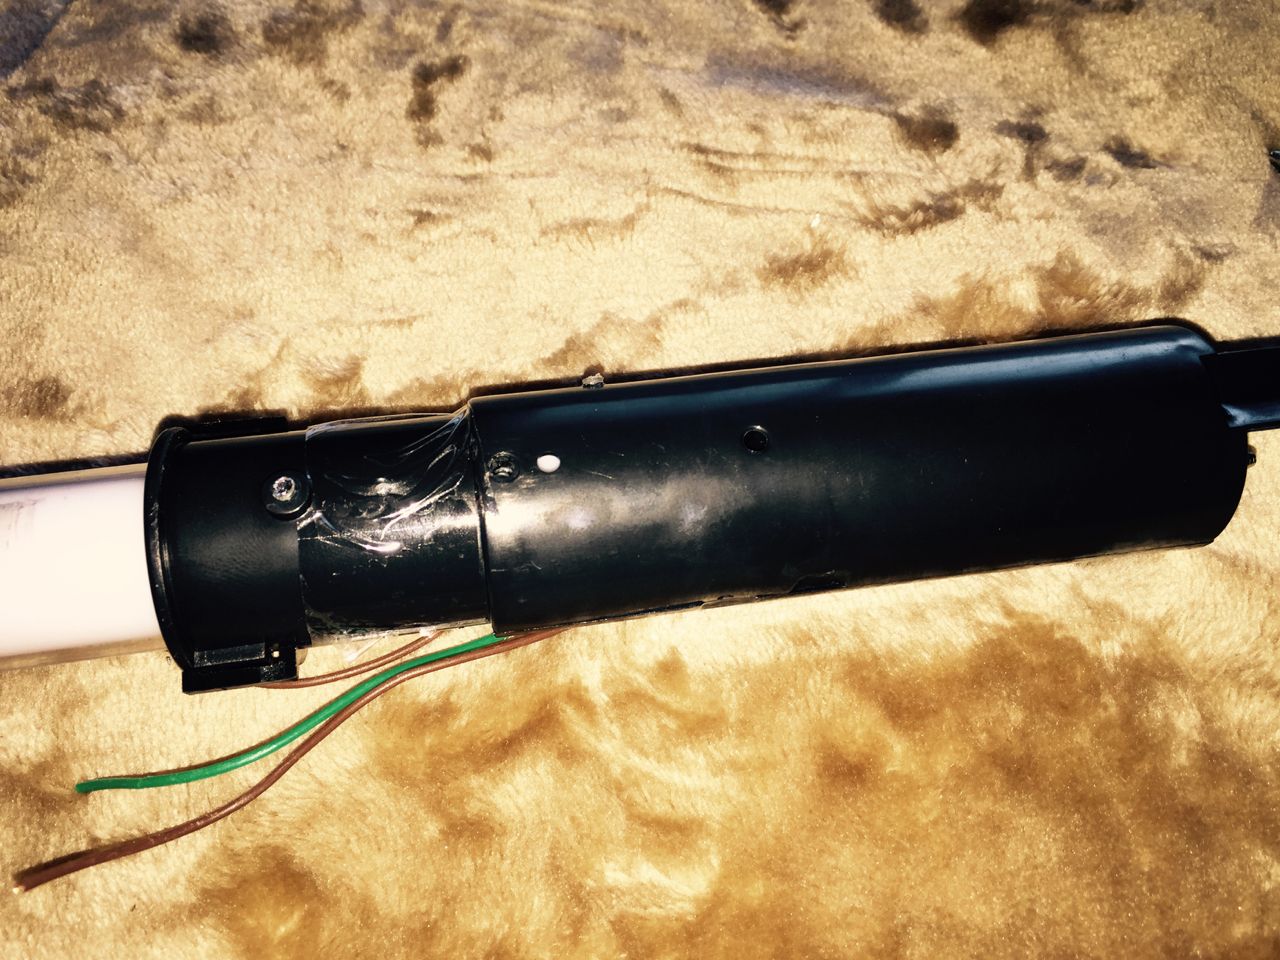
Cut the wires connecting the two side LEDs.


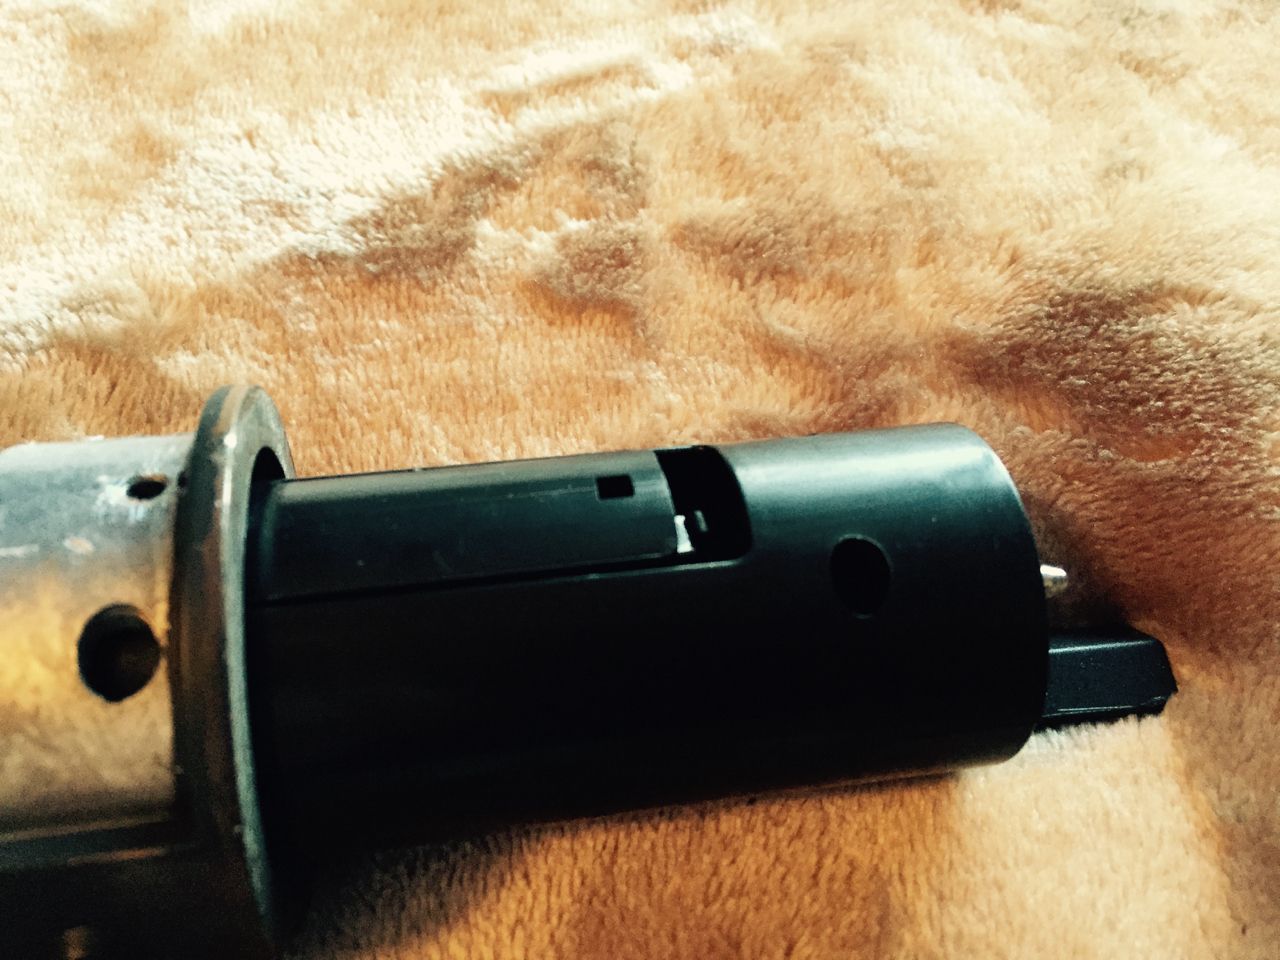
Lift the black switch connecter up a bit:


This allows the upper outer casing to slide up over the blade and be removed.


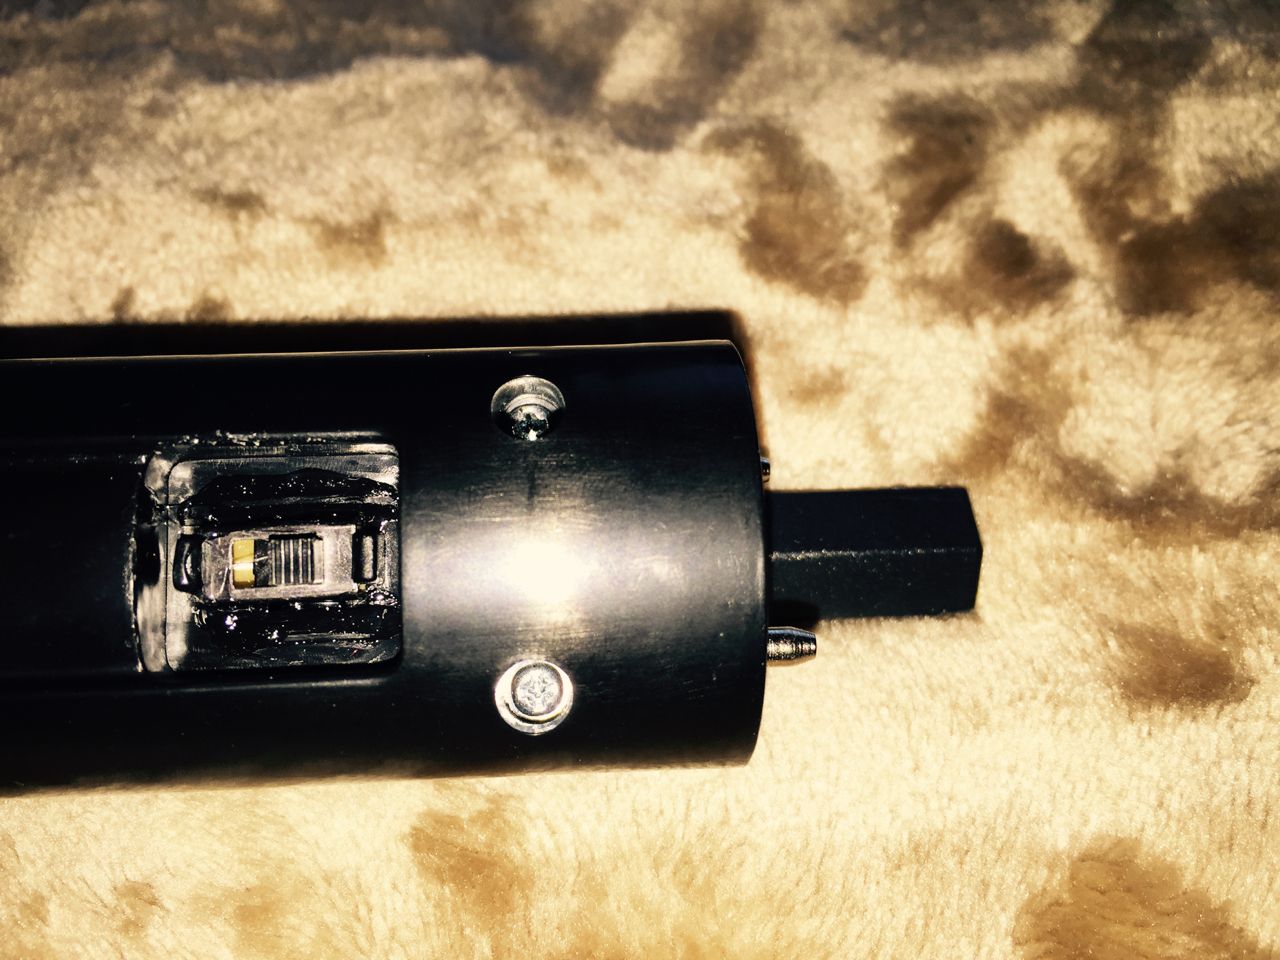
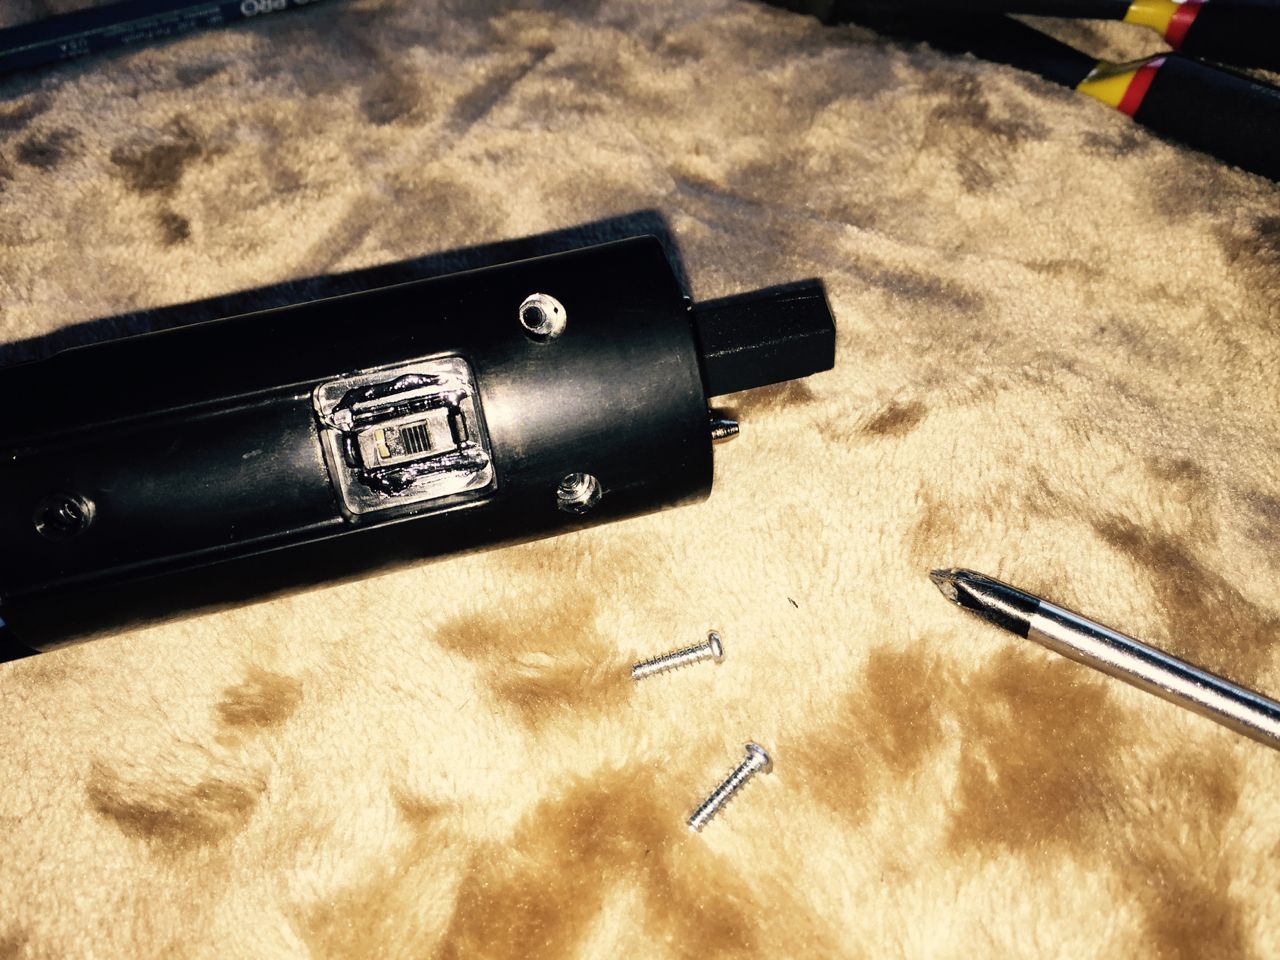
There are two screws holding the black casing together. Use a phillips screwdriver to remove these two screws.


Near the blade is a long pin in the black casing. Use a punch tool to push it through, allowing the black casing to split into two halves.


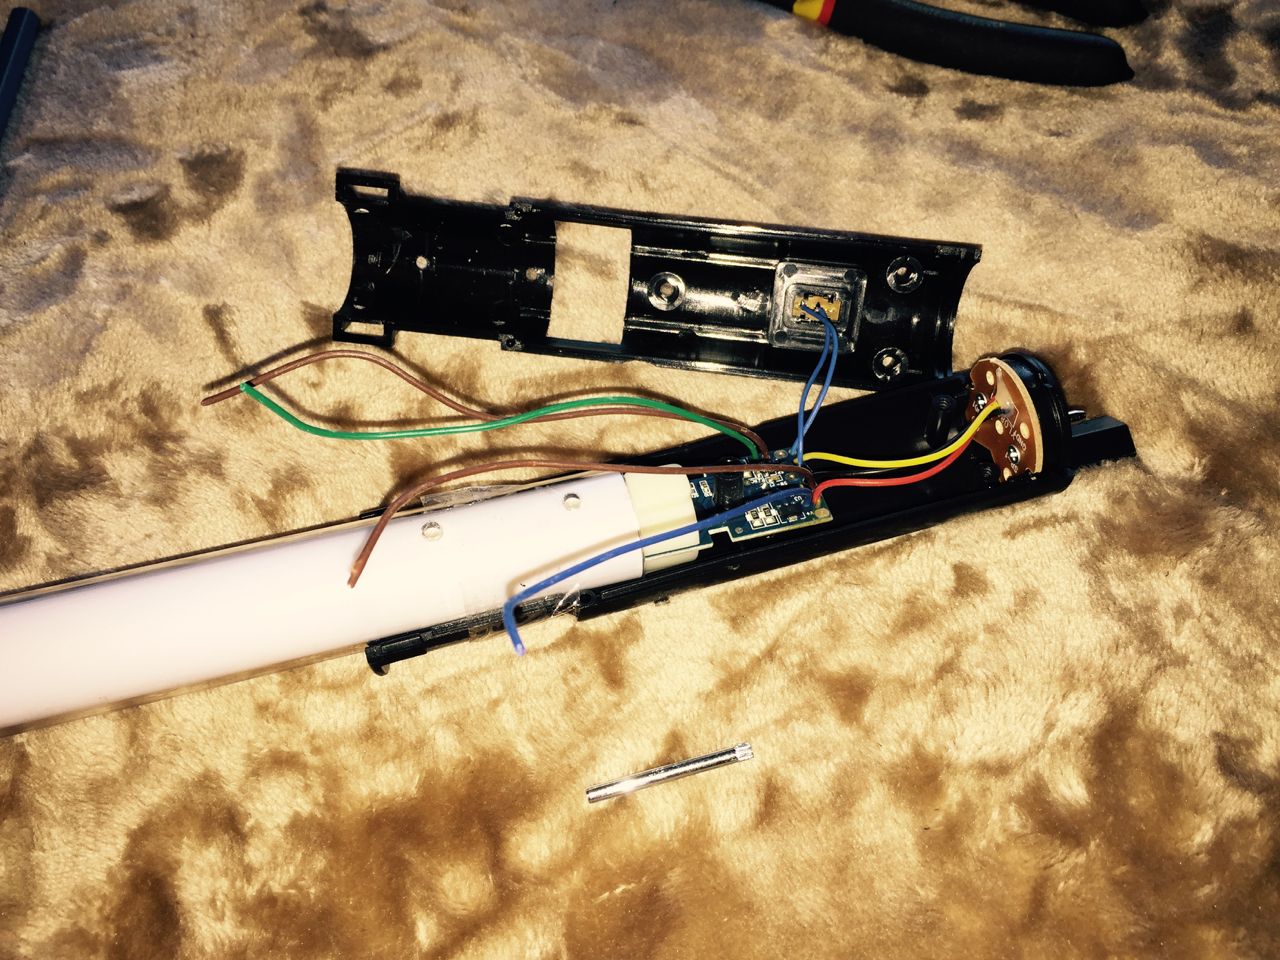
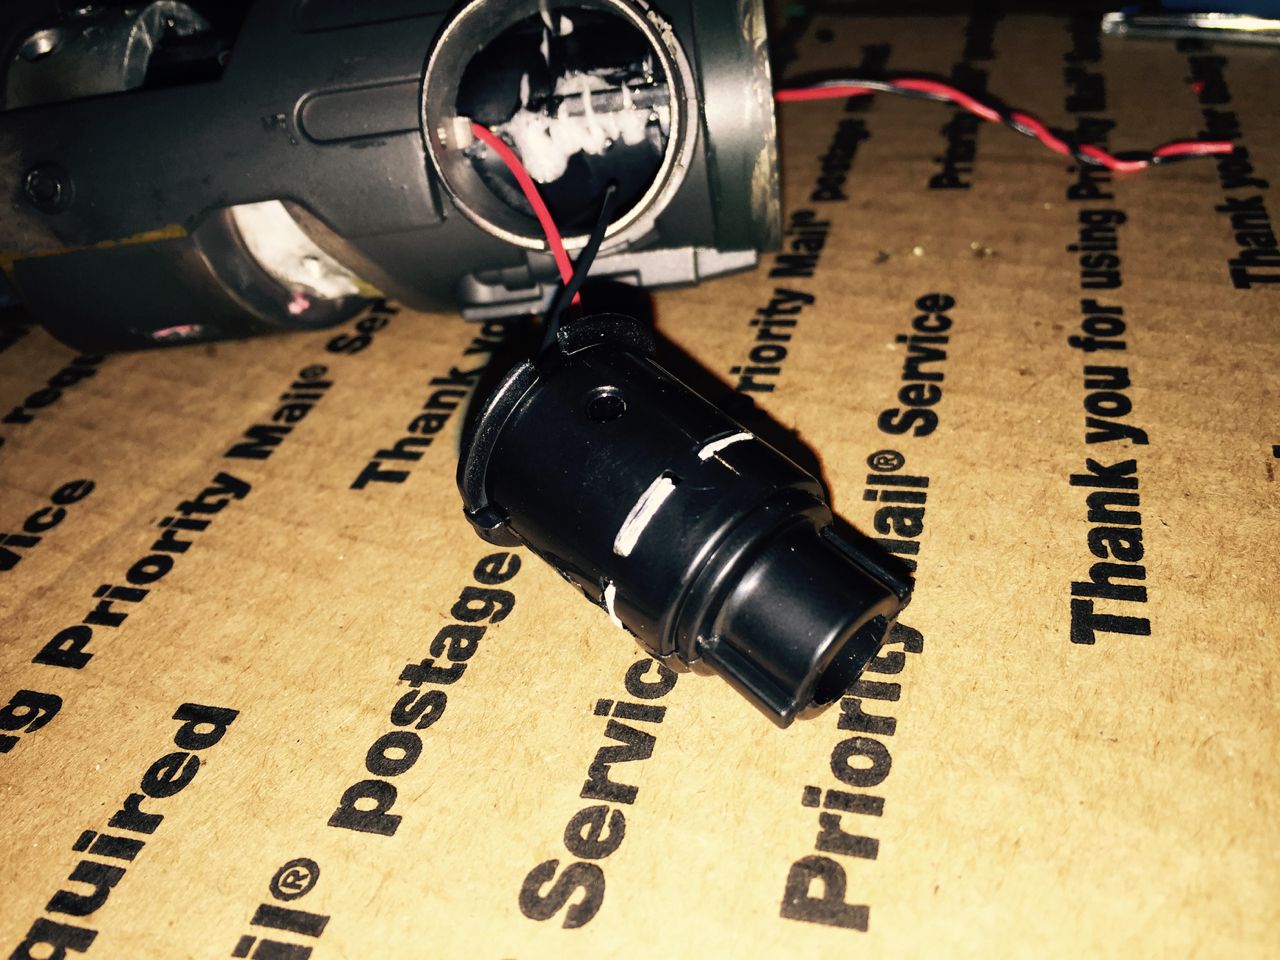
Remove the electronics and put aside one half of the black casing that doesn't have the switch.


There is a very small pin in the blade. Use a pair of pliers to pull it out.


You can now disassemble the blade casing.


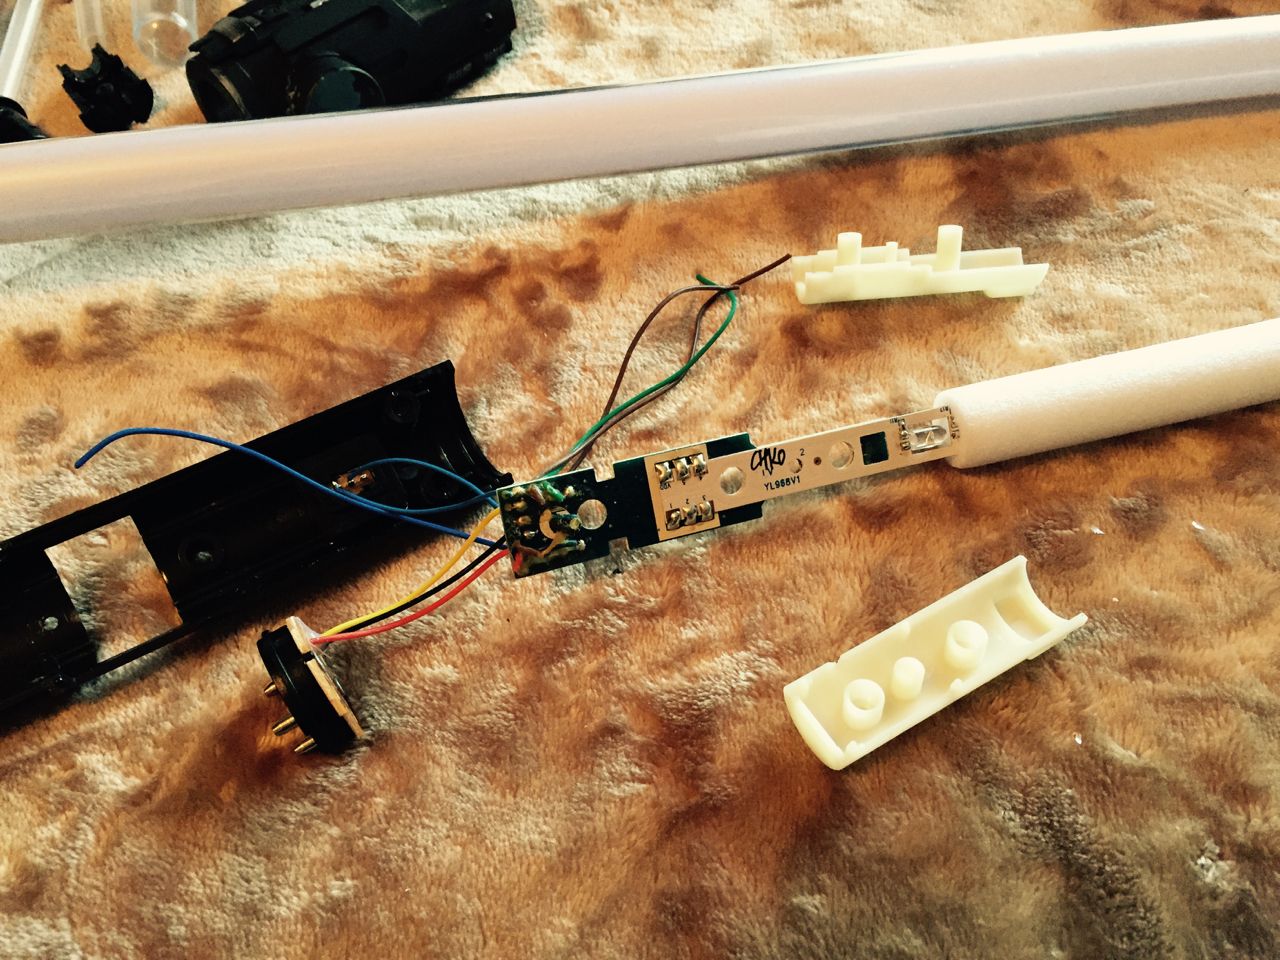
Cut the thick white strip of LED strings right at the soundboard.


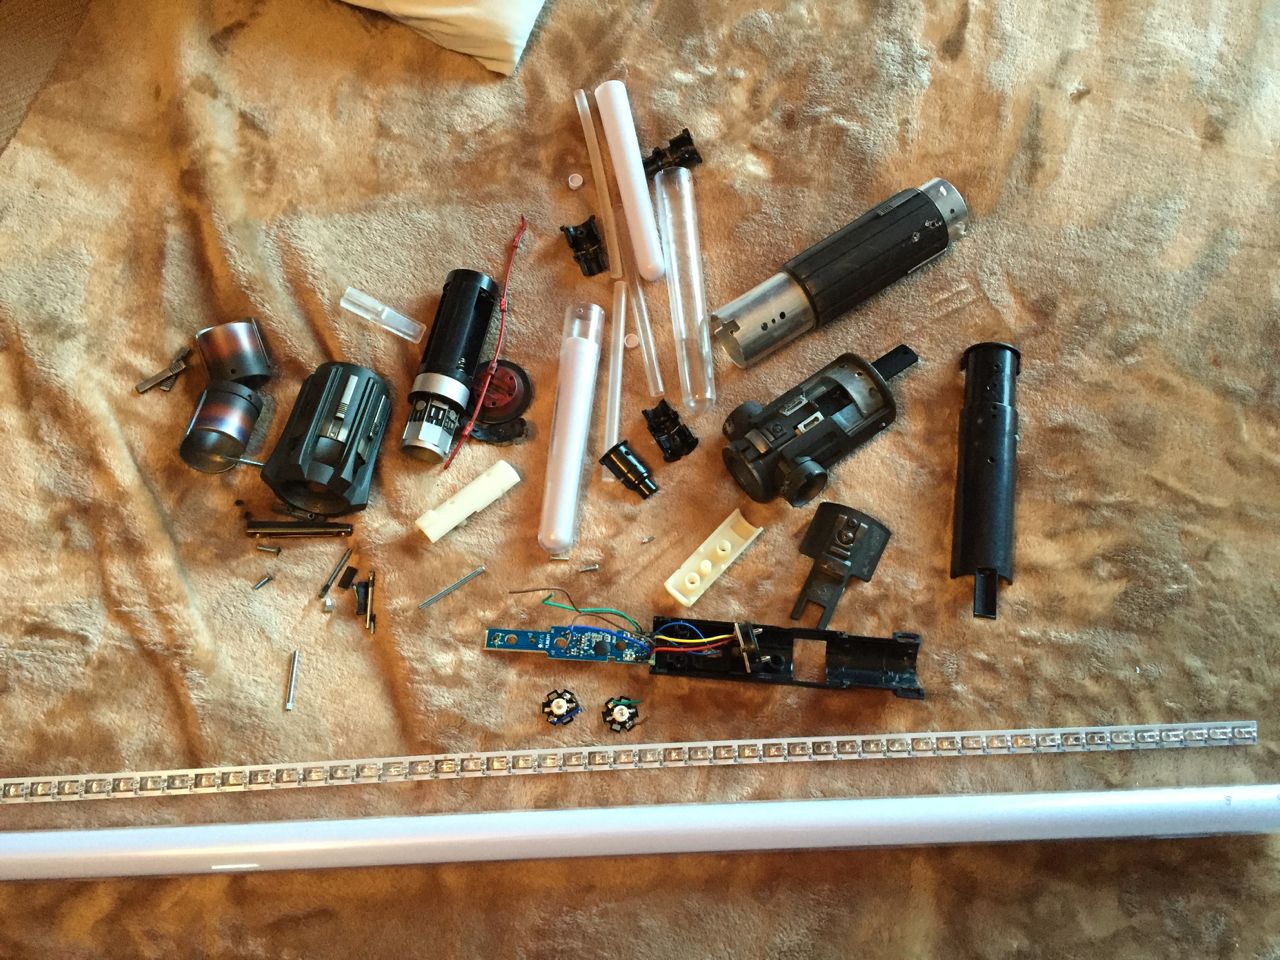
Congratulations, you have successfully disassembled the Kylo Ren Force FX Lightsaber. Now the conversion can begin!


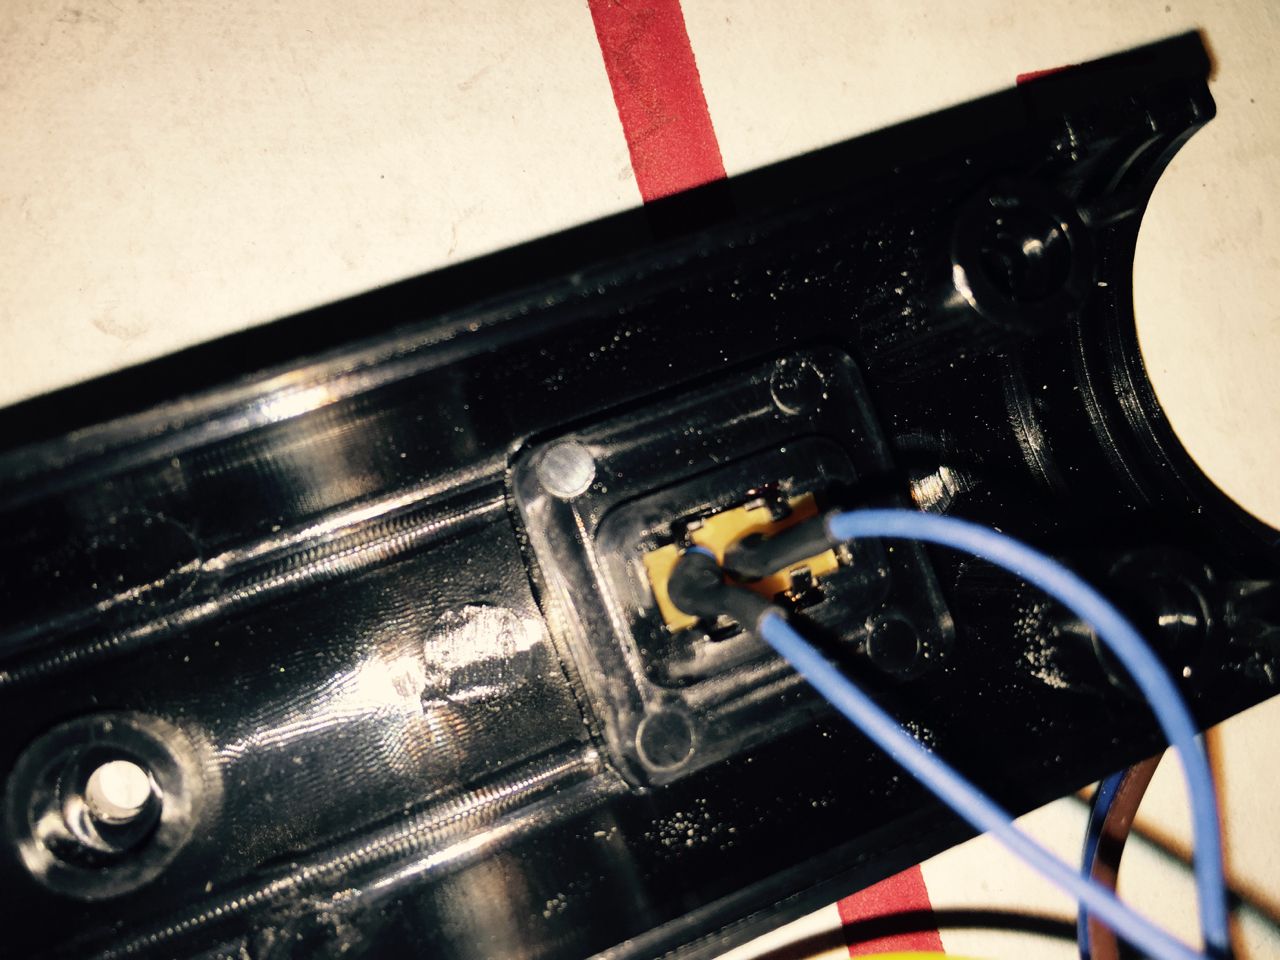
I suggest resoldering and heat shrinking the switch leads, since mine were extremely brittle and loose.


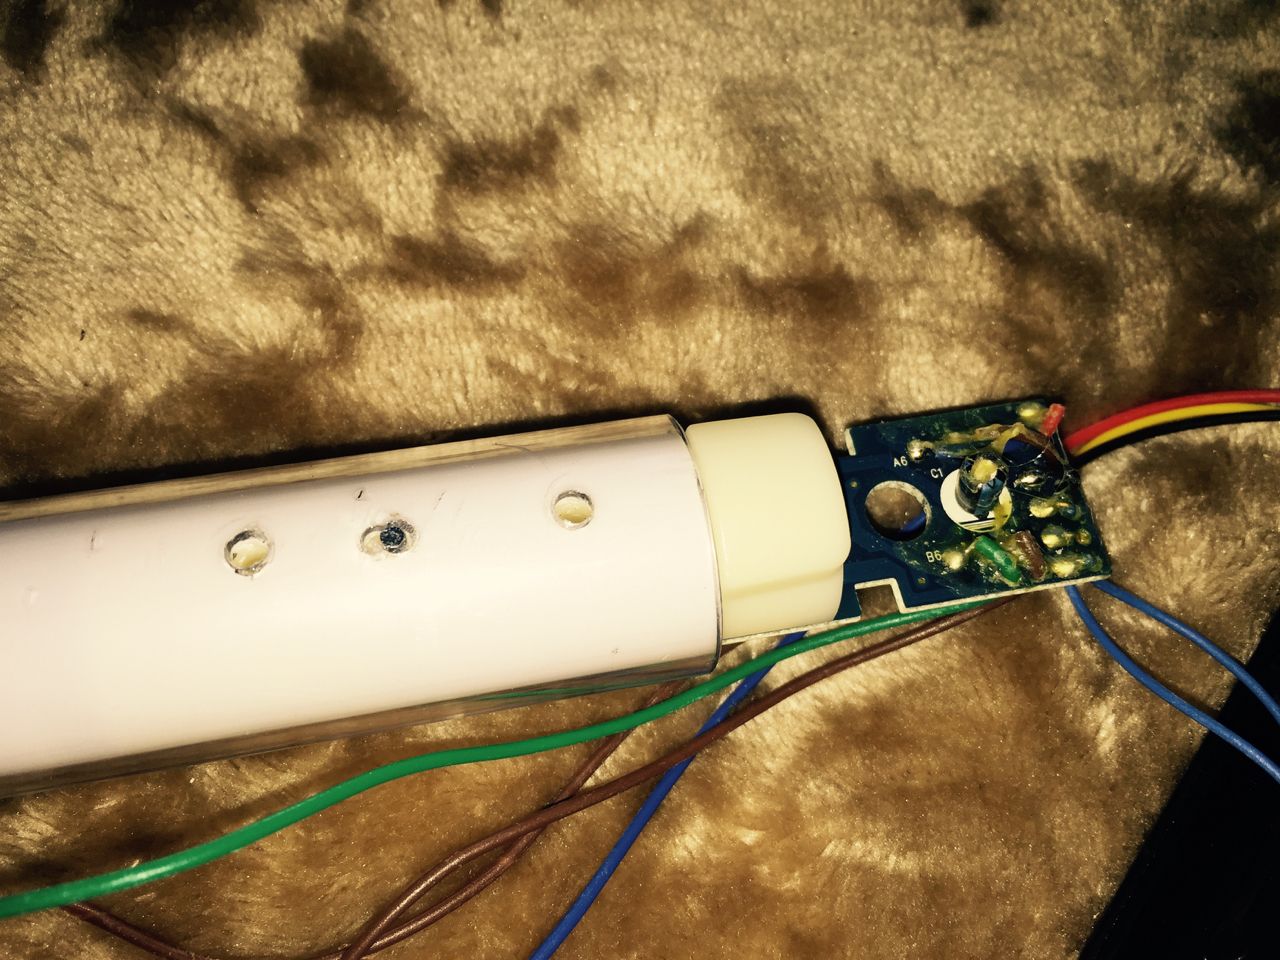
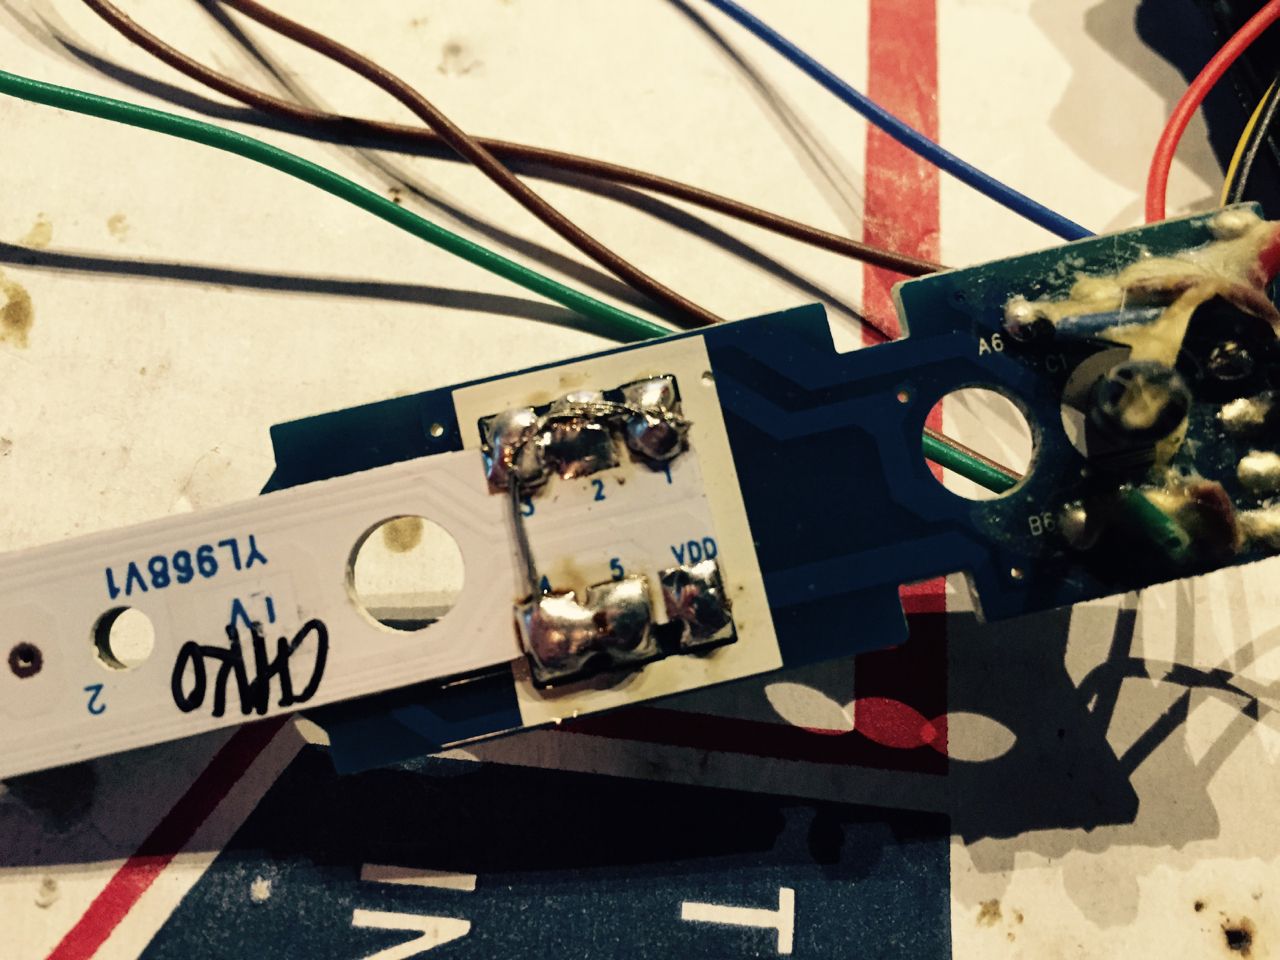
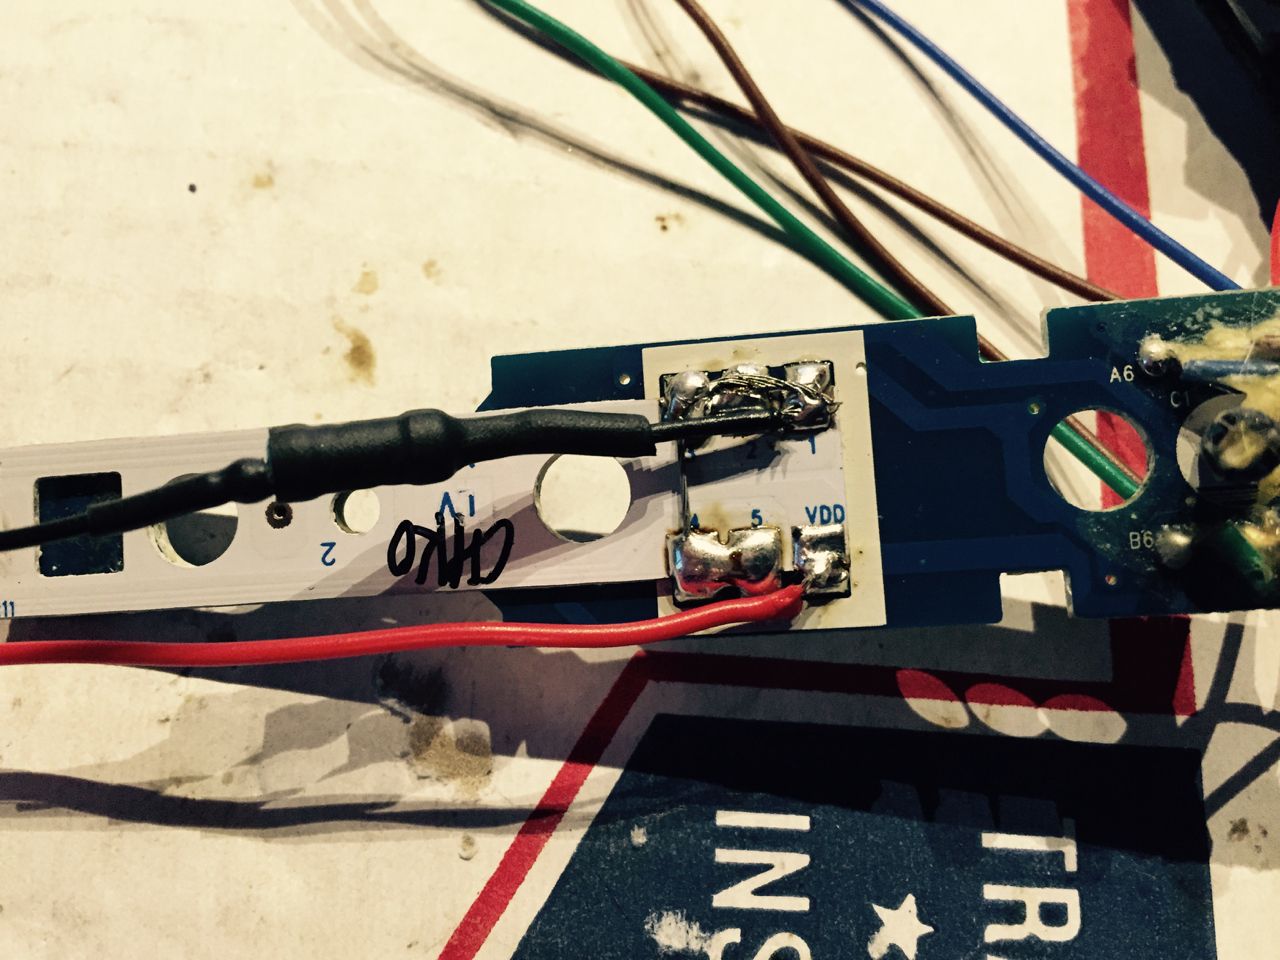
Near the tip of the long soundboard you will find 6 pads: 1-5 and VDD.


Bridge pads 1, 2, 3, 4, and 5. Be careful not to accidentally bridge the VDD pad.


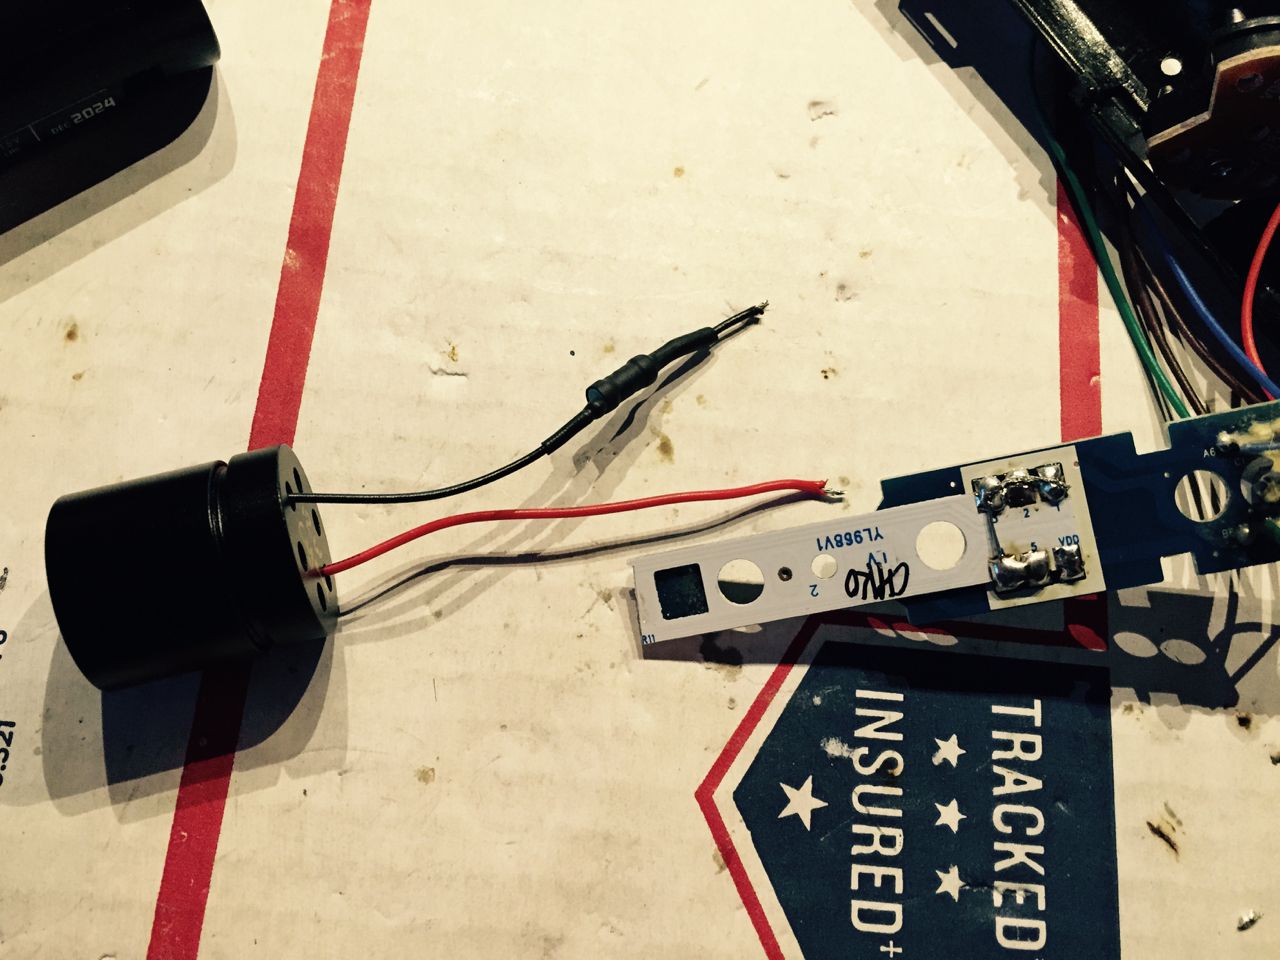
Prepare your LED module.


Connect the + LED wire to the VDD pad and the - LED wire to the bridged 1-5 pads.


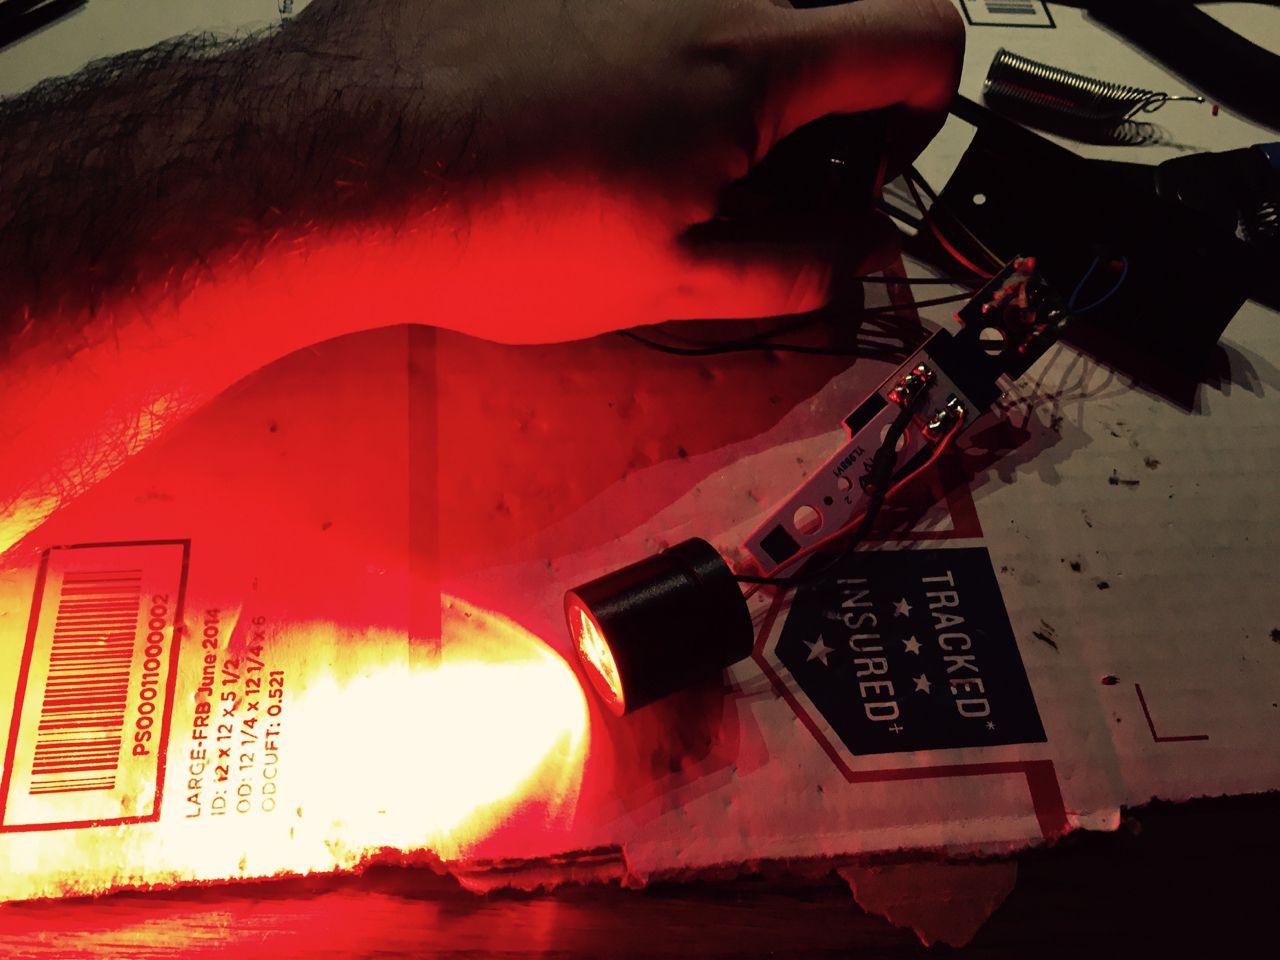
This is a good time to attach the battery pack and just test to make sure you've wired everything correctly so far.


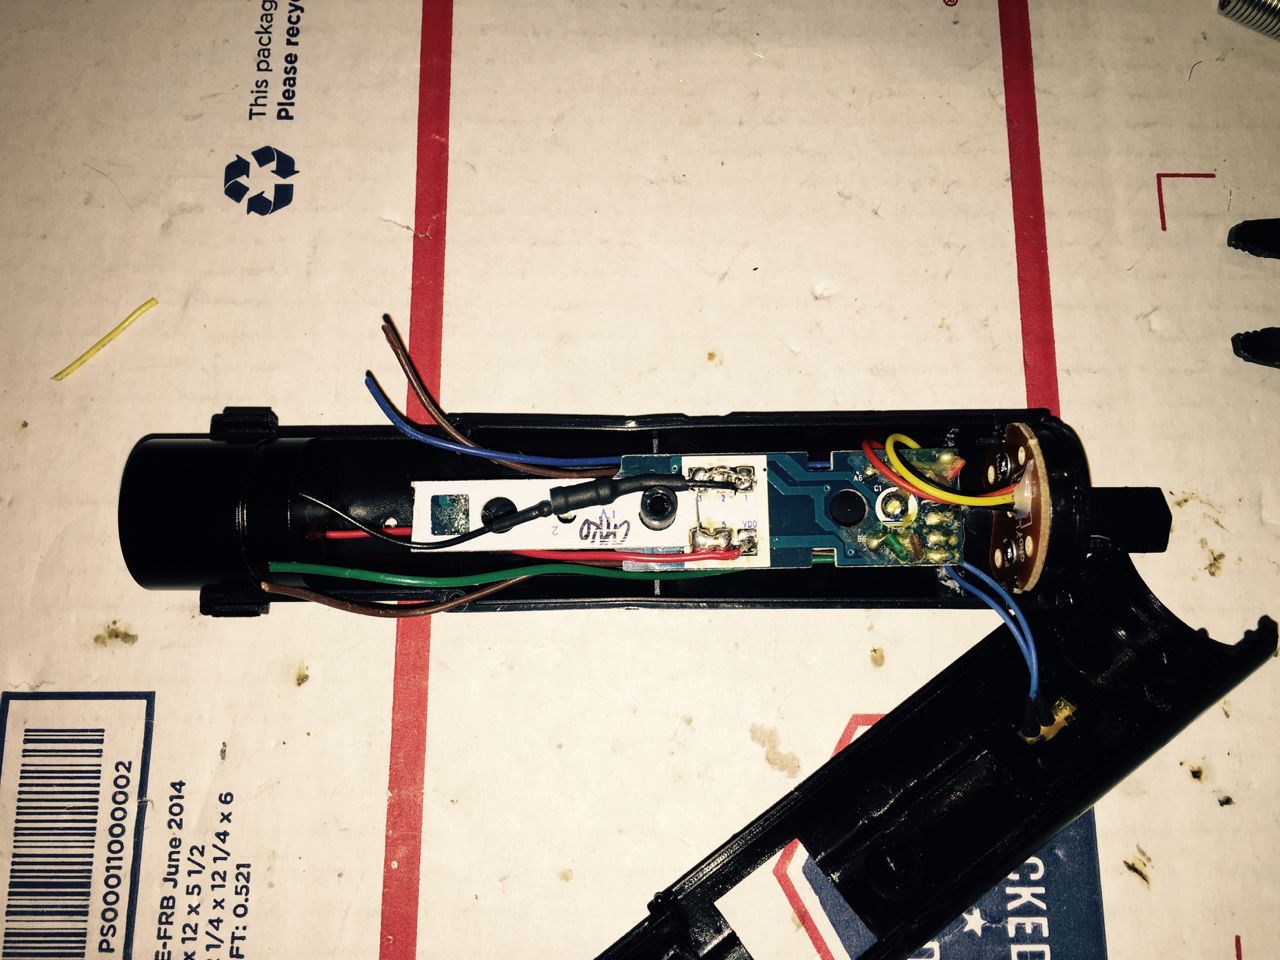
In order to allow space for the LED module, you'll need to reinstall the long soundboard into the chassis like so.


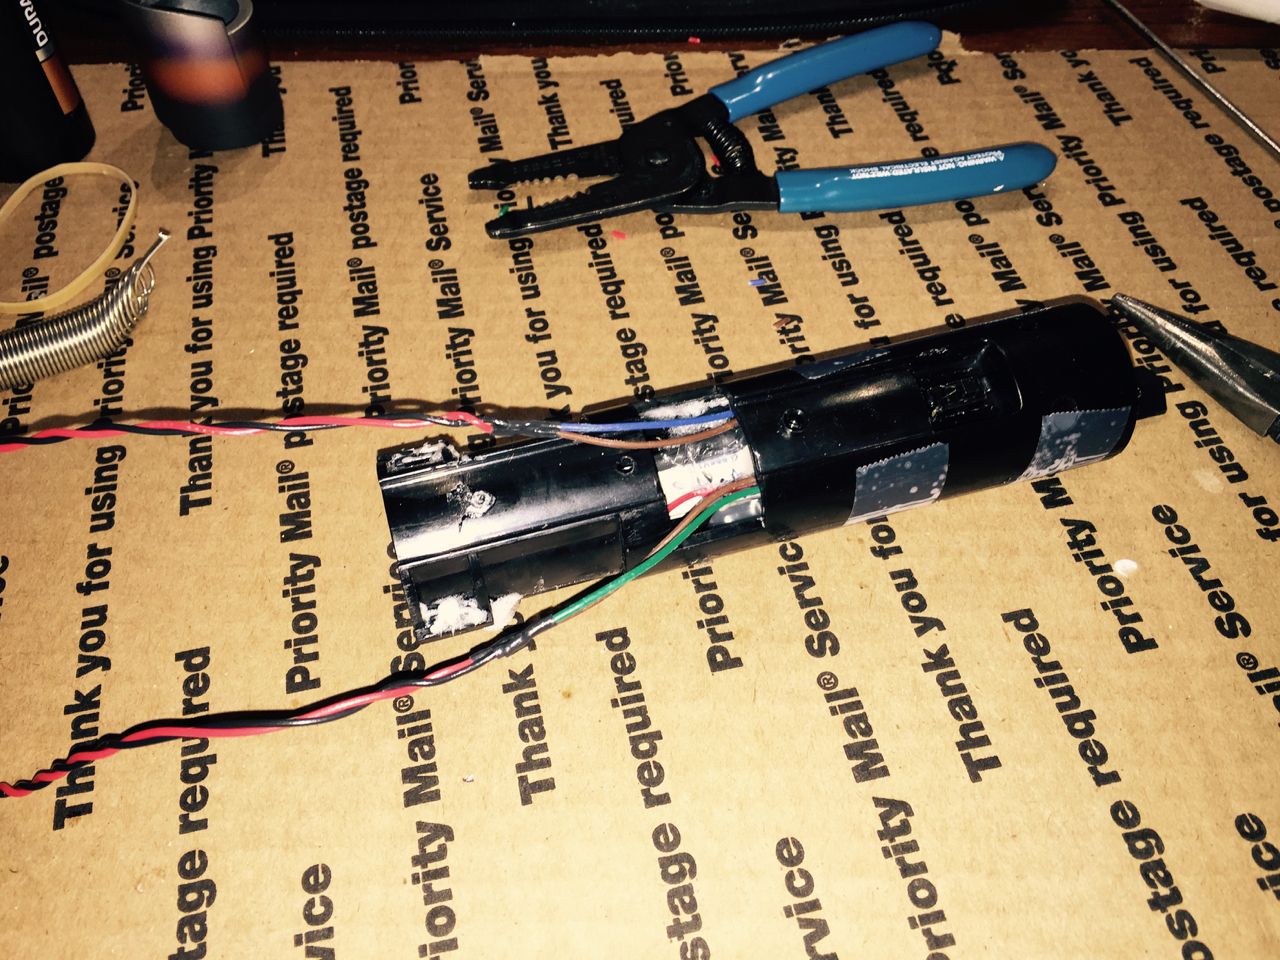
Reassemble the casing, and add some length to the four wires for the two side LEDs.


Thread the wires through the cross guard openings as you slide the chassis back into the hilt all the way.


Resolder the side LEDs.


Cut the thin section of the LED casing and reassemble.


(Or leave it as is, depending on what kind of blade and diffusion you plan on using for the cross guard blades)


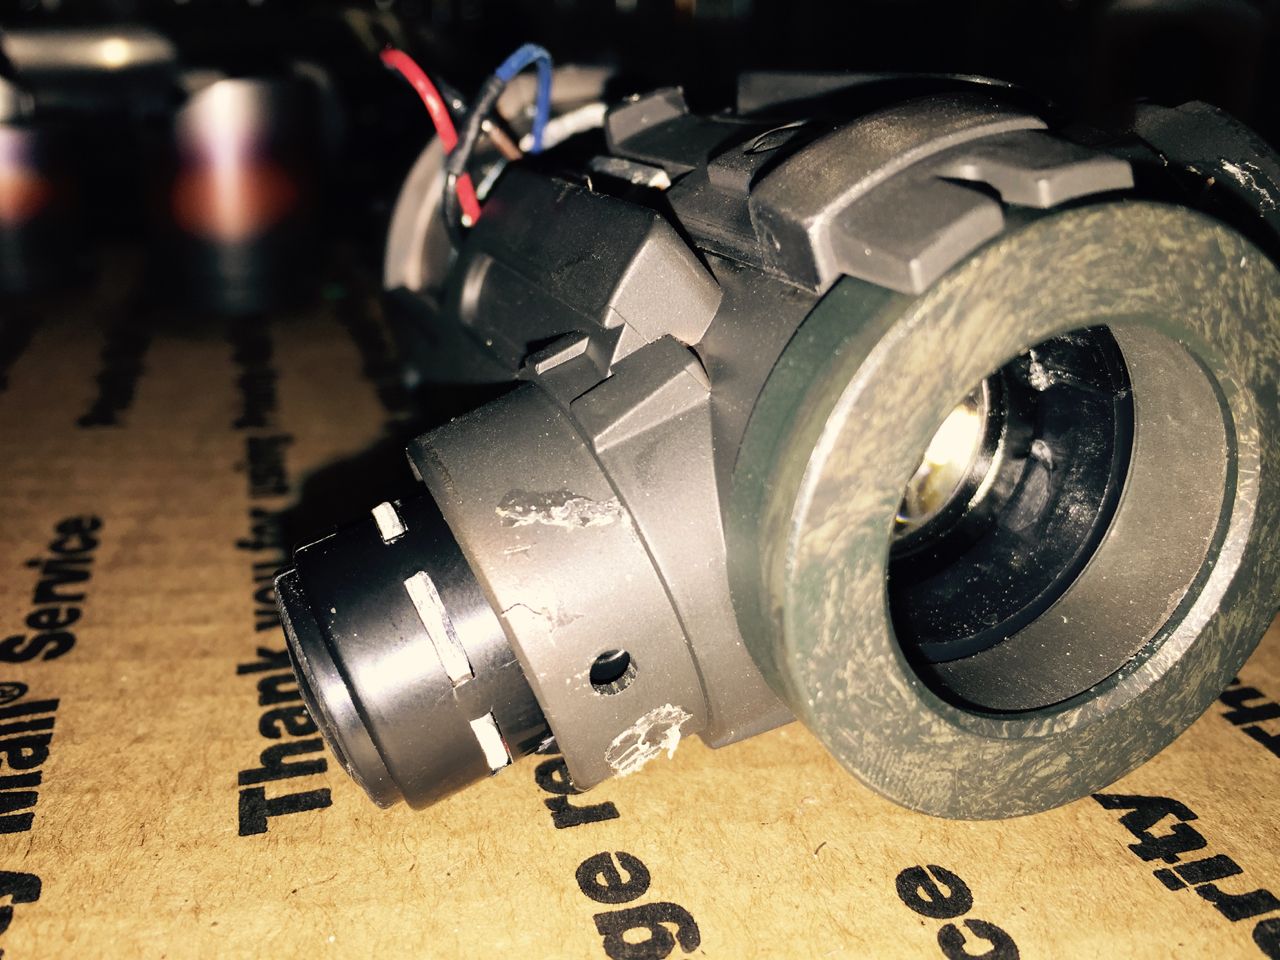
Align the LED casing and insert it back into the hilt.


Slide the cross guard emitter back on.


Make sure the holes are all aligned, then use a punch tool to push the pin back through the cross guard, locking the LED casing and emitter in place.


Any extra wiring can be gently pushed into the chassis.


Repeat this process for the second cross guard emitter.

Assemble the hilt again in reverse order.


Congratulations! You have converted the Kylo Ren Force FX Lightsaber!

"Always a pleasure to meet a Jedi…"

The administrator has disabled public write access.
The following user(s) said Thank You: Jaden Korr, ThylacineWings

Kylo Ren Force FX Lightsaber Conversion Tutorial 9 months 1 week ago #18741

  • Lord Callous
  • Lord Callous's Avatar
  • Offline
  • Platinum Member
  • "I am not without mercy. Surrender and you may live."
  • Posts: 366
  • Thank you received: 60
You sir are a saber conversion God among men! Awesome tutorial and congrats on the first Kylo conversion known to the Saber community! B)
"Destiny is a lie. Fate is the falsest of hopes. I am beyond prophecy. I forge my own path by making the difficult choices..."
Last Edit: 9 months 1 week ago by Lord Callous.
The administrator has disabled public write access.

Kylo Ren Force FX Lightsaber Conversion Tutorial 9 months 1 week ago #18742

  • JediRabbi
  • JediRabbi's Avatar
  • Offline
  • Senior Member
  • Posts: 75
  • Thank you received: 2
Impressive. MOST impressive!
Luminous beings are we, not this crude matter. You must feel the Force around you.
The administrator has disabled public write access.

Kylo Ren Force FX Lightsaber Conversion Tutorial 9 months 1 week ago #18744

  • Afadir
  • Afadir's Avatar
  • Offline
  • Elite Member
  • There can be no light, without a dark to stand beside it.
  • Posts: 240
  • Thank you received: 67
Less than 24 hours and you've already posted this...

You glorious, crazy bastard. :P

EDIT FOR QUESTIONS: What LED module did you use in the main blade? And what kind of blades do you plan to use? Infinity V4s? Did you place blade retention screws?
Owned: Champion Bane 12W Bl. Org.
Champion Fury 6W Green
Warrior Chosen 12W+ Mint Green
Champion Jinsu Razor v2 (ASP build) 12W+ Red*
Last Edit: 9 months 1 week ago by Afadir.
The administrator has disabled public write access.

Kylo Ren Force FX Lightsaber Conversion Tutorial 9 months 1 week ago #18745

  • Lord Callous
  • Lord Callous's Avatar
  • Offline
  • Platinum Member
  • "I am not without mercy. Surrender and you may live."
  • Posts: 366
  • Thank you received: 60
What's your conversion price with LED installs?
"Destiny is a lie. Fate is the falsest of hopes. I am beyond prophecy. I forge my own path by making the difficult choices..."
The administrator has disabled public write access.

Kylo Ren Force FX Lightsaber Conversion Tutorial 9 months 1 week ago #18759

  • bostonfin
  • bostonfin's Avatar
  • Offline
  • New Member
  • Posts: 7
  • Thank you received: 1
Nice job
The administrator has disabled public write access.

Kylo Ren Force FX Lightsaber Conversion Tutorial 9 months 1 week ago #18763

  • ThylacineWings
  • ThylacineWings's Avatar
  • Offline
  • New Member
  • Posts: 17
  • Thank you received: 3
Most excellent, sir!
And yes, please do let us know about the blade retention and LED specifics, as Afadir has a nice Kylo Ren saber that needs an upgrade ASAP.

:evil:
Flammability warnings are a challenge rather than a deterrent.
The administrator has disabled public write access.

Kylo Ren Force FX Lightsaber Conversion Tutorial 9 months 1 week ago #18768

  • Brax
  • Brax's Avatar
  • Online
  • Administrator
  • Posts: 2072
  • Thank you received: 672
There are those of us that appreciate, and obtain the awesomeness that are lightsabers. Then there are folks, like Shammeem, that create that awesomeness for us to stand in awe.
Imagine what you will know tomorrow....
The administrator has disabled public write access.

Kylo Ren Force FX Lightsaber Conversion Tutorial 9 months 1 week ago #18770

  • Darth Floyd
  • Darth Floyd's Avatar
  • Offline
  • Premium Member
  • Let the Wookie win
  • Posts: 127
  • Thank you received: 20
Well done!
The administrator has disabled public write access.

Kylo Ren Force FX Lightsaber Conversion Tutorial 9 months 1 week ago #18812

  • Zeddicuus
  • Zeddicuus's Avatar
  • Offline
  • Elite Member
  • Posts: 202
  • Thank you received: 28
Very nice. I'd have been worried of breaking the plastic at so many of the steps, haha. I don't think I would dare to this kind of conversion.
The administrator has disabled public write access.

Kylo Ren Force FX Lightsaber Conversion Tutorial 9 months 1 week ago #18820

  • DeLano80
  • DeLano80's Avatar
  • Offline
  • Senior Member
  • Posts: 41
  • Thank you received: 7
Great job! I am just curious what you think of the scale of this saber is compared to the film used one? I know you said the hilt is a bit thick, but to my eyes, it looks almost twice the diameter. What do you guys think? I also cant wait to see it with the blades back in! :)
The administrator has disabled public write access.

Kylo Ren Force FX Lightsaber Conversion Tutorial 9 months 1 week ago #18846

  • Brax
  • Brax's Avatar
  • Online
  • Administrator
  • Posts: 2072
  • Thank you received: 672
I think the Force FX are usually fairly screen accurate, with the exception of the thin-neck designs. They tend to be fat-necks instead. But, all of the other ones I have seen look very close in size, and design. I have Luke, and Vader's Episode IV sabers (graflex), and they appear very accurate.

Anyone done comparisons and found anything to the contrary?
Imagine what you will know tomorrow....
The administrator has disabled public write access.

Kylo Ren Force FX Lightsaber Conversion Tutorial 9 months 1 week ago #18916

  • DarthBorat
  • DarthBorat's Avatar
  • Offline
  • New Member
  • Posts: 12
  • Thank you received: 1
you sir are a master of life
The administrator has disabled public write access.

Kylo Ren Force FX Lightsaber Conversion Tutorial 9 months 1 week ago #18918

  • Darth Intefector
  • Darth Intefector's Avatar
  • Offline
  • Elite Member
  • My hatred has made me an unstoppable force; my rage a tempest of death and destruction. When I strike, you shall know the true power of the Dark Side. And it shall be the last thing you ever see...
  • Posts: 204
  • Thank you received: 9
Fantastic tutorial! Makes me wish I would've picked this saber up!
The administrator has disabled public write access.

Kylo Ren Force FX Lightsaber Conversion Tutorial 9 months 1 week ago #19167

  • Afadir
  • Afadir's Avatar
  • Offline
  • Elite Member
  • There can be no light, without a dark to stand beside it.
  • Posts: 240
  • Thank you received: 67
A question for Darth Mario, as I defer to his mad experience in saber customization:

Say someone had the crazy idea of a reverse conversion: getting a Saberforge Relic or Templar and trying to put the sound card from the ForceFX Kylo Ren saber in it. Do you think that would that work, and if so, would it still have the side blade ignition delay?
Owned: Champion Bane 12W Bl. Org.
Champion Fury 6W Green
Warrior Chosen 12W+ Mint Green
Champion Jinsu Razor v2 (ASP build) 12W+ Red*
The administrator has disabled public write access.

Kylo Ren Force FX Lightsaber Conversion Tutorial 9 months 1 week ago #19169

  • Lord Callous
  • Lord Callous's Avatar
  • Offline
  • Platinum Member
  • "I am not without mercy. Surrender and you may live."
  • Posts: 366
  • Thank you received: 60
Say someone had the crazy idea of a reverse conversion: getting a Saberforge Relic or Templar and trying to put the sound card from the ForceFX Kylo Ren saber in it. Do you think that would that work, and if so, would it still have the side blade ignition delay?


Cosigned!

I was wondering this myself!
"Destiny is a lie. Fate is the falsest of hopes. I am beyond prophecy. I forge my own path by making the difficult choices..."
The administrator has disabled public write access.
The following user(s) said Thank You: Afadir

Kylo Ren Force FX Lightsaber Conversion Tutorial 9 months 6 days ago #19210

  • jonny427
  • jonny427's Avatar
  • Offline
  • Junior Member
  • Posts: 28
  • Thank you received: 3
This is absolutely amazing.. well done.
The administrator has disabled public write access.

Kylo Ren Force FX Lightsaber Conversion Tutorial 9 months 6 days ago #19211

  • Zane Apex
  • Zane Apex's Avatar
  • Offline
  • Junior Member
  • Posts: 26
  • Thank you received: 4
Awesome job
The administrator has disabled public write access.

Kylo Ren Force FX Lightsaber Conversion Tutorial 9 months 6 days ago #19231

  • Master Venable
  • Master Venable's Avatar
  • Offline
  • Junior Member
  • Posts: 26
  • Thank you received: 2
This is AWESOME.
Emotion, yet Peace.
Ignorance, yet Knowledge

https://www.facebook.com/groups/PhoenixLightSaberAcademy/
The administrator has disabled public write access.

Kylo Ren Force FX Lightsaber Conversion Tutorial 9 months 3 days ago #19339

  • Fours
  • Fours's Avatar
  • Offline
  • Junior Member
  • Tucker did it!
  • Posts: 23
  • Thank you received: 2
Oh man, that is just beautiful. I wonder if it's possible to replace that red rubber "wire" with an electro luminescent wire so it lights up as well when the saber is active.
What's so hard to understand about swish swish stab?
The administrator has disabled public write access.
Threaded Indented
  • Page:
  • 1
  • 2

Member Login

Latest Posts

    • Weathering adjustments (6 Posts)
    • There's this DIY topic on weathering that shows you how to weather a "standard" finish, as well as...
    • ASP Update: KS 2/3 Comple... (261 Posts)
    • Just as an update I received one of my two IGG orders this Monday. One of the two sabers in that...
    • My first wip (6 Posts)
    • I plan on putting led is the vents. My brother is amazing at that kind of stuff and he said he would...
    • Something.... NEW! (754 Posts)
    • [attachment] [attachment]

More Topics »

Forum Statistics

  • Total Users: 4290
  • Latest Member: randyness
  • Total Posts: 44.3k
  • Total Topics: 3227
  • Total Sections: 20
  • Total Categories: 102
  • Today Open: 5
  • Yesterday Open: 8
  • Today Answer: 76
  • Yesterday Answer: 146