Build Your Own Lightsaber: A Step-by-Step DIY Guide
To build your own lightsaber, pick a route (assembled kit, plug-in modules, or a soldered Proffieboard build), buy a matching hilt and parts, bench-test the wiring, then install the software and close the hilt. A first soldered build is a weekend or two. Read the battery and soldering safety rules first.
On this page12 sections
- Which route to build your own lightsaber
- What you need before you start
- Step 1: Choose blade type and hilt
- Step 2: Buy matching parts
- Step 3: Plan the wiring and bench-test
- Step 4: Solder and fit the chassis
- Step 5: Install ProffieOS and the first config
- Step 6: Close the hilt and first power-up
- Where builds go wrong
- What a build costs
- FAQ
- Sources
You can build your own lightsaber without a workshop, and a DIY lightsaber is within reach of a beginner who can follow wiring diagrams. The realistic path for a first build is an empty hilt, a Proffieboard sound board, a pixel blade, a protected 18650 battery and a soldering iron. Expect one to two weekends for the build and more time for configuration [1].
This guide covers the order of work, not a single product. For part names and price bands see the lightsaber parts list. For choosing a body see lightsaber hilts.
Which route to build your own lightsaber
There are five routes, from a no-solder kit to printing your own body. The handbook this guide rests on ranks them by skill needed [1]. Time figures are editor estimates, not vendor data.
| Route | Soldering | Skills | Time (editor estimate) |
|---|---|---|---|
| 1. Ready chassis or kit | No | Screwdriver, hex key | One evening |
| 2. Plug-and-play modules | No | Reading a wiring diagram | One or two evenings |
| 3. Hilt plus loose electronics | Yes | Basic soldering, polarity | One to two weekends |
| 4. Full Proffieboard build | Yes | Fine soldering, Arduino, config files | Several weekends |
| 5. Own body or 3D print | Yes | CAD, printer tolerances | Weekends to months |
Route 1 is the safest start. One vendor lists a Savi’s Workshop upgrade kit at $200, as of November 2026, with a Proffieboard v2.2, a speaker and an addressable blade, and notes the conversion cannot be reversed [9]. Modular systems from different makers are not interchangeable, so match the system before you buy [1][12].
Routes 3 and 4 are what most people mean by “build a lightsaber”. The rest of this guide follows route 3 and 4.
What you need before you start
| Item | Detail |
|---|---|
| Tools | Temperature-controlled iron (at least 25 W), solder, flux, cutters, wire stripper, multimeter, heat-shrink, a vise or third hand [1][6] |
| Computer | Arduino IDE 1.6.19 or later, a data-capable micro-USB cable [3][4] |
| Board | Proffieboard V3.9 or similar |
| Battery | One protected 18650 cell and a compatible charger |
| Space | Ventilated, with a stand for the hot iron |
Prices for tools are (unverified); the handbook did not collect them [1].
Step 1: Choose blade type and hilt
Decide the blade first, because it fixes the hilt bore and the electronics. A baselit blade is a tube lit by an LED in the hilt. A pixel (neopixel) blade holds a strip of individually controlled LEDs. Pixel blades give even brightness and more effects but are more fragile [12]. If you are weighing the technologies, read Xenopixel vs Neopixel and the neopixel lightsaber guide.
Then pick an empty hilt that takes your blade diameter and leaves room for the chassis. Many hilts use a 1 inch blade [1]. Empty hilts are sold without a blade or electronics [11].
Step 2: Buy matching parts
A soldered build needs a hilt, chassis, board, speaker, switch, charge port, protected battery and a blade with plug and retention screw [1]. The lightsaber parts list groups these with price bands.
Vendor listing states EUR 45.90 to 50.90 depending on the microSD option, as of November 2026 [7].
Vendor listing states $40.40, with a 16GB SD card for $7.45 more, as of November 2026 [8].
On board capability: the Electronics123 listing gives a 3 W mono amplifier, 450 mA USB charging, six FETs for LEDs and four NeoPixel data pads [8]. The Artekit listing names support for Ws281X, PL9823 and SK68 pixel strings [7].
Pick a battery by sustained current, not milliamp-hours alone. A 2016 forum post recommended protected cells rated for 8 to 10 A [1][12]. That is old advice, so check the current board documentation. More on this in lightsaber batteries.
Step 3: Plan the wiring and bench-test
Do not close the hilt yet. Wire the board, switch, speaker, blade connector and battery on the bench first, using a test rig or clips.
The board author documents the points that matter. The board has reverse polarity protection, but it does not protect what is connected to LED outputs 1 to 6, and it does not work while charging. A backwards battery can destroy neopixels [2]. Data 1 has an internal 470 ohm resistor, so a pixel blade on that pad needs no extra resistor [2]. Battery+ accepts 2.6 to 5 V [2].
For a baselit LED the author gives the resistor formula: (battery voltage minus LED voltage) divided by LED current. His example is a 1 A LED rated 3.2 V on a 3.7 V battery, which needs a 0.5 ohm resistor rated 0.5 W [2].
Step 4: Solder and fit the chassis
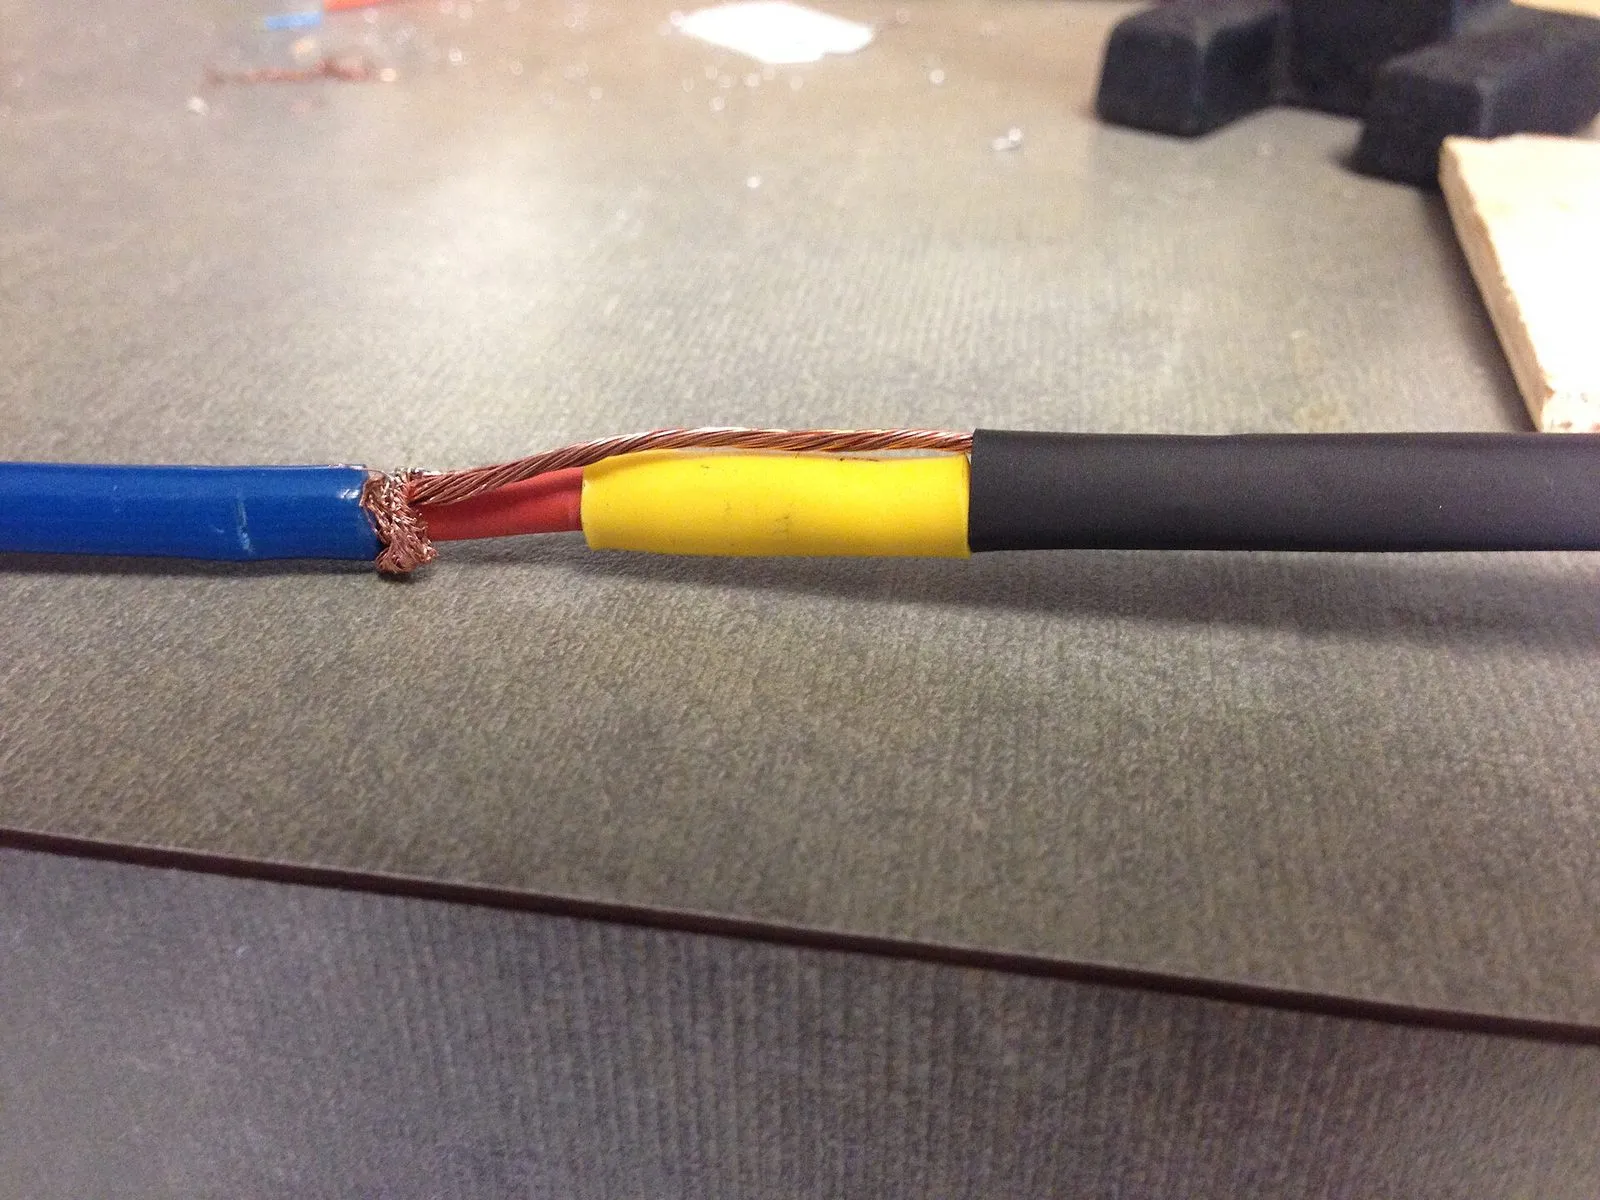
Follow the soldering safety points: ventilate for more than a few joints, prefer lead-free solder (which needs more heat and flux), park the iron in its stand, and hold the work in a vise or third hand [6].
- Tin the board pads and wire ends.
- Use thin wire for signals and thicker wire for battery negative [1].
- Add heat-shrink over every joint.
- Check continuity and polarity with a multimeter before connecting the battery.
- Seat the board, speaker and battery holder in the chassis and route wires so none can be pinched when the chassis slides in.
Step 5: Install ProffieOS and the first config
ProffieOS is the open software for the board. The documentation says to install the Arduino IDE, add the Proffieboard plugin through the Boards Manager, and for V3 set DOSFS to SDCARD (SDIO High Speed) [3].
Then download ProffieOS, copy the default config file, point CONFIG_FILE at your copy and upload. A progress bar reaching 100 means programming worked, even if warnings appear [4]. That page describes the configurators for V1 and V2 boards, so confirm the current steps for V3 in the docs before you follow it line by line [4].
Put sound fonts on the SD card, then test the swing, clash and blast sounds.
Step 6: Close the hilt and first power-up
- Disconnect the battery and check the chassis fits the hilt without force.
- Fit the blade plug first, then the blade, and tighten the retention screw gently. Stripped retention screws are a common complaint [1].
- Power up for short bursts and feel the chassis for heat.
- If anything smells hot, hisses or swells, stop. Move the saber away from anything flammable [5].
Where builds go wrong
Soldered build
- Pro: full control of board, sound and blade
- Pro: the board is open source [8]
- Con: wrong polarity can destroy pixels [2]
- Con: needs soldering skill and a computer
Kit or modules
- Pro: no soldering [1]
- Con: parts are not cross-compatible between systems [1][12]
- Con: one shop says it is ending production of its modular hilt system and conversion kits [10]
What a build costs
No single total can be given, because a full cart across vendors has not been priced [1]. Reference points from vendor pages, as of November 2026:
- Proffieboard V3.9: $40.40 or EUR 45.90 and up [7][8]
- Empty hilts: $51.25 to $66.25 at one vendor [11], and typically $100 to $350 at another [9]
- Blade bundle: a 35.375 inch show blade bundle at $104.28 [10]
- Ready-made installed sabers: about $400 to $665 at one shop [9]
Battery, speaker and switch prices are (unverified). If a ready saber costs about the same as your parts cart, buying one may be the better call; see the best lightsaber guide.
FAQ
Can I build a lightsaber without soldering?
Yes. Assembled chassis and plug-and-play module routes need only a screwdriver and hex key, though modular systems from different makers do not fit each other [1][12].
How long does a first build take?
The handbook estimates one to two weekends for a soldered build with loose parts, and one evening for a kit. These are editor estimates, not vendor figures [1].
Is it safe to use an 18650 battery?
Only if you treat it with care. Heat is the main threat, and protection circuits may not stop a runaway in progress. Do not charge cold or unattended [5].
Which board should a beginner choose?
Proffieboard is the open, widely documented option [2][3]. Both vendor listings sell it assembled and tested, so there is no need to build the board itself [7][8].
Do I need to code?
You edit a config file and upload it with the Arduino IDE. Copy-and-edit is enough to start [4].
How to make a lightsaber at home?
Follow the six steps above: choose a blade and hilt, buy matching parts, bench-test, solder, flash the software, then close the hilt [1][4].
Where do I find parts?
See the lightsaber parts list and the DIY hub.
Sources
- Handbook, DIY sabers, handbook/sabers/diy.md (reviewed 2026-11-01; rests on sources 2 to 6 and vendor pages)
- Proffieboard V3 project page, https://fredrik.hubbe.net/lightsaber/v6/ (accessed 2026-11-06)
- ProffieOS Documentation, Proffieboard setup, https://pod.hubbe.net/proffieboard-setup.html (accessed 2026-11-06)
- ProffieOS Documentation, Installing ProffieOS, https://pod.hubbe.net/installing-proffieos.html (accessed 2026-11-06)
- Battery University, BU-304a Safety concerns with Li-ion, https://batteryuniversity.com/article/bu-304a-safety-concerns-with-li-ion (accessed 2026-11-06)
- Adafruit, Guide to excellent soldering, https://learn.adafruit.com/adafruit-guide-excellent-soldering (accessed 2026-11-06)
- Artekit, Proffieboard V3.9, https://www.artekit.eu/products/devboards/proffieboard-v3-9/ (accessed 2026-11-06)
- Electronics123, Proffieboard V3.9, https://www.electronics123.com/shop/proffieboard-v3-9-open-source-lightsaber-sound-board-12096 (accessed 2026-11-06)
- Saberbay, shop front page, https://www.saberbay.com/ (accessed 2026-11-06)
- The Custom Saber Shop, shop front page, https://www.thecustomsabershop.com/ (accessed 2026-11-06)
- Ultrasabers, Empty sabers, https://ultrasabers.com/product-category/empty-sabers/ (accessed 2026-11-06)
- Handbook, What are lightsabers, handbook/what-are-sabers.md (reviewed 2026-11-01)
Editorial team
Writes for Saber Forge Forum. Every guide is checked against the maker's specs and dated, so you know how fresh it is.
Read next
Lightsaber Parts List: Everything You Need to Build One
A DIY lightsaber needs a hilt, chassis, sound board, blade, protected 18650 battery, speaker, switches, wire and a charge port. Verified prices as of November 2026: boards from $40.40, empty hilts from $51.25, a pixel blade bundle at $104.28. Battery and speaker prices are unverified.
Lightsaber Hilts: Types, Materials and Empty Hilts Explained
A lightsaber hilt is the handle and body of a saber, everything except the blade. Empty hilts come without electronics, a chassis holds the board and battery inside, and most real hilts are machined aluminium or printed plastic. Empty hilts start around $51 as of November 2026.
Lightsaber Batteries: 18650 Cells, Charging, Runtime and Safety
Most lightsabers run on a rechargeable lithium-ion cell, usually the 18650 format (18 mm by 65 mm). Pixel blades drain it faster than baselit ones, with listings quoting 30 to 90 minutes versus 1 to 3 hours. Use the right charger, never charge unattended, and retire any cell that swells, leaks or overheats.